Add content
In edit mode, every area of a layout shows the link "Add content". It opens the dialog of the same name, in which you insert texts, images, videos, documents and other content. This page describes the content types by the groups of the dialog, "Text", "Media", "Knowledge" and "Other & design", and the button "Media Center". Where you open the Content Editor and who uses it is described on the page Content Editor.
You set the properties of a piece of content in the inspector, the window that opens when you click the content. How you arrange content in the layout and what the inspector offers for all content is described on the page Layout.
Which elements are available depends on where you use the Content Editor.

Title
For the element "Title" you select one of the predefined levels h1 to h6 under "Size" in the inspector.
Every title additionally receives an anchor. It is used exclusively by the "Table of contents" element, which lists the titles and links them via their anchors. Outside the table of contents, the anchors cannot be addressed.

Text
With the element "Text" you insert formatted running text. The formatting bar offers, among other things, font style, alignment, font size, colours, lists, links and formulas. In the inspector you define under "Columns" in how many columns the text appears.

Table
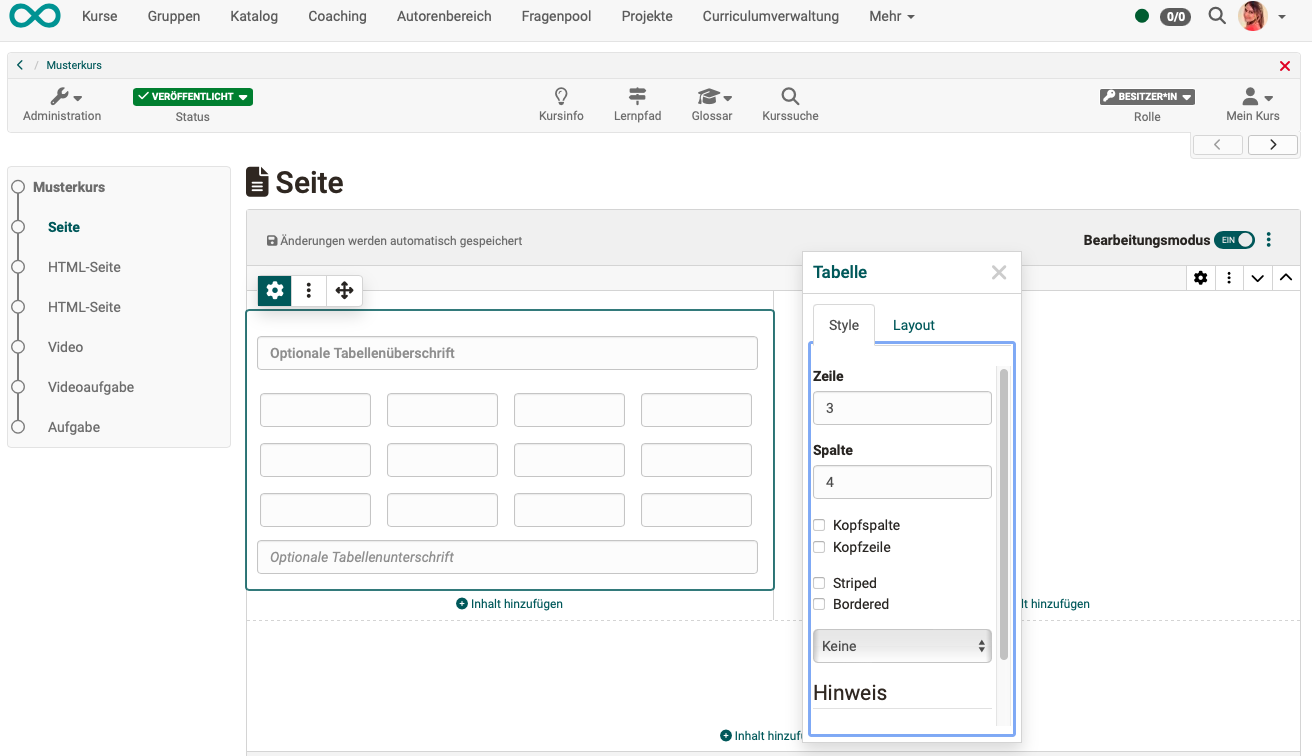
With the element "Table" you present content in rows and columns. In the inspector you define the number of rows and columns under "Row" and "Column" and whether the table has a "Row header" or a "Column header". Under "Row style" you choose how the rows are displayed. Above and below the table you can enter a table title and a table caption.
Math formula
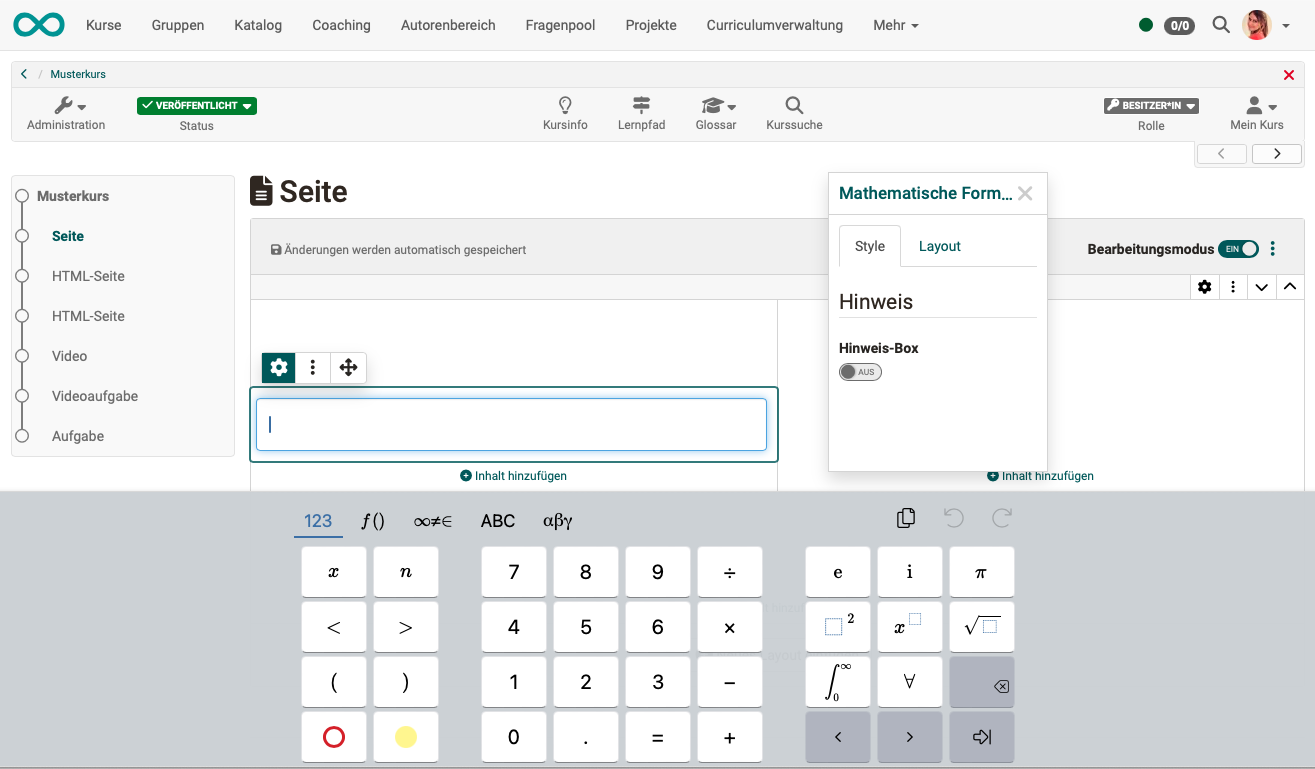
A special small editor is available for mathematical formulas.
This text element does not exist in the form editor.
Code example
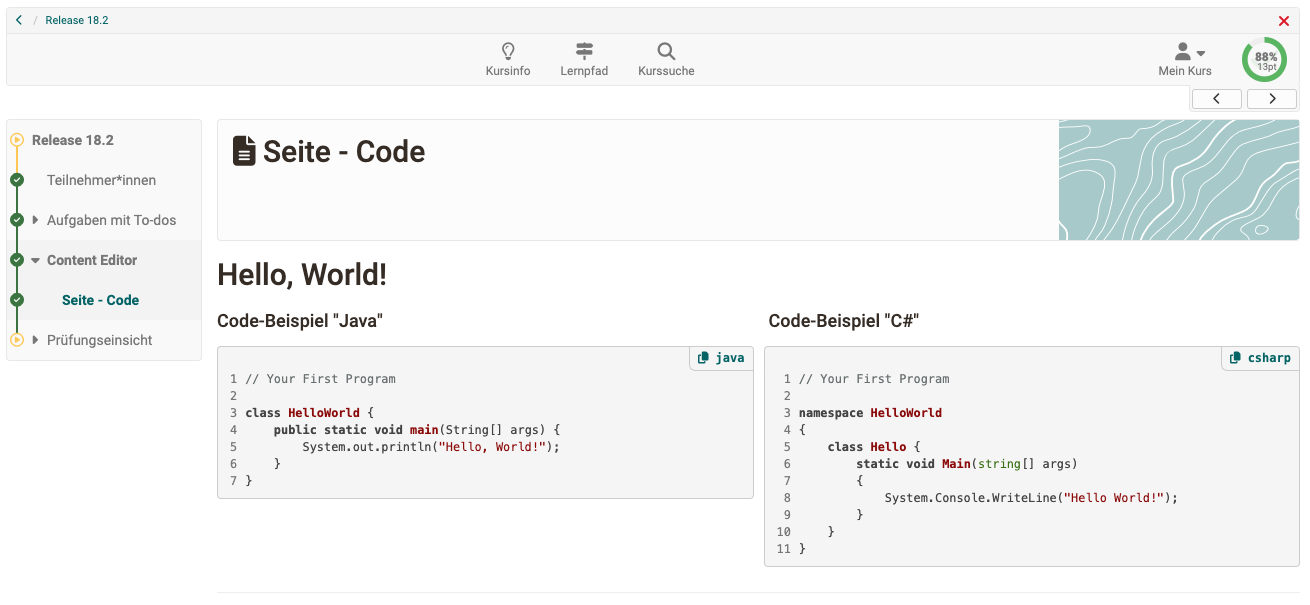
The block "Code example" shows text in a font with fixed spacing and numbered lines. This helps with technical learning content such as programming examples. When creating the block, you select the programming language. Participants copy the code directly to the clipboard to reuse it.
This text element does not exist in the form editor.
Citation
A citation automatically receives a predefined formatting. OpenOlat saves citations as reusable objects in the Media Center, just like audio and videos.
This text element does not exist in the form editor.
Group Media
Instead of the group "Media" and its associated content elements, the form editor includes the groups "Question type" and "Organisational" with their corresponding content elements.
Image
You embed any image from the Media Center or upload a new one. OpenOlat stores new images automatically in the Media Center. The image formats png, jpg, gif and svg are supported .
If the AI feature "Image Description Generator" is switched on in the AI module of the system administration, OpenOlat adds title, description, alternative text and tags of a newly uploaded image in the background with AI, provided the AI image descriptions are switched on for you, see Tab AI settings. The AI feature is located under: Administration > External tools > AI module > Tab "AI features". More about this: Generate metadata with AI
Gallery
The gallery element shows several images as a slideshow to scroll through, in a grid (authors define the columns and rows) or with preview (one image large, the others as reduced preview images). You choose the appearance of the gallery in the inspector. The images come from the Media Center.
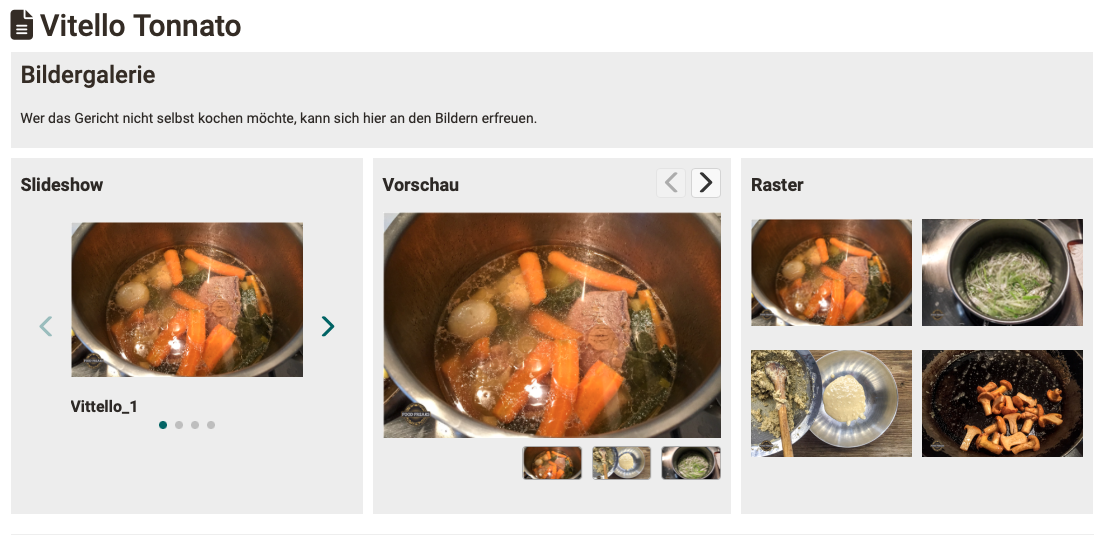
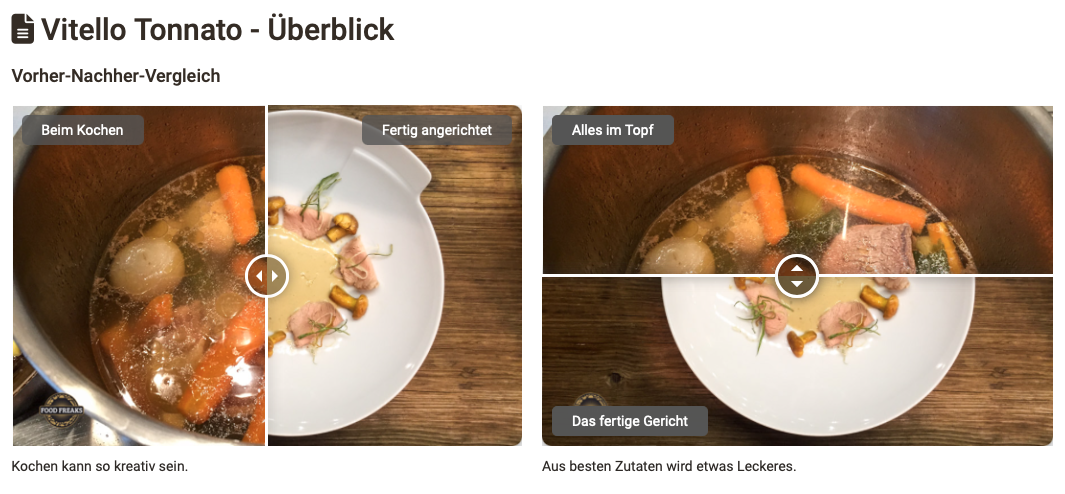
Image comparison
The image comparison places two images on top of each other. A slider cross-fades between them.
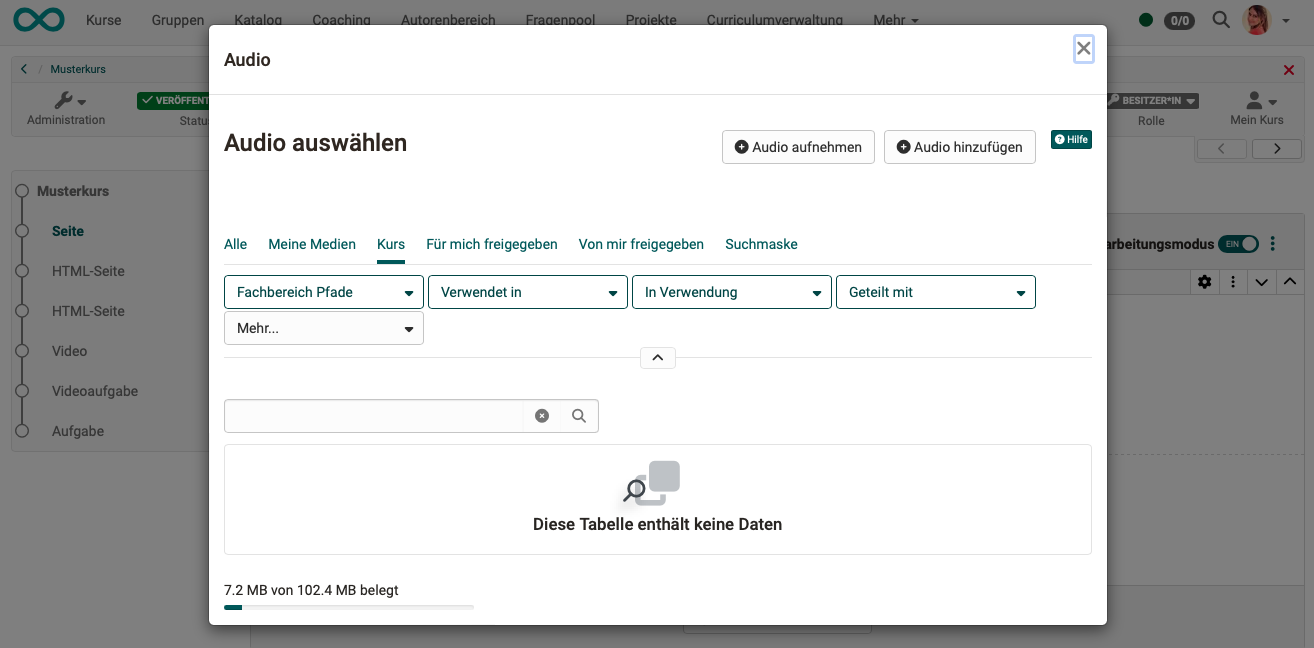
Audio
You record an audio directly in OpenOlat, upload it or select an existing audio.
Video
In the block "Video" you also embed videos via URL.
OpenOlat supports the video formats MP4 and m3u8 as well as the platforms YouTube, Vimeo, Panopto and nanoo.tv. You record new videos directly in OpenOlat.
Document
You upload documents in various formats, for example PDF or Word files, via drag-and-drop, select them from the Media Center or create them directly in specific formats. OpenOlat stores the media automatically in the Media Center.
You can also access the Media Center via the Inspector menu to add additional information to documents and define further sharing options. This allows a file that was initially intended for a single content block to be used for other purposes or edited by other OpenOlat users.
In addition, the "Share" section allows you to share newly created or uploaded documents directly.
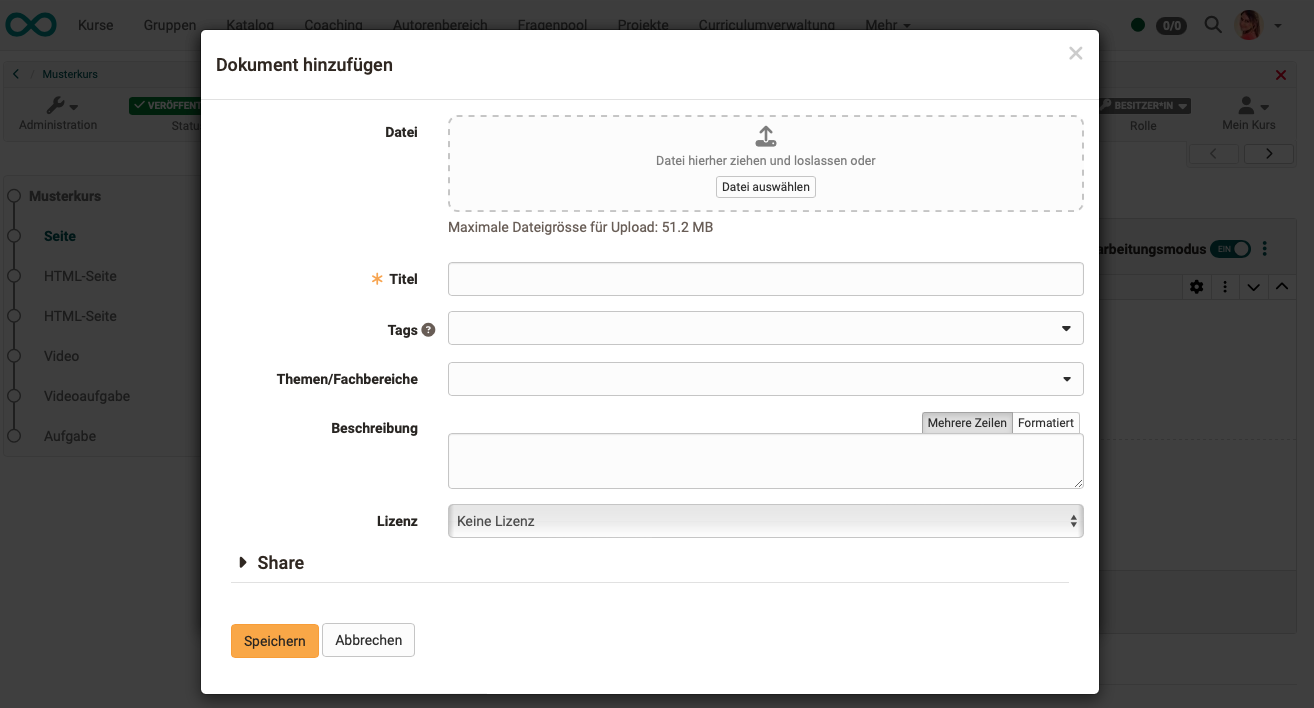
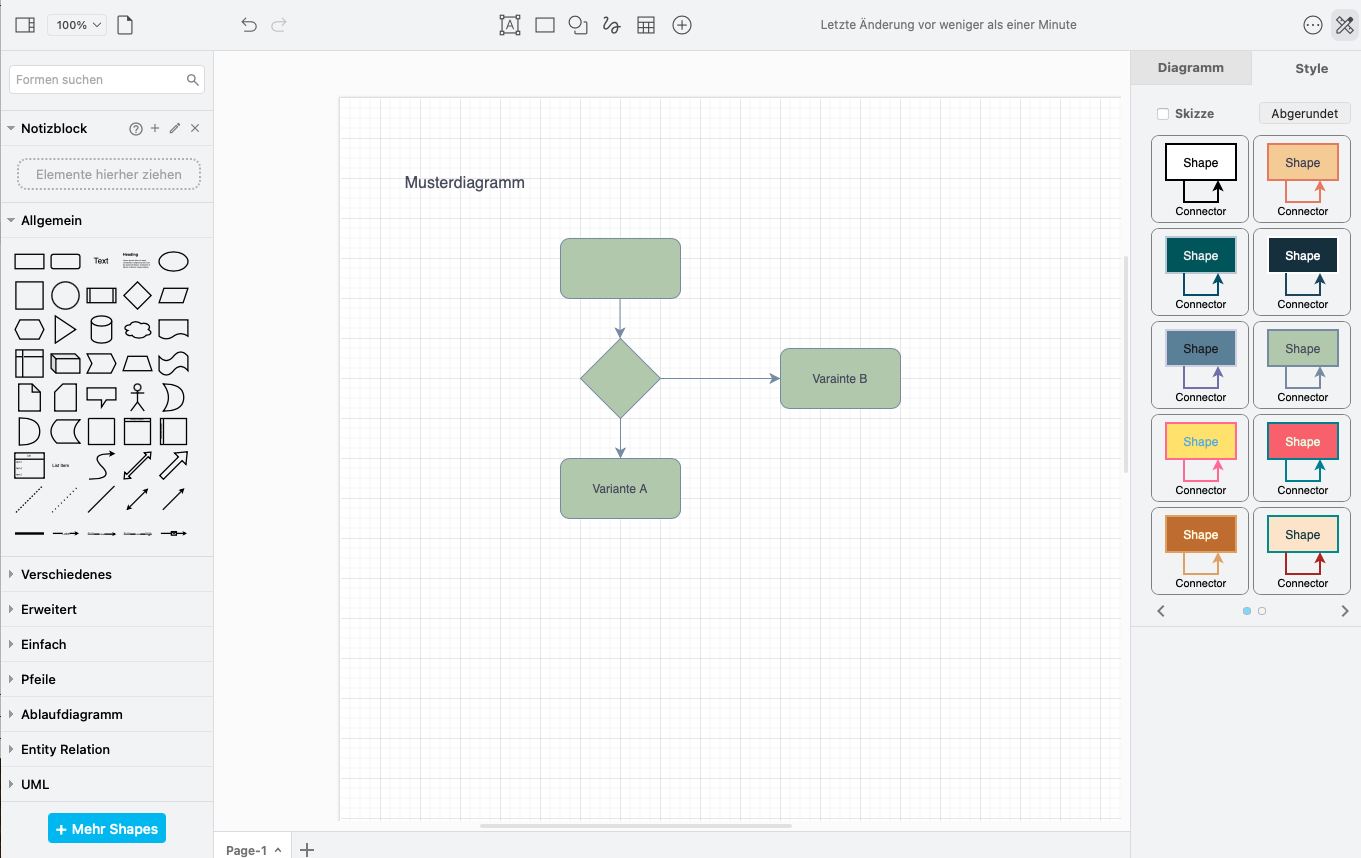
Diagram (draw.io)
You load an existing diagram from the Media Center or create a new one directly with draw.io. If you edit the file as an individual, the editing takes place on the OpenOlat server, in collaboration mode on an external server.
Group Knowledge
This group is available only in the Content Editor of the course element "Page".
Quiz
With the element "Quiz" you embed questions that OpenOlat evaluates immediately into a page. How you create questions and give learners AI feedback on free-text answers is described on the page Quiz and AI feedback.
Separator
A separator is a line (visual design element) used to separate content.
Table of contents
The "Table of contents" element makes long pages easy to navigate: it lists the titles of the page as clickable jump marks and takes you directly to the respective section with one click . It captures the titles that follow the table of contents on the page, up to the next title of the same or a higher level. This allows you to create a table of contents for the whole page or for a single chapter only. In the inspector, "Title sizes" defines which title levels (H1 to H5) appear in the list; H1 to H4 are selected by default. If the table of contents is displayed as an alert box, its title serves as the box title.
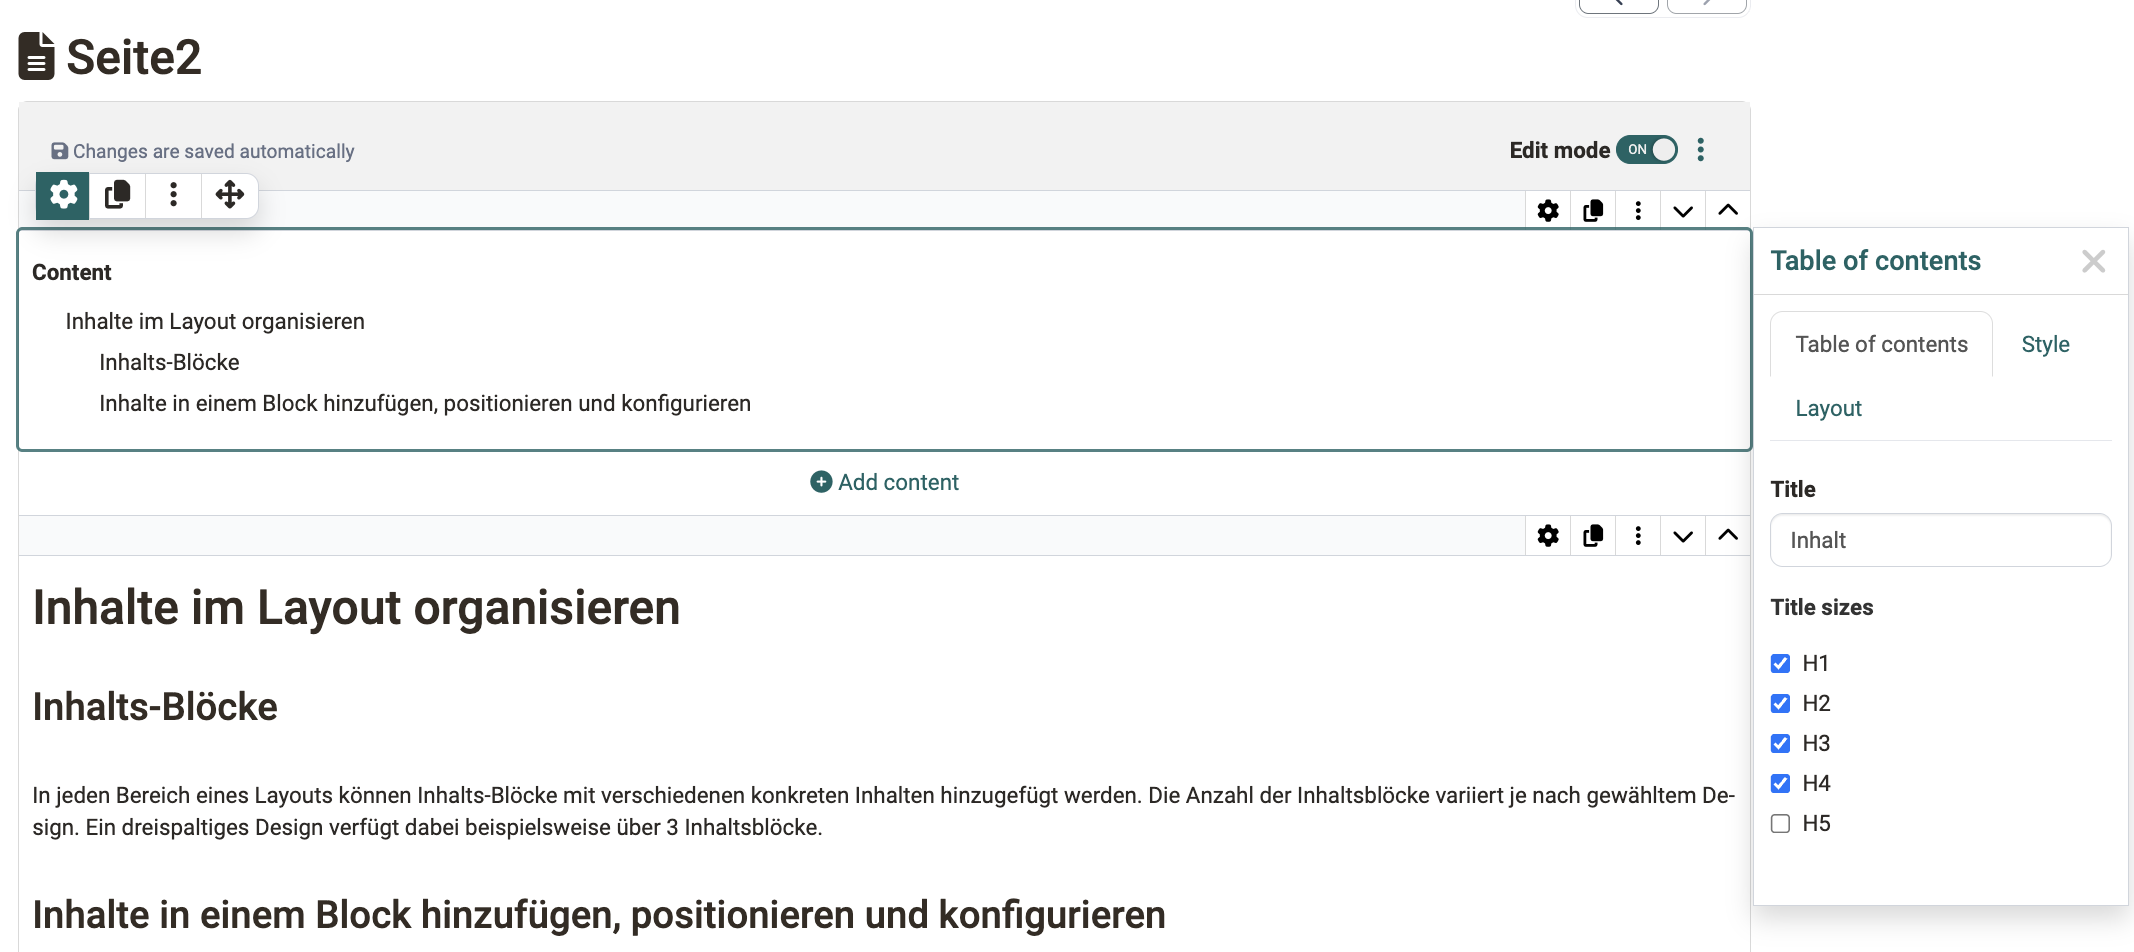
You insert the element via "Add content" in the group "Other & design". When inserted, it carries the title "Contents", which you can overwrite in the Inspector.
If the table of contents stays empty, the hint "No titles found after this position" appears. The element is then placed below the titles it is meant to list, or the selected title sizes do not match the existing titles. Move it before the titles you want, or adjust the title sizes in the Inspector.
This element does not exist in the form editor.
HTML text code
The element "HTML text code" is available only in the Content Editor of the course element Page. It performs similar functions to the element "Text" and offers additional menus and options.
Media Center
In the Content Editor of the course element Page and of the portfolio, a separate button "Media Center" in the dialog "Add content" leads to your media. It is an additional way to access your files, regardless of the type of media.
Click the button to open the files in your Media Center. Here, you select files, create new ones or upload them.
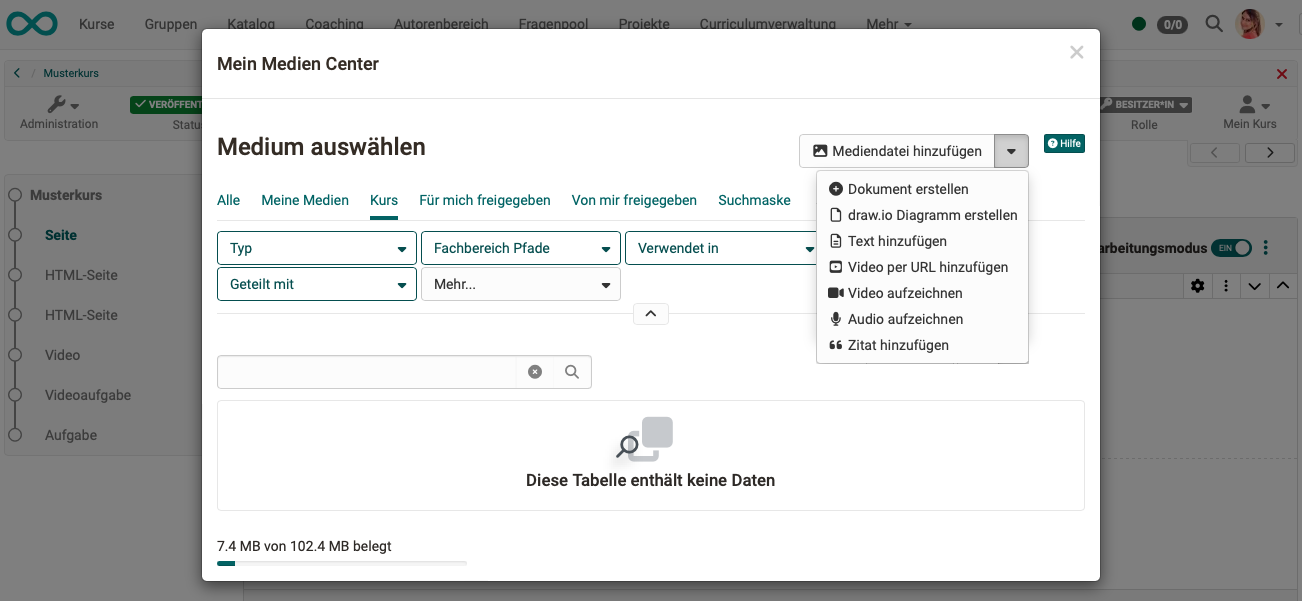
Media Center (User tools) >
Detailed information about the Media Center (Basic concept) >
Further information
Mentioned on this page
Content Editor >
Layout >
The form editor >
External tools: AI module >
Personal Configuration: Settings >
Information and settings for items in the Media Center >
Quiz and AI feedback >
User tools: Media Center >
Media Center Concept >
Further reading
Import >
Working with tables >
Math formula >