Assessment management: assessment inspection
What is an assessment inspection about?
Occasionally, exam participants not only want to know their exam results, but also to see the original exam again. It is a legitimate concern to be able to understand how the examination result (points/grades) came about.
However, this is contradicted by the fact that the participants should not be given the exam and should not receive a copy of it or create one themselves (screenshots).
That's why OpenOlat has a special tool for assessment. You define
- a specific time window,
- if the assessment mode is active during this time window.
Configuration of a flowchart for an inspection
As Course owner you create a flowchart in which you define how exam inspections work.
The coaches then schedule the inspections for the exam participants and select one of the predefined flowcharts (configurations).
As the course owner, you define an assessment (flowchart) under
Course administration > Assessment management > Tab "Configuration assessment inspection"
There you can click on the button "Add assessment inspection" to add a new configuration (flowchart) to the assessment management. Already defined flowcharts will be listed.
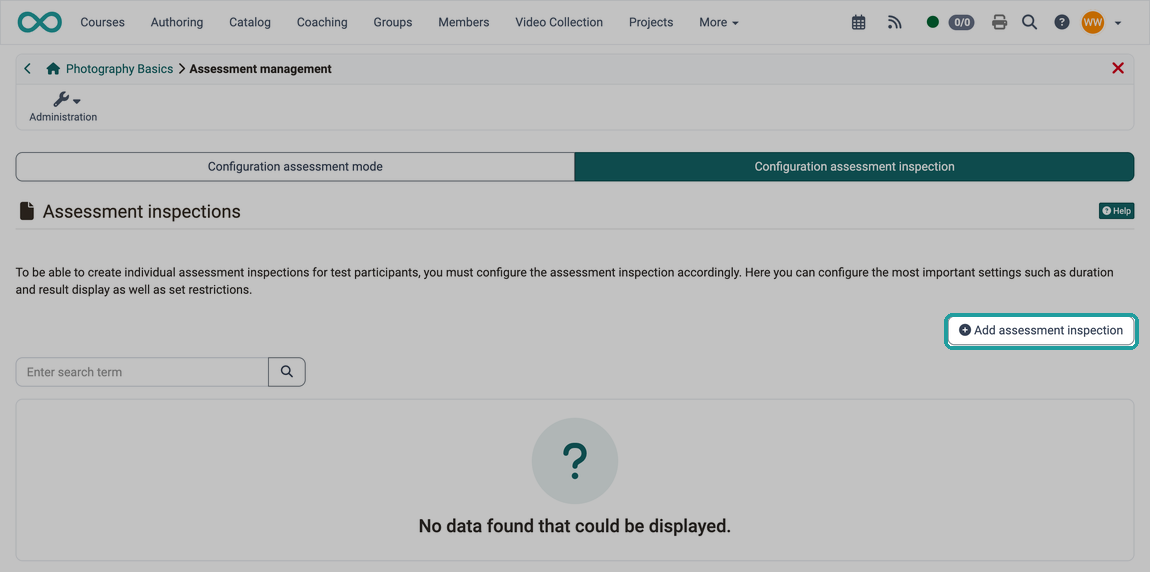
Tab "General"
First, you define how long the assessment may last and what should be shown during the assessment: test summary, section summary, question summary, the answer submitted by the participants, and the solution. (Date and time will be determined by the coach if he/she organizes an inspection with exam participants.)
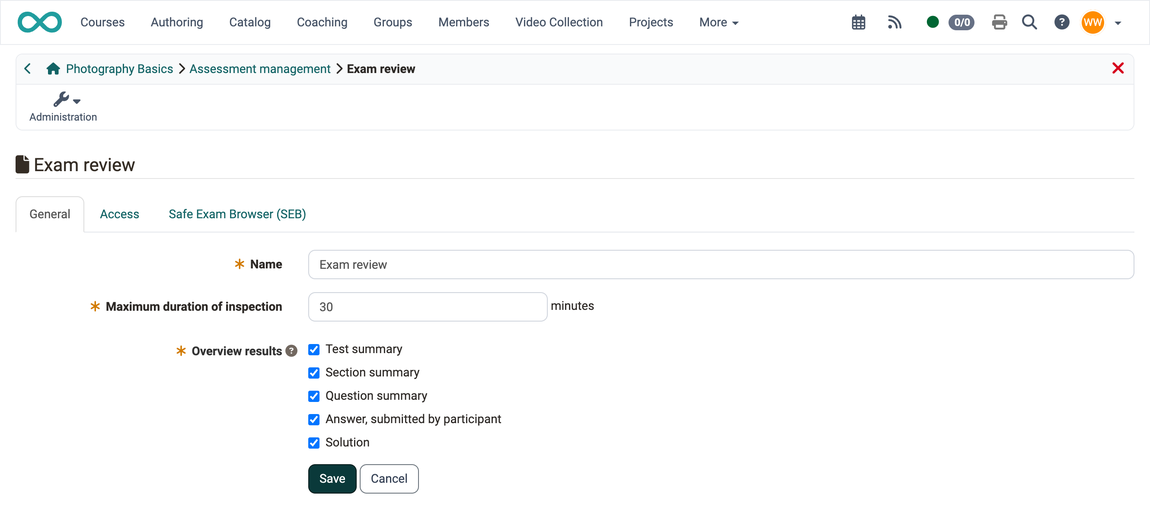
Tab "Access"
In the "Access" tab, access can be restricted to very specific devices by specifying one or more IP addresses. (E.g. only one specific computer in one specific room).
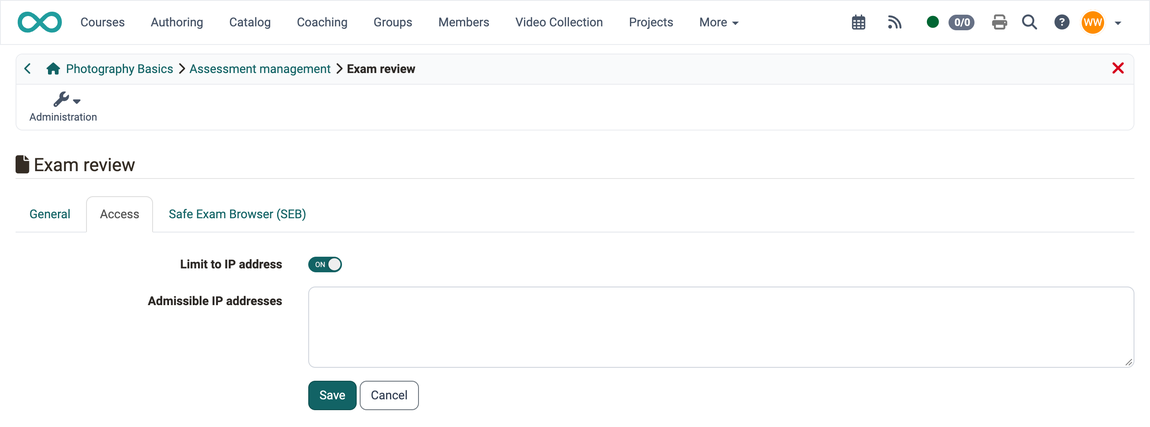
Tab "Safe Exam Browser (SEB)"
By using the SEB, all other activities on the computer can be blocked during viewing.
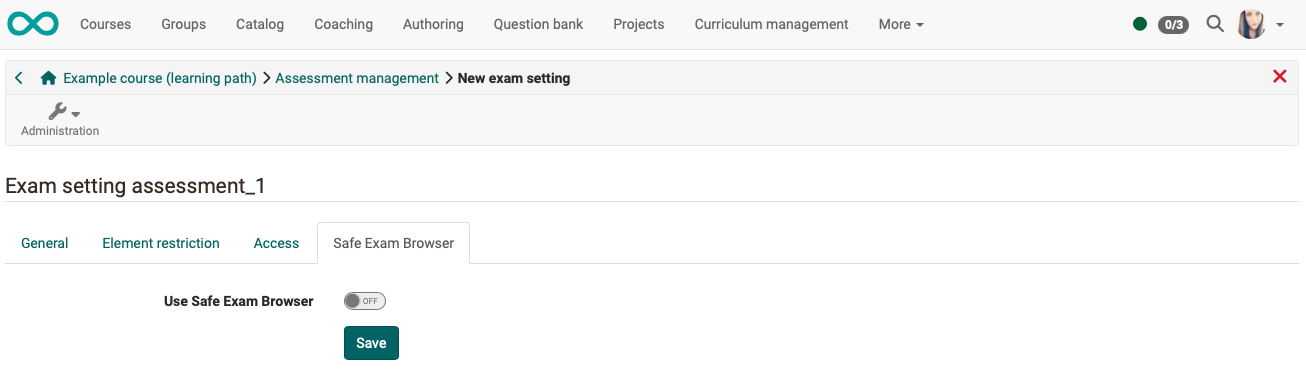
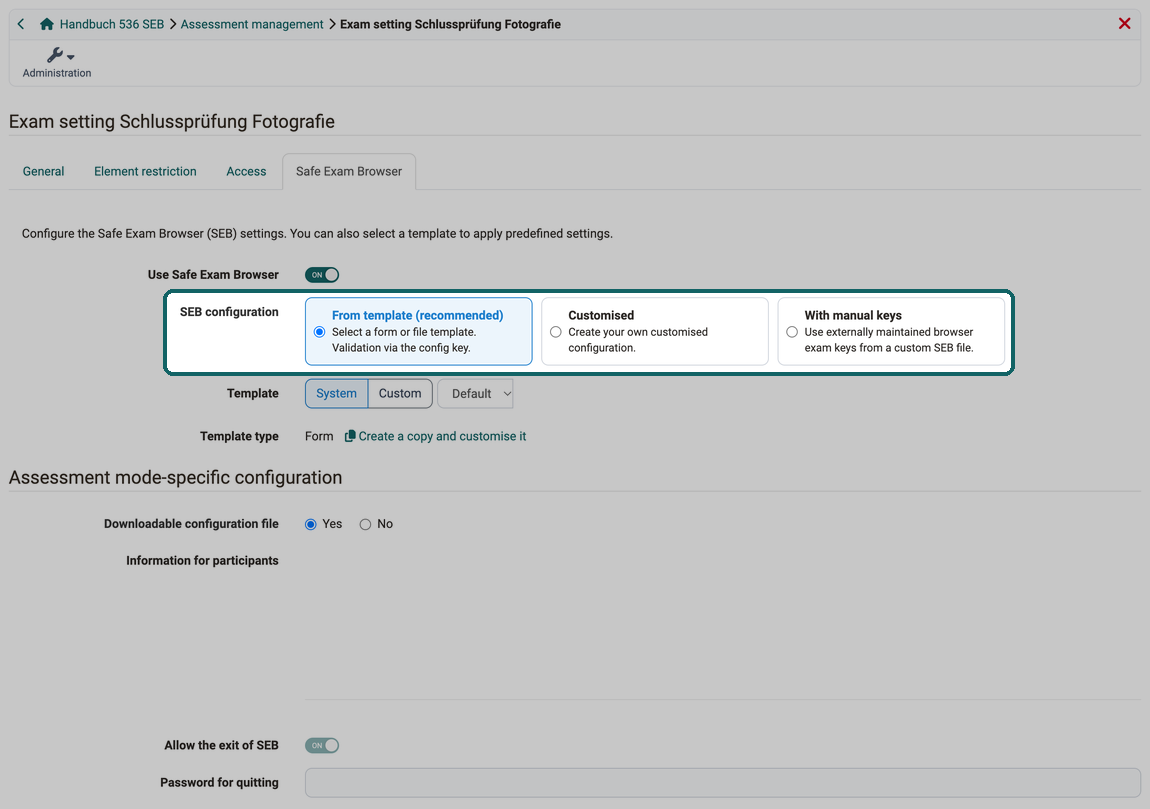
SEB configuration
As in the assessment mode, you choose between "From template (recommended)", "Customised" and "With manual keys". The page on the assessment mode describes the three types: Tab "Safe Exam Browser"
Template
With "From template (recommended)", you select with "System" one of the active SEB configuration templates provided by the administration from the dropdown, or upload your own SEB-File with "Custom". The template marked as default is preselected. If a saved template is subsequently deactivated, it remains as the selected item in the list until another template is chosen.
Template type
Shows whether the template is a "Form" or a "SEB-File". For a form, the button "Create a copy and customise it" takes the values of the template into a "Customised" configuration that you can change for this inspection.
Assessment mode-specific configuration
Under this legend you find the Downloadable configuration file, the Information for participants, Allow the exit of SEB and the Password for quitting for this inspection. With a SEB-File, the password overwrites the one of the file, and the config key is automatically recalculated. With a form from the system, the information, the exit and the password come from the template.
Configuration from the template
Under this legend, the detailed settings taken from the selected template are displayed.
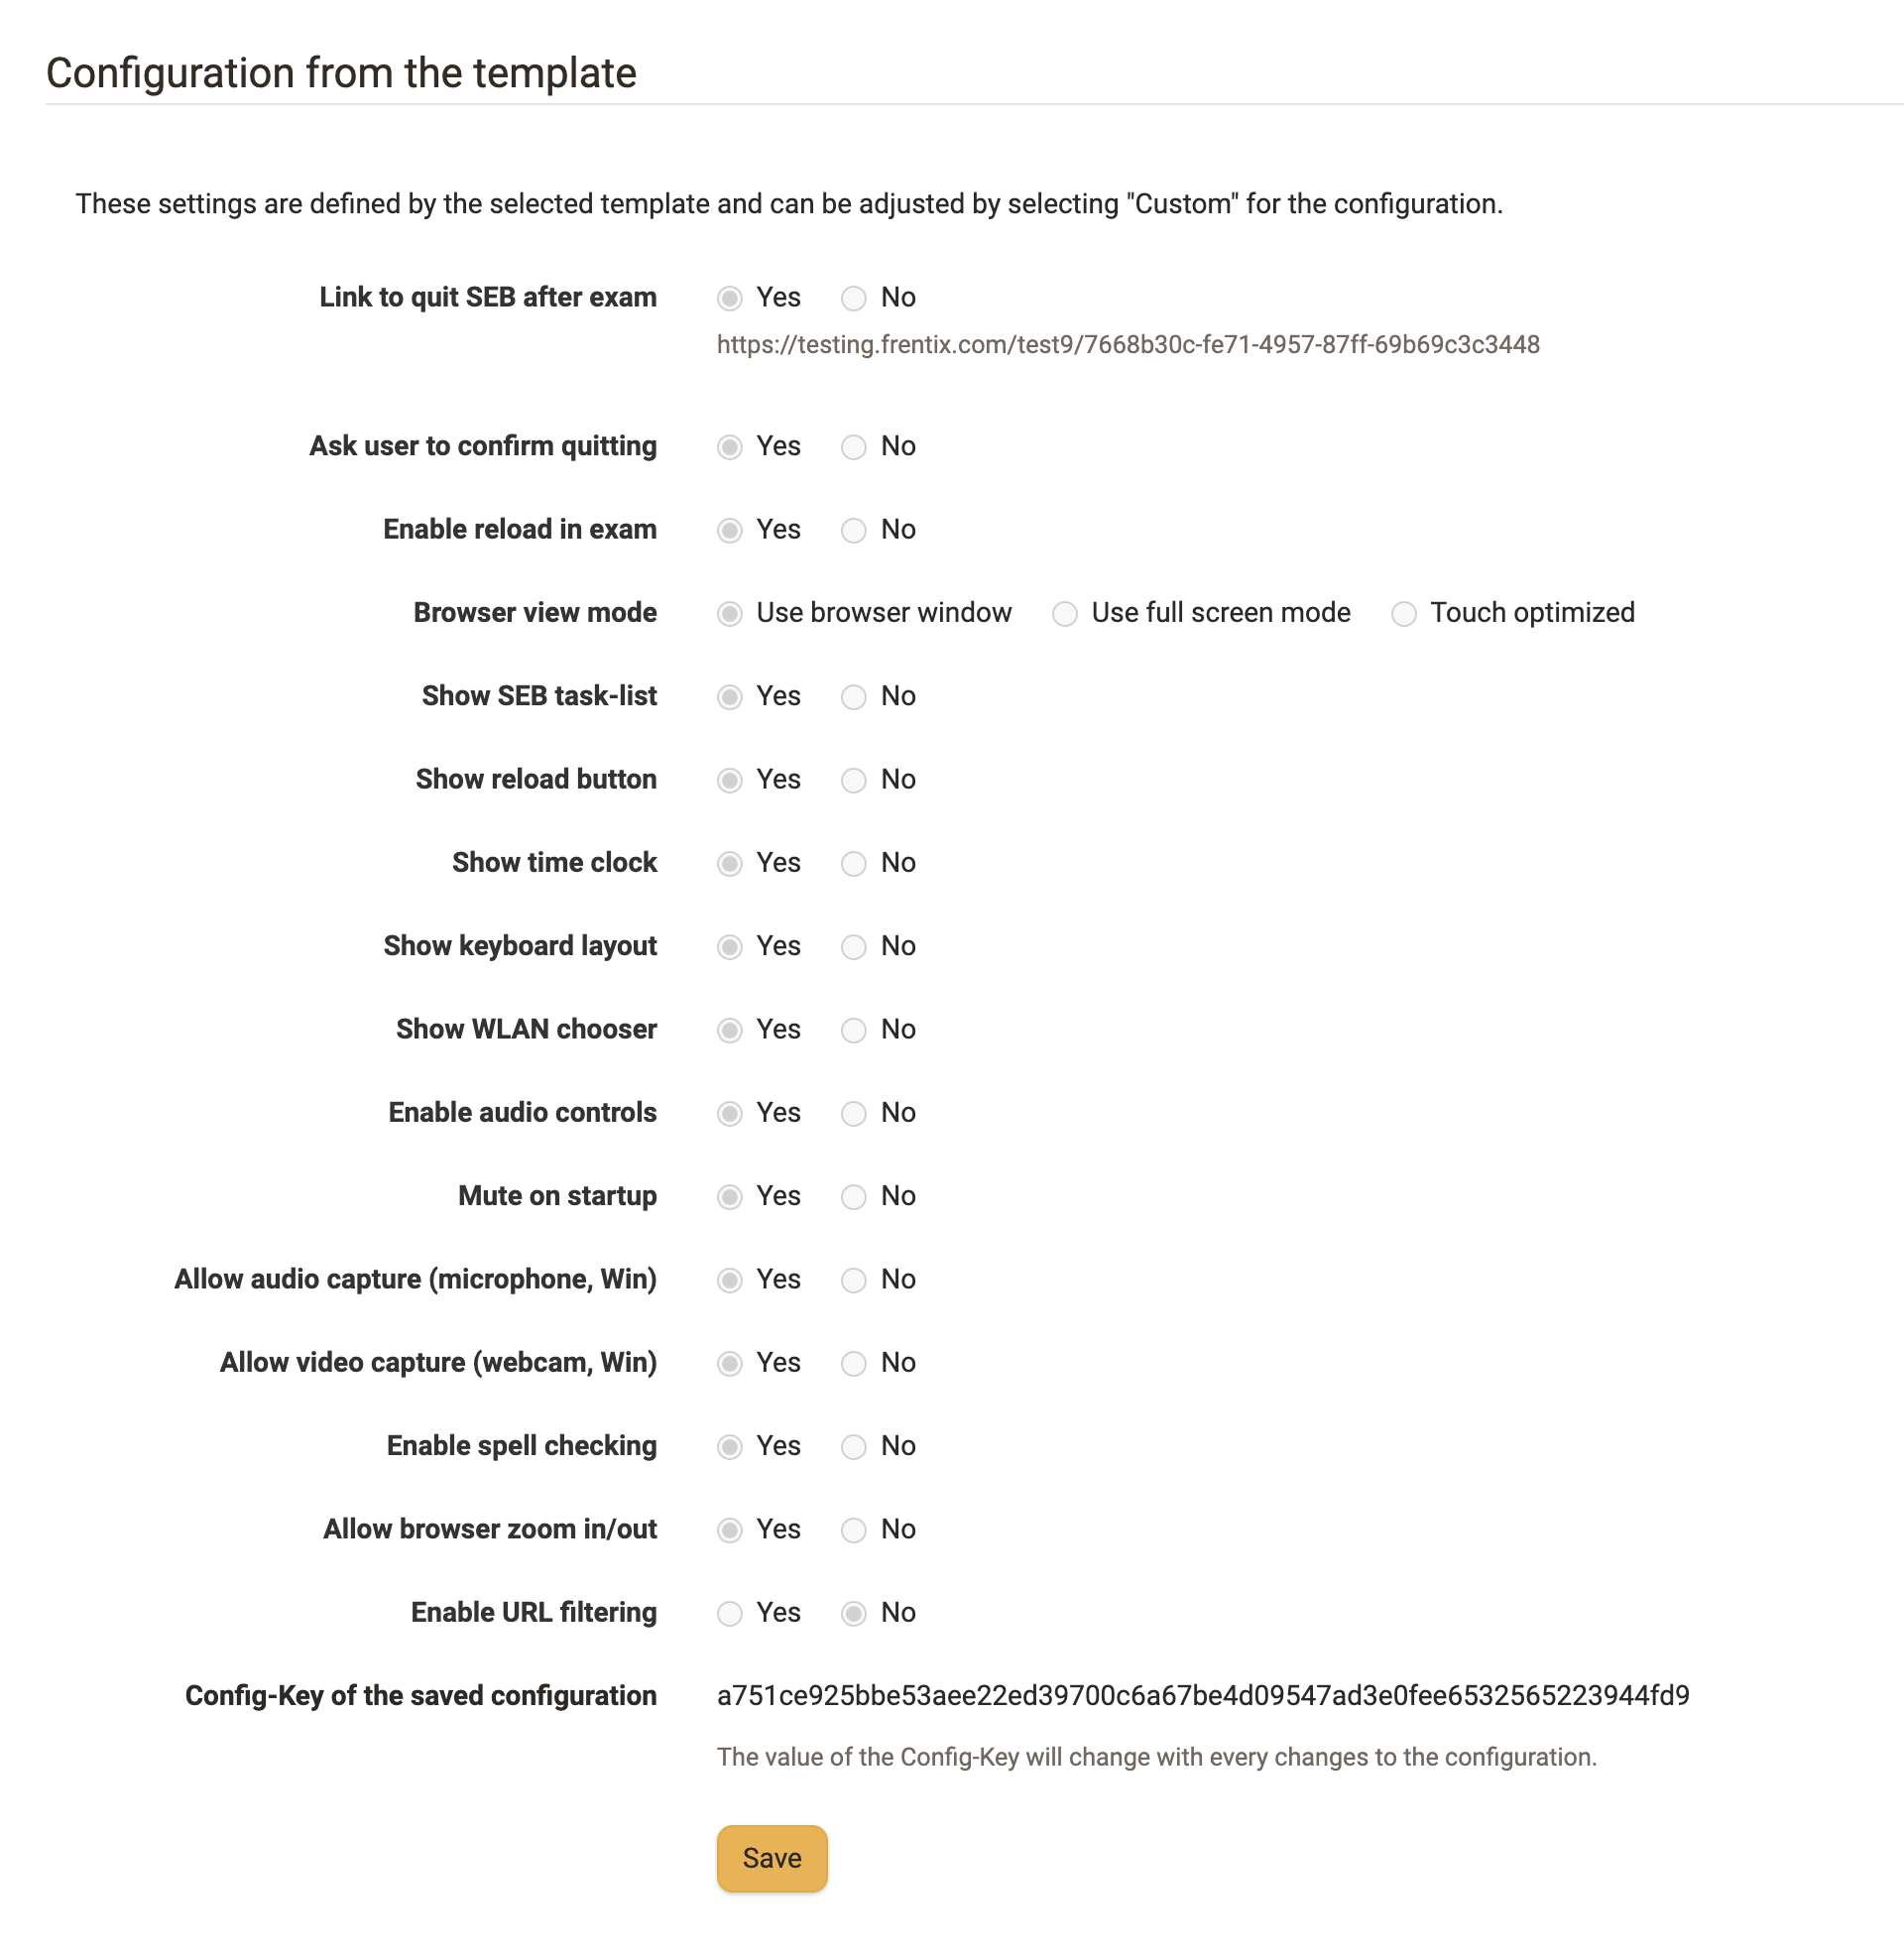
Prerequisite
The template selection is only available if at least one active template has been created in the System Administration under Administration > e-Assessment > Assessment management > Tab "Safe Exam Browser Configuration".
Planning of inspections by coaches
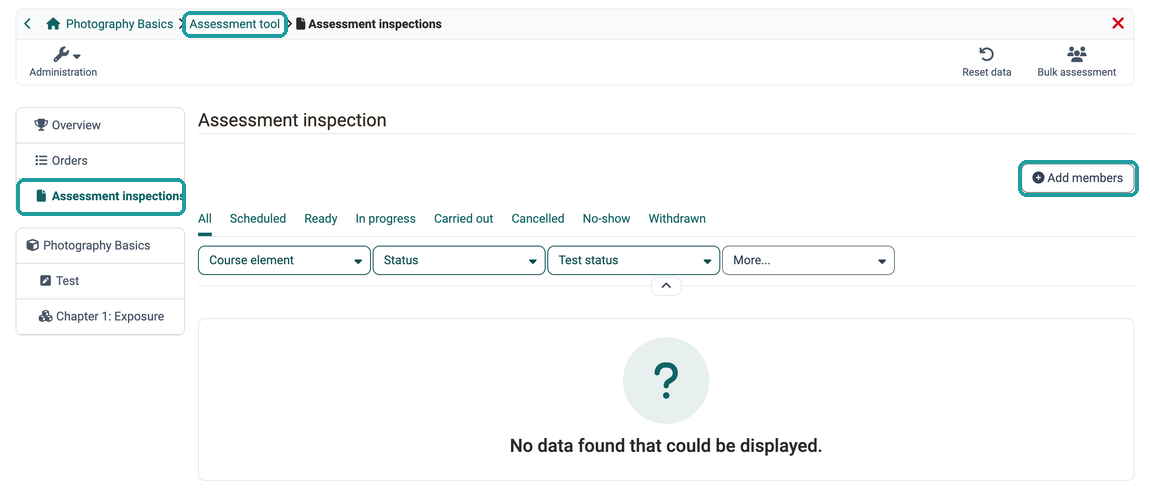
As a coach, you use the assessment tool to organize the inspections for individual or multiple exam participants. (E.g. only for those examination participants who expressly wish to inspect the documents.)
A wizard guides you through the steps. For example, determine the date and select one of the flowcharts (configuration) predefined by the course owner. This ensures that the same conditions prevail for all inspectors.
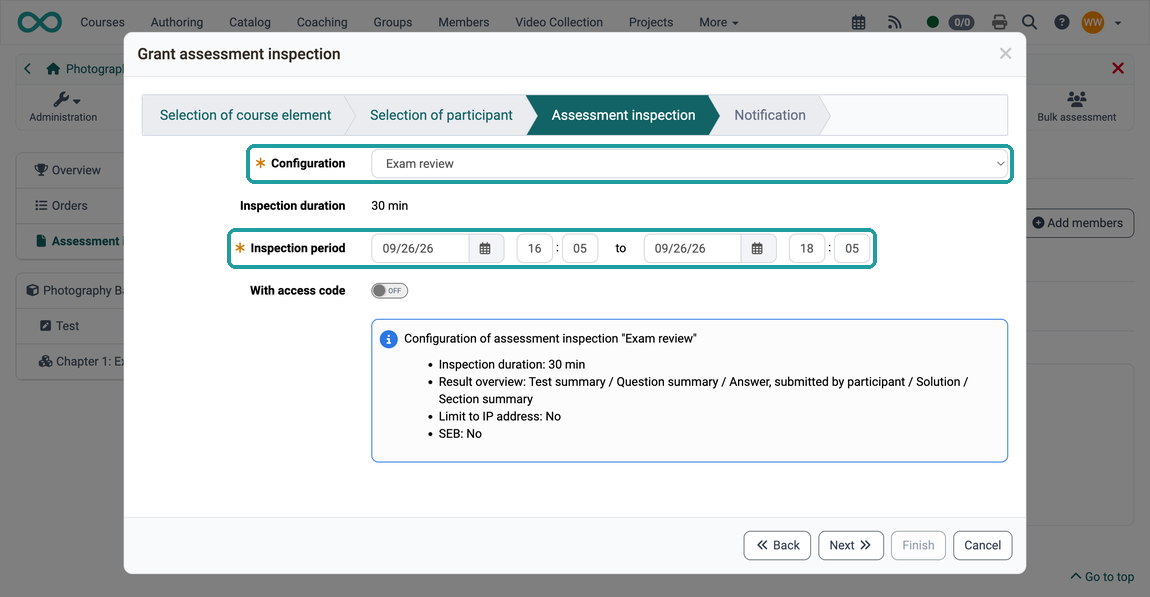
The inspection dates can be scheduled before the audit is carried out.
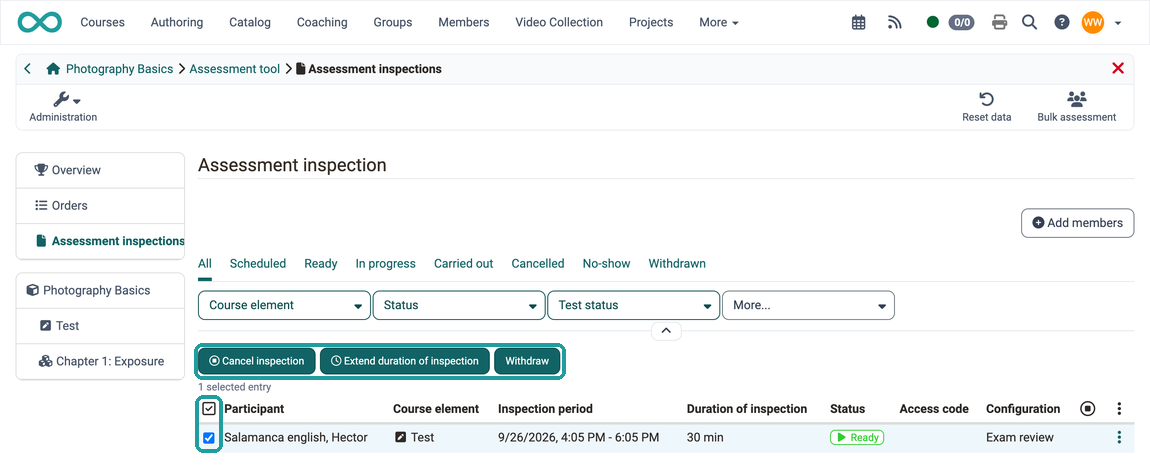
Carrying out inspections as coach
It is advisable to accompany the inspection as a coach on the scheduled dates.
The maximum viewing time specified in the configuration (by the course owner) does not necessarily have to be used until the end. As a coach, you can terminate the inspection prematurely if you notice unauthorized behavior, for example. (For example, if someone takes unauthorized photos with the mobile). You can also increase the inspection duration afterwards or withdraw an inspection that has not yet started.
Inspection from the perspective of the exam participants
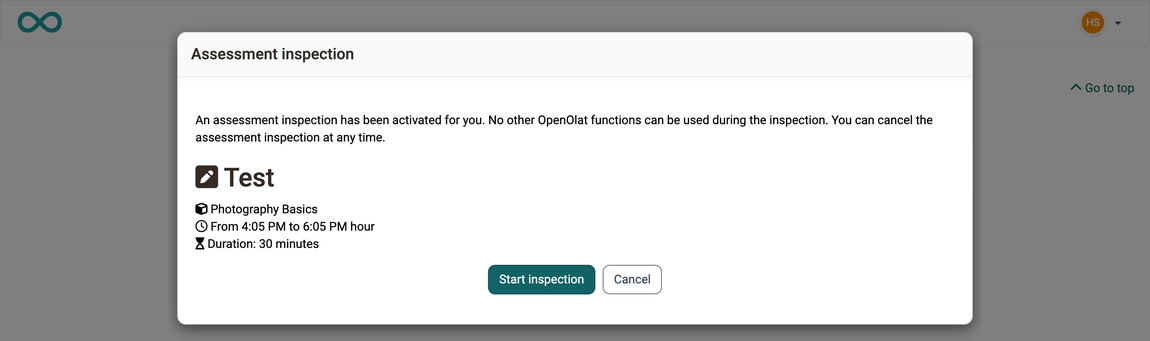
As an exam participant, you will receive a notification with the date and time for viewing your exam and, if applicable, an access code.
Once the time slot for inspection has elapsed, the inspection is terminated. Anyone who does not start viewing their examination on time will lose time accordingly.
Documentation of the inspections
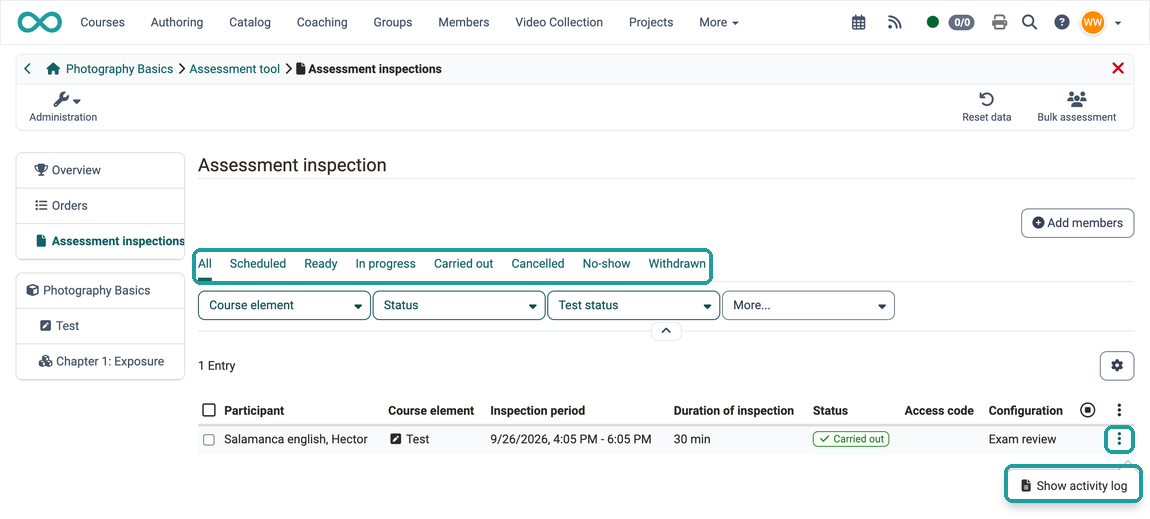
All inspection appointments scheduled by coaches are recorded in OpenOlat. It can therefore be proven that examination candidates who had an appointment for inspection did not attend this appointment. The start, duration and end of the inspections are also recorded.
You can use the tabs above the table for several people. You can find everything per person in the activity log under the 3 points at the end of a line.
Difference: Report - Assessment
| Report | Assessment view |
|---|---|
| Overview of the participants' results | Detailed view of the examination of certain participants |
| Defined results view for all course participants | The assessment is particularly suitable for inspection by individuals (e.g. if there are doubts in individual cases). |
| repeatable | one-time |
| at any time, as long as the course is accessible | only on fixed dates |
Access for owners:Course administration > Course editor > Select course element "Test" > Tab "Test configuration" > Section "Report" |
Access for owners:Course administration > Assessment management > Tab "Configuration assessment inspection" |
Access for coaches:Assessment tool |
Access for coaches:Assessment tool > Assessment inspections |
Further information
Further information
Assessment management: Assessment mode >
Test settings - Administration >
Assessment tool - overview >