Projects: To-dos
In all projects, individual work packages (to-dos) are an essential part of the planning.
Note
Beyond the projects, to-dos can also be created and used in other areas (e.g. QM measures).
Create to-do
To create a new to-do within a project, you have the following options:
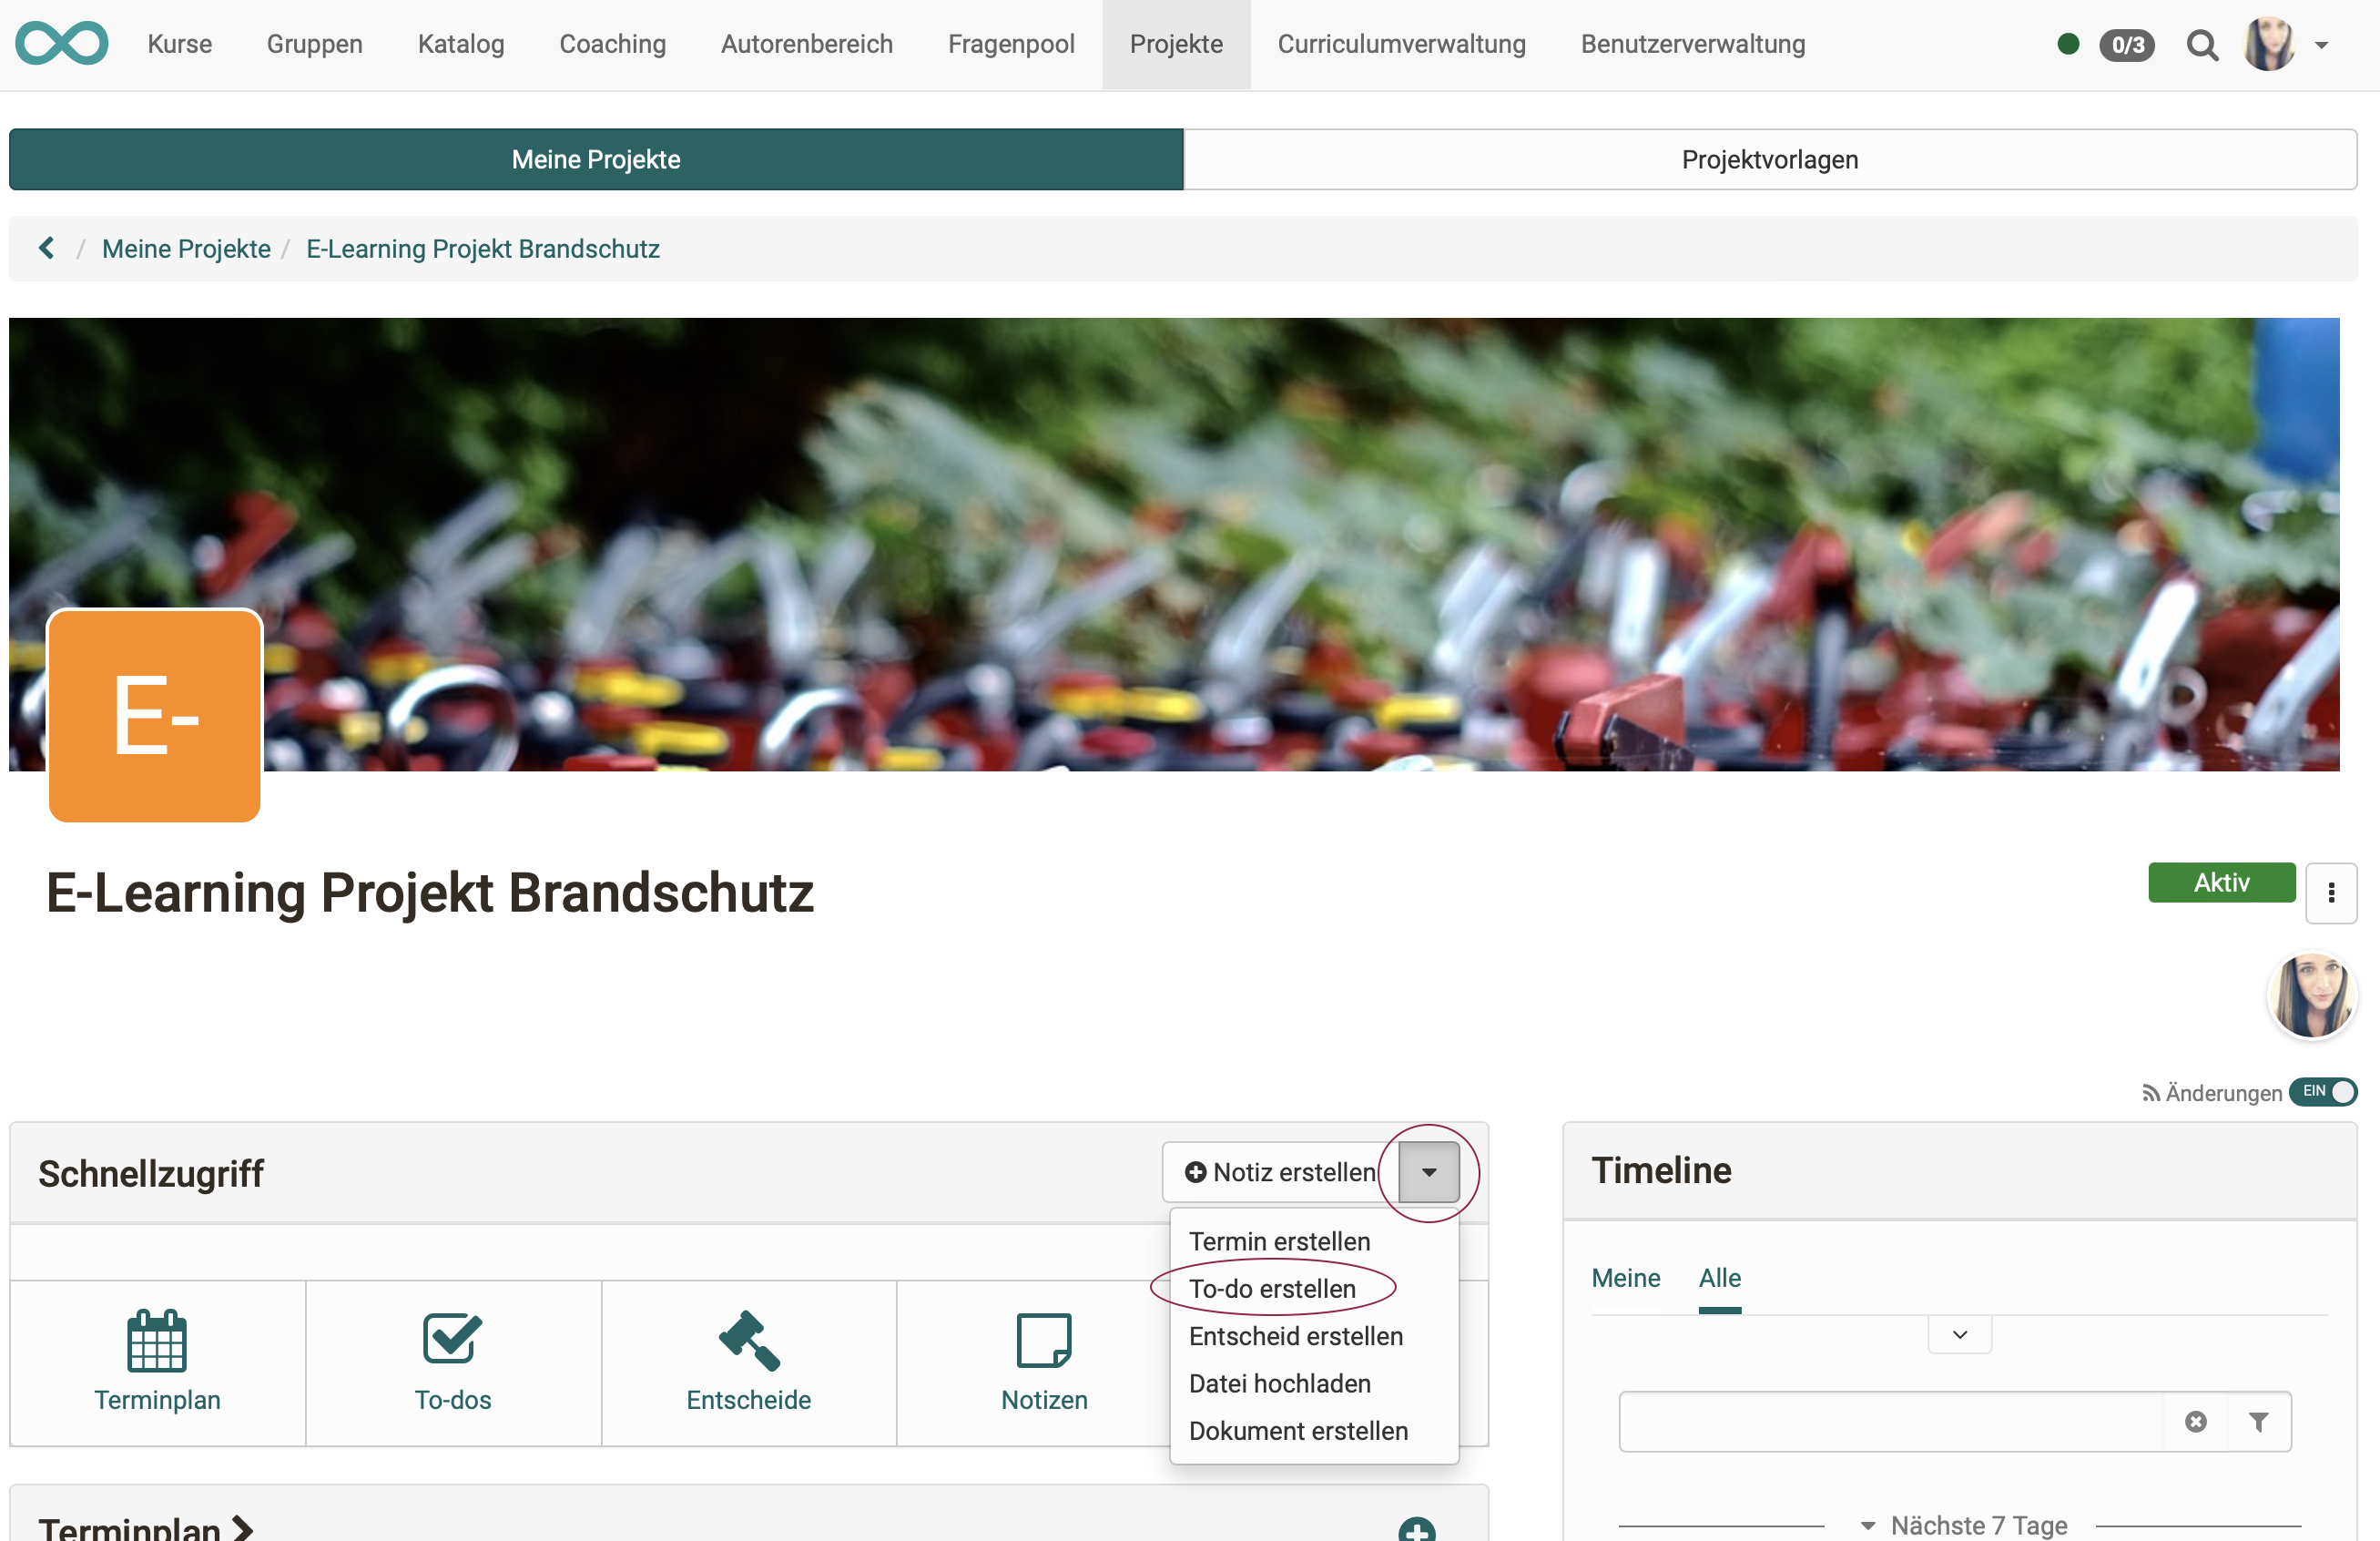
a) Projects > Tab "My projects" > Select project > Quick start > Pulldown next to "Create note" > "Create to-do"
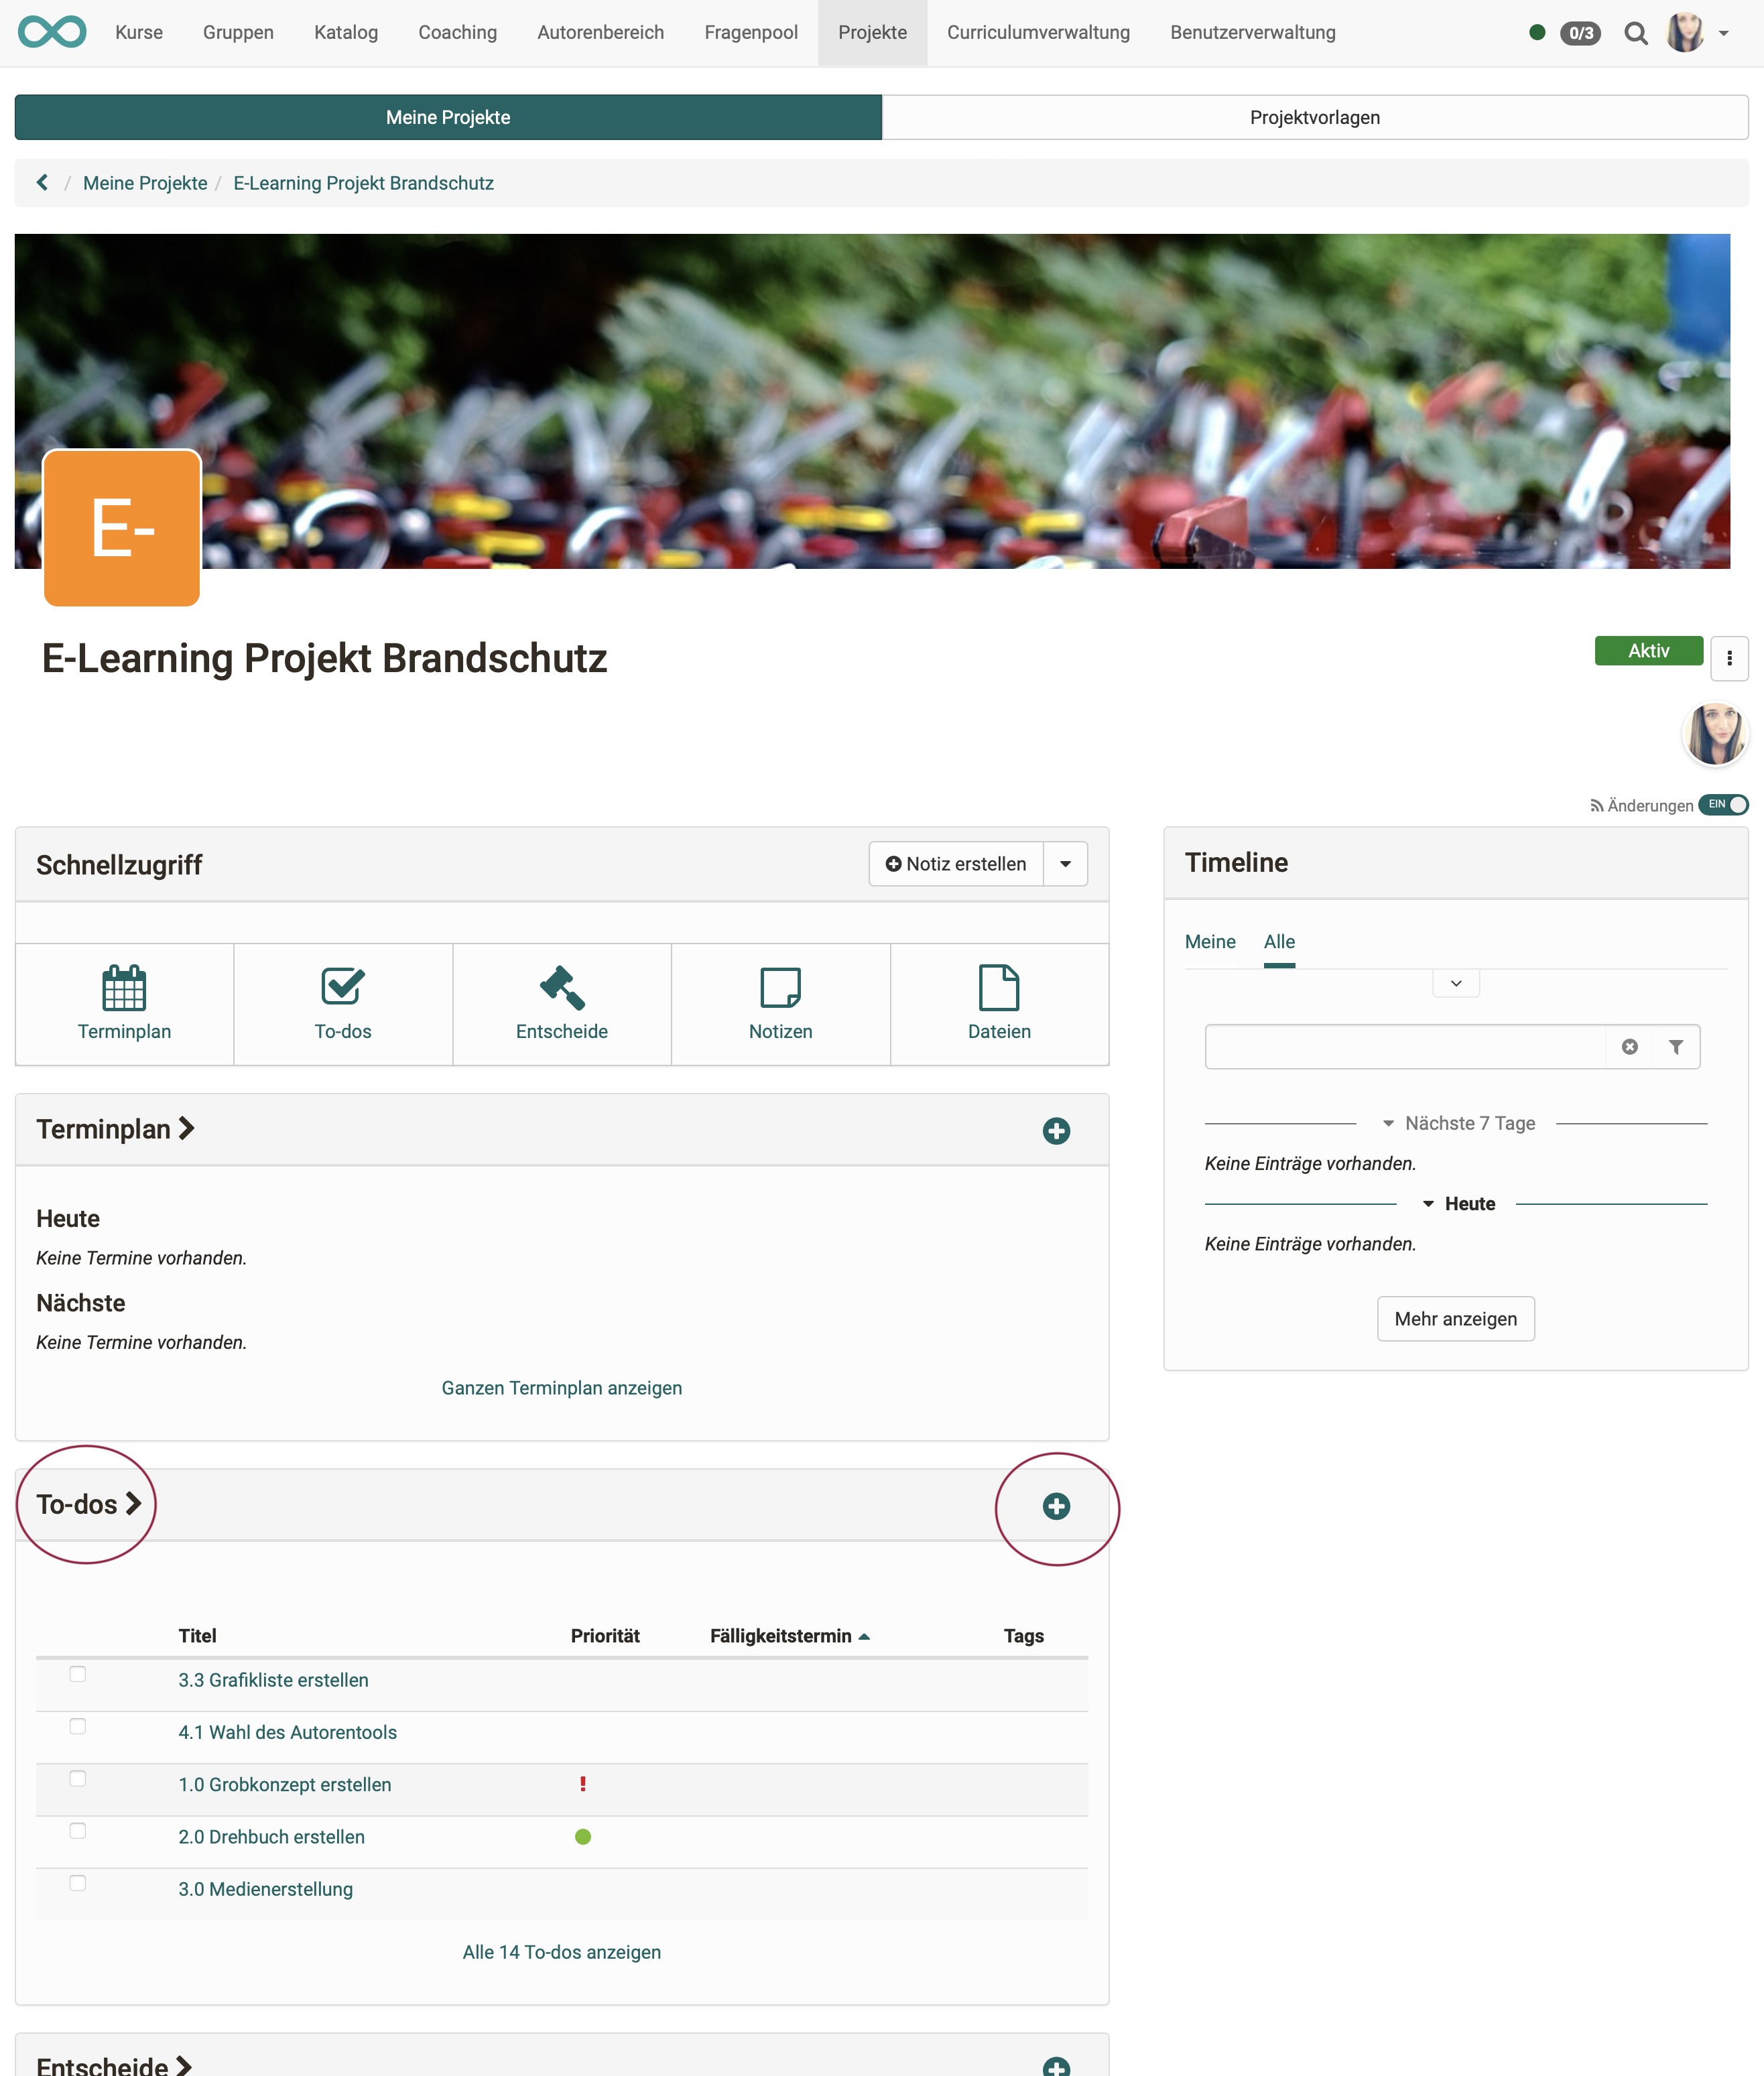
b) Projects > Tab "My projects" > Select project > Section "To-dos" > Plus icon
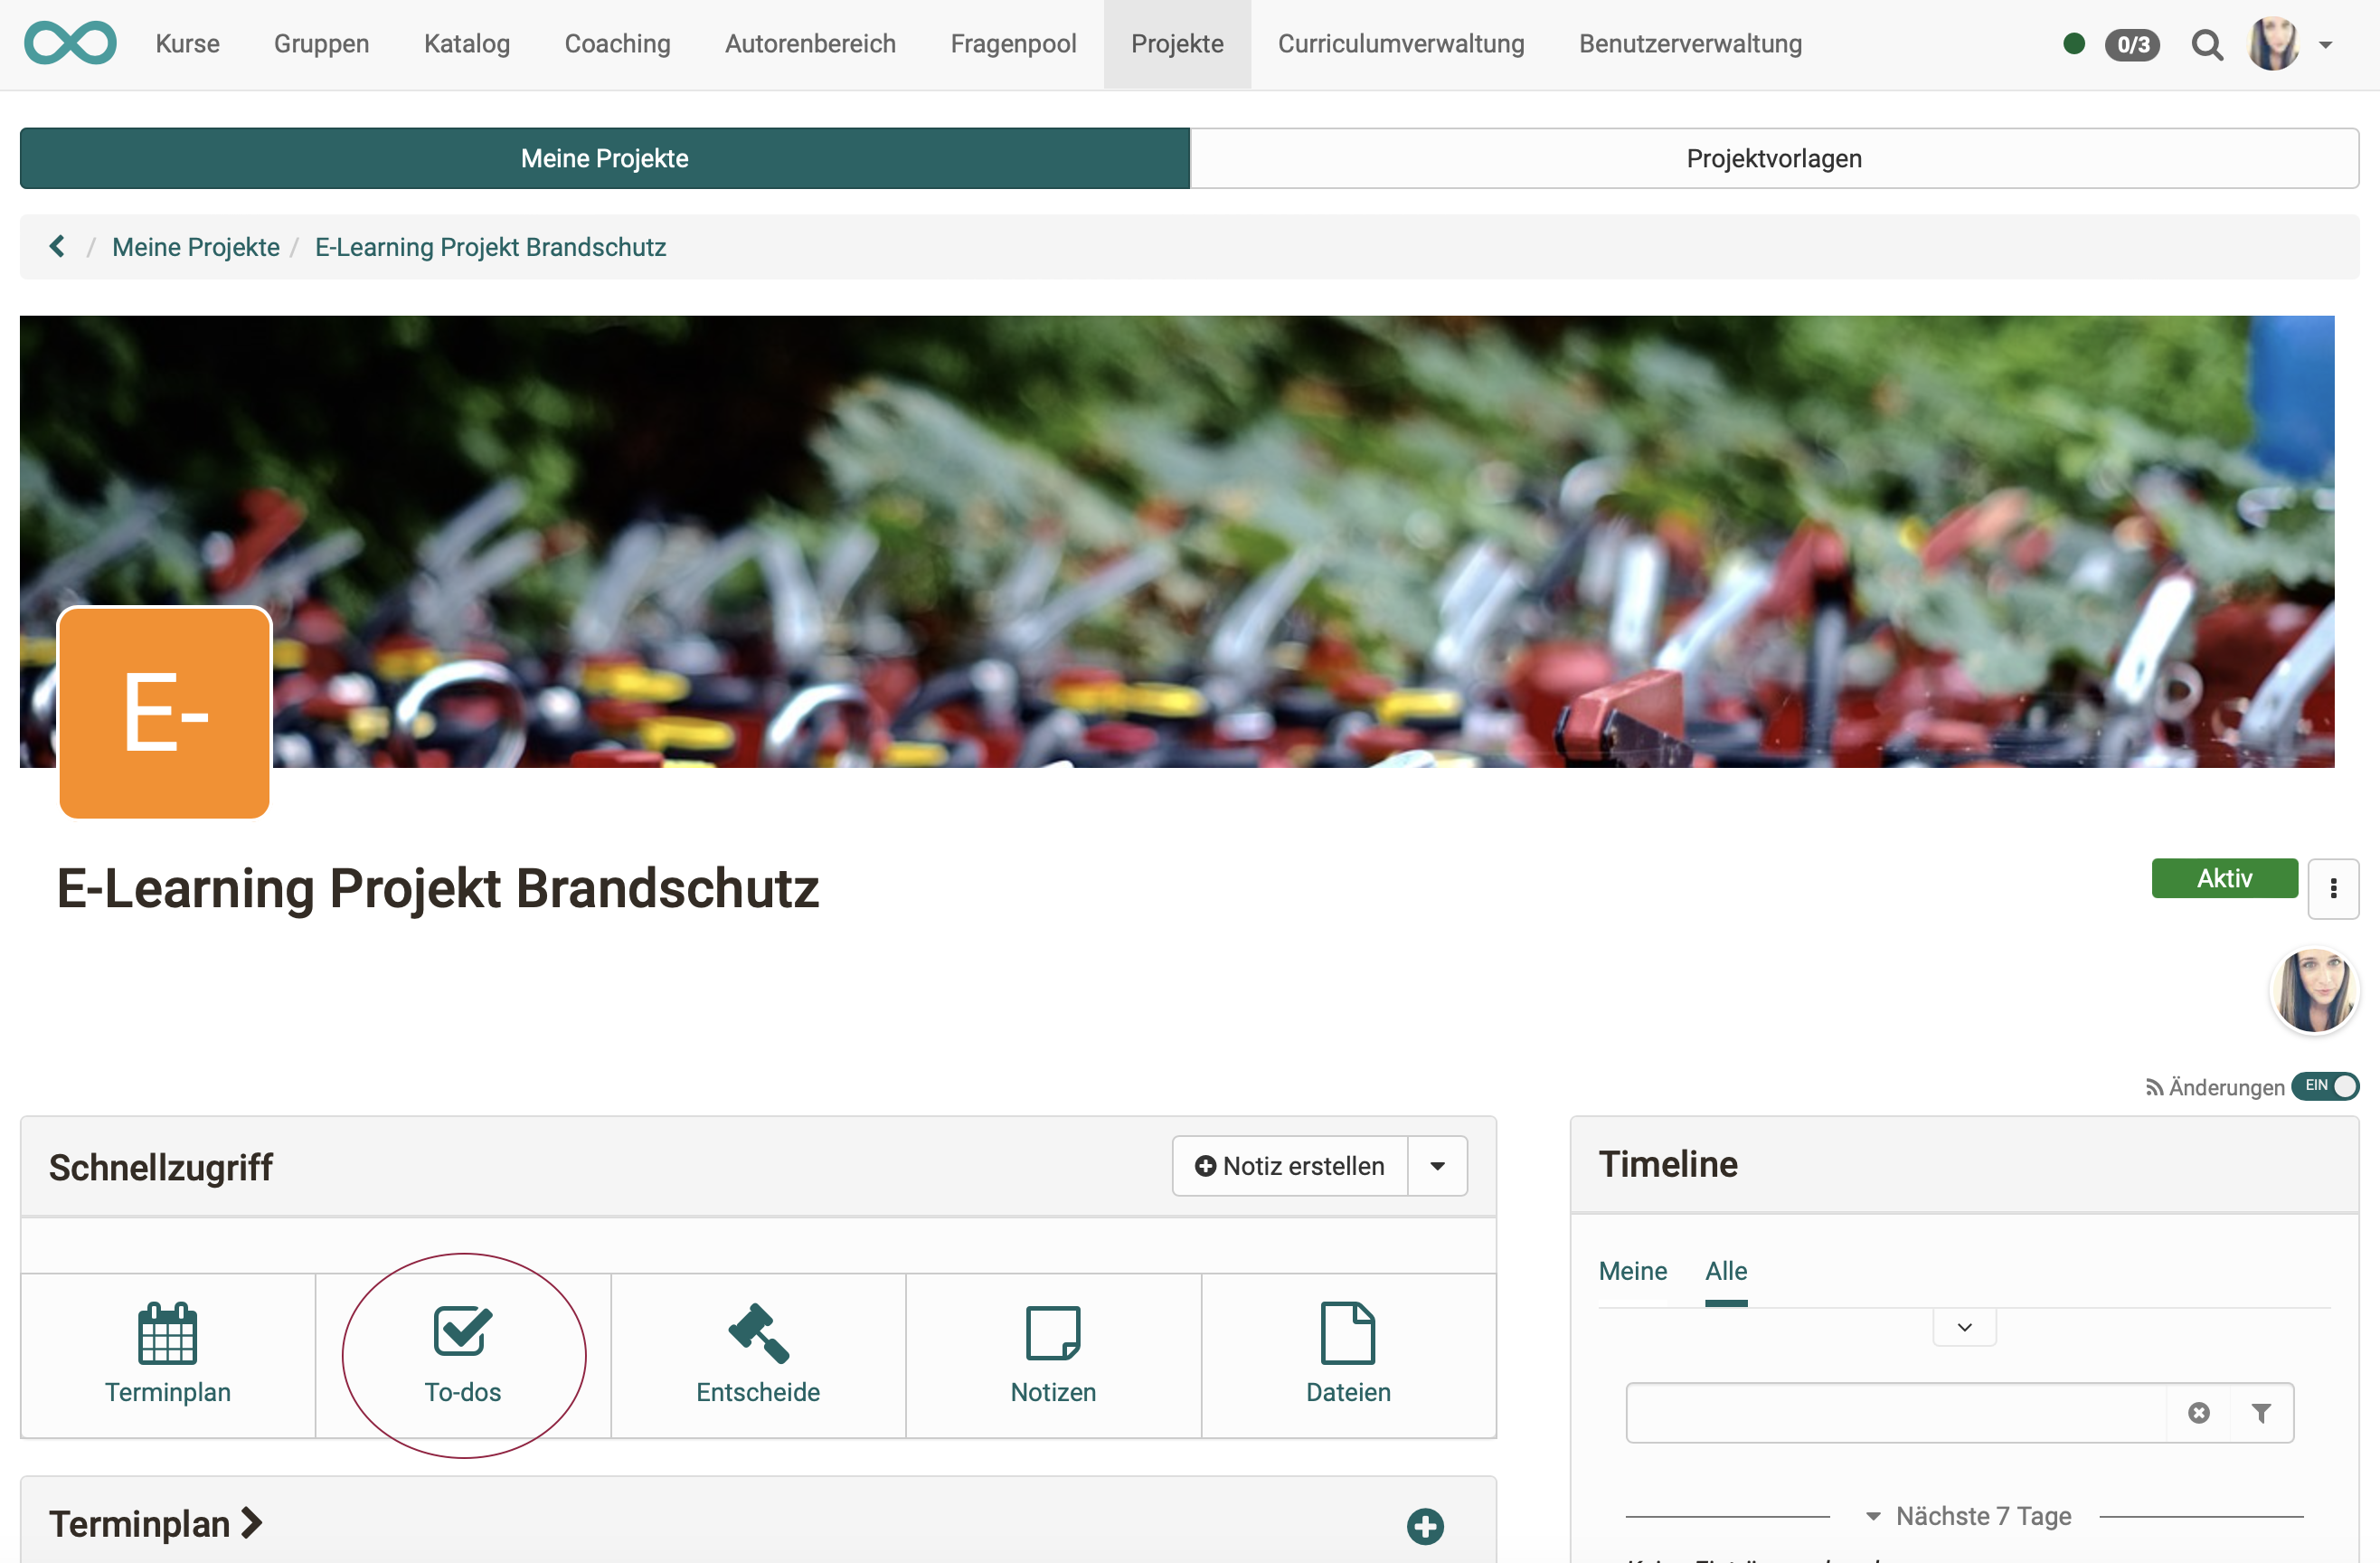
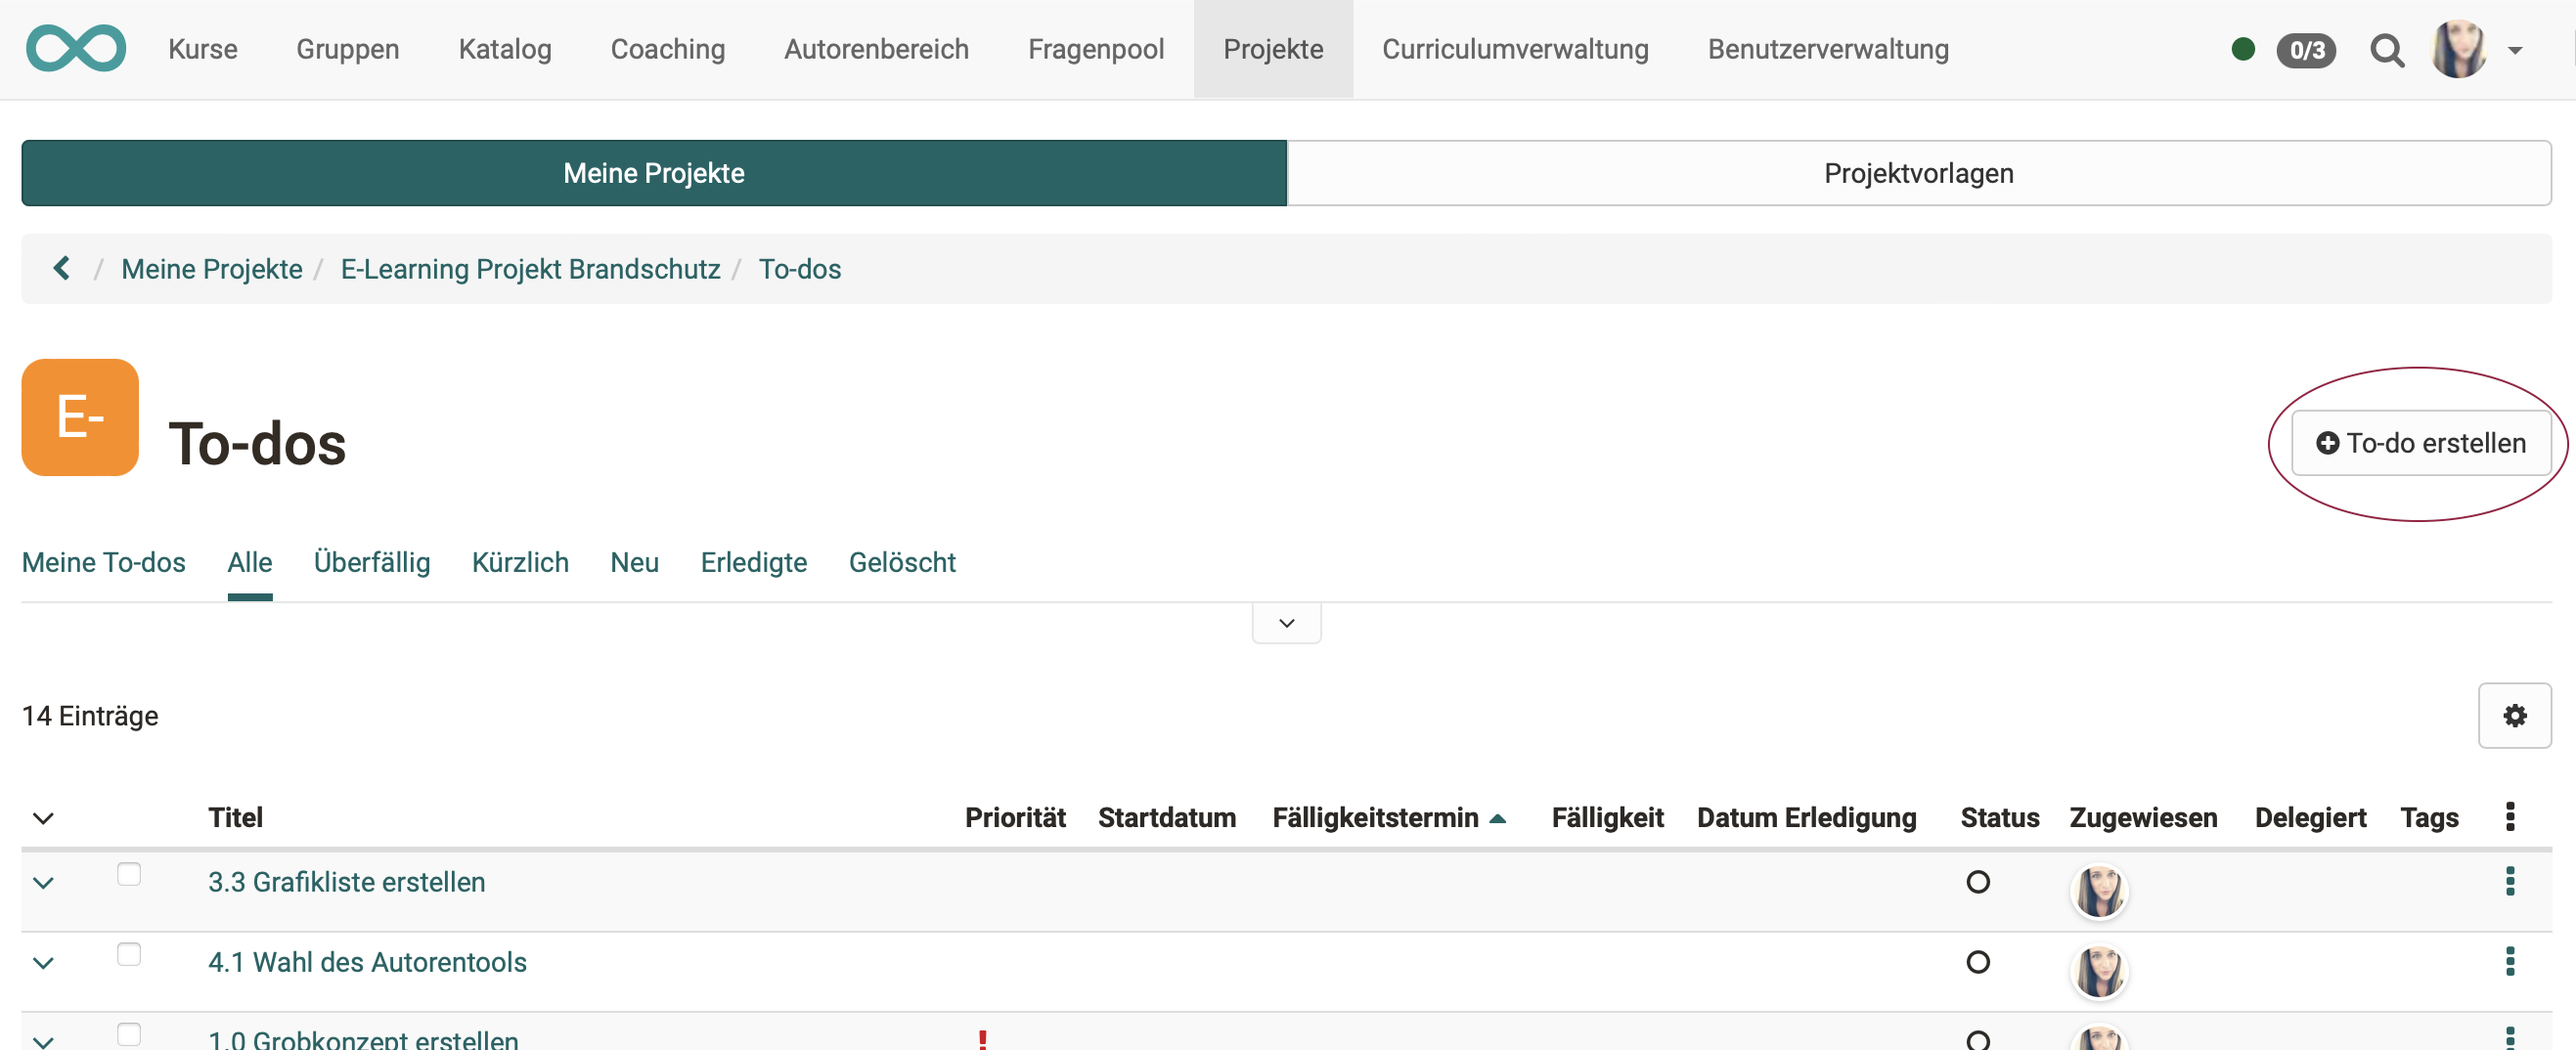
c) Projects > Tab "My projects" > Select project > Quick start button "To-dos" > Button "Create to-do"
Show list of to-dos
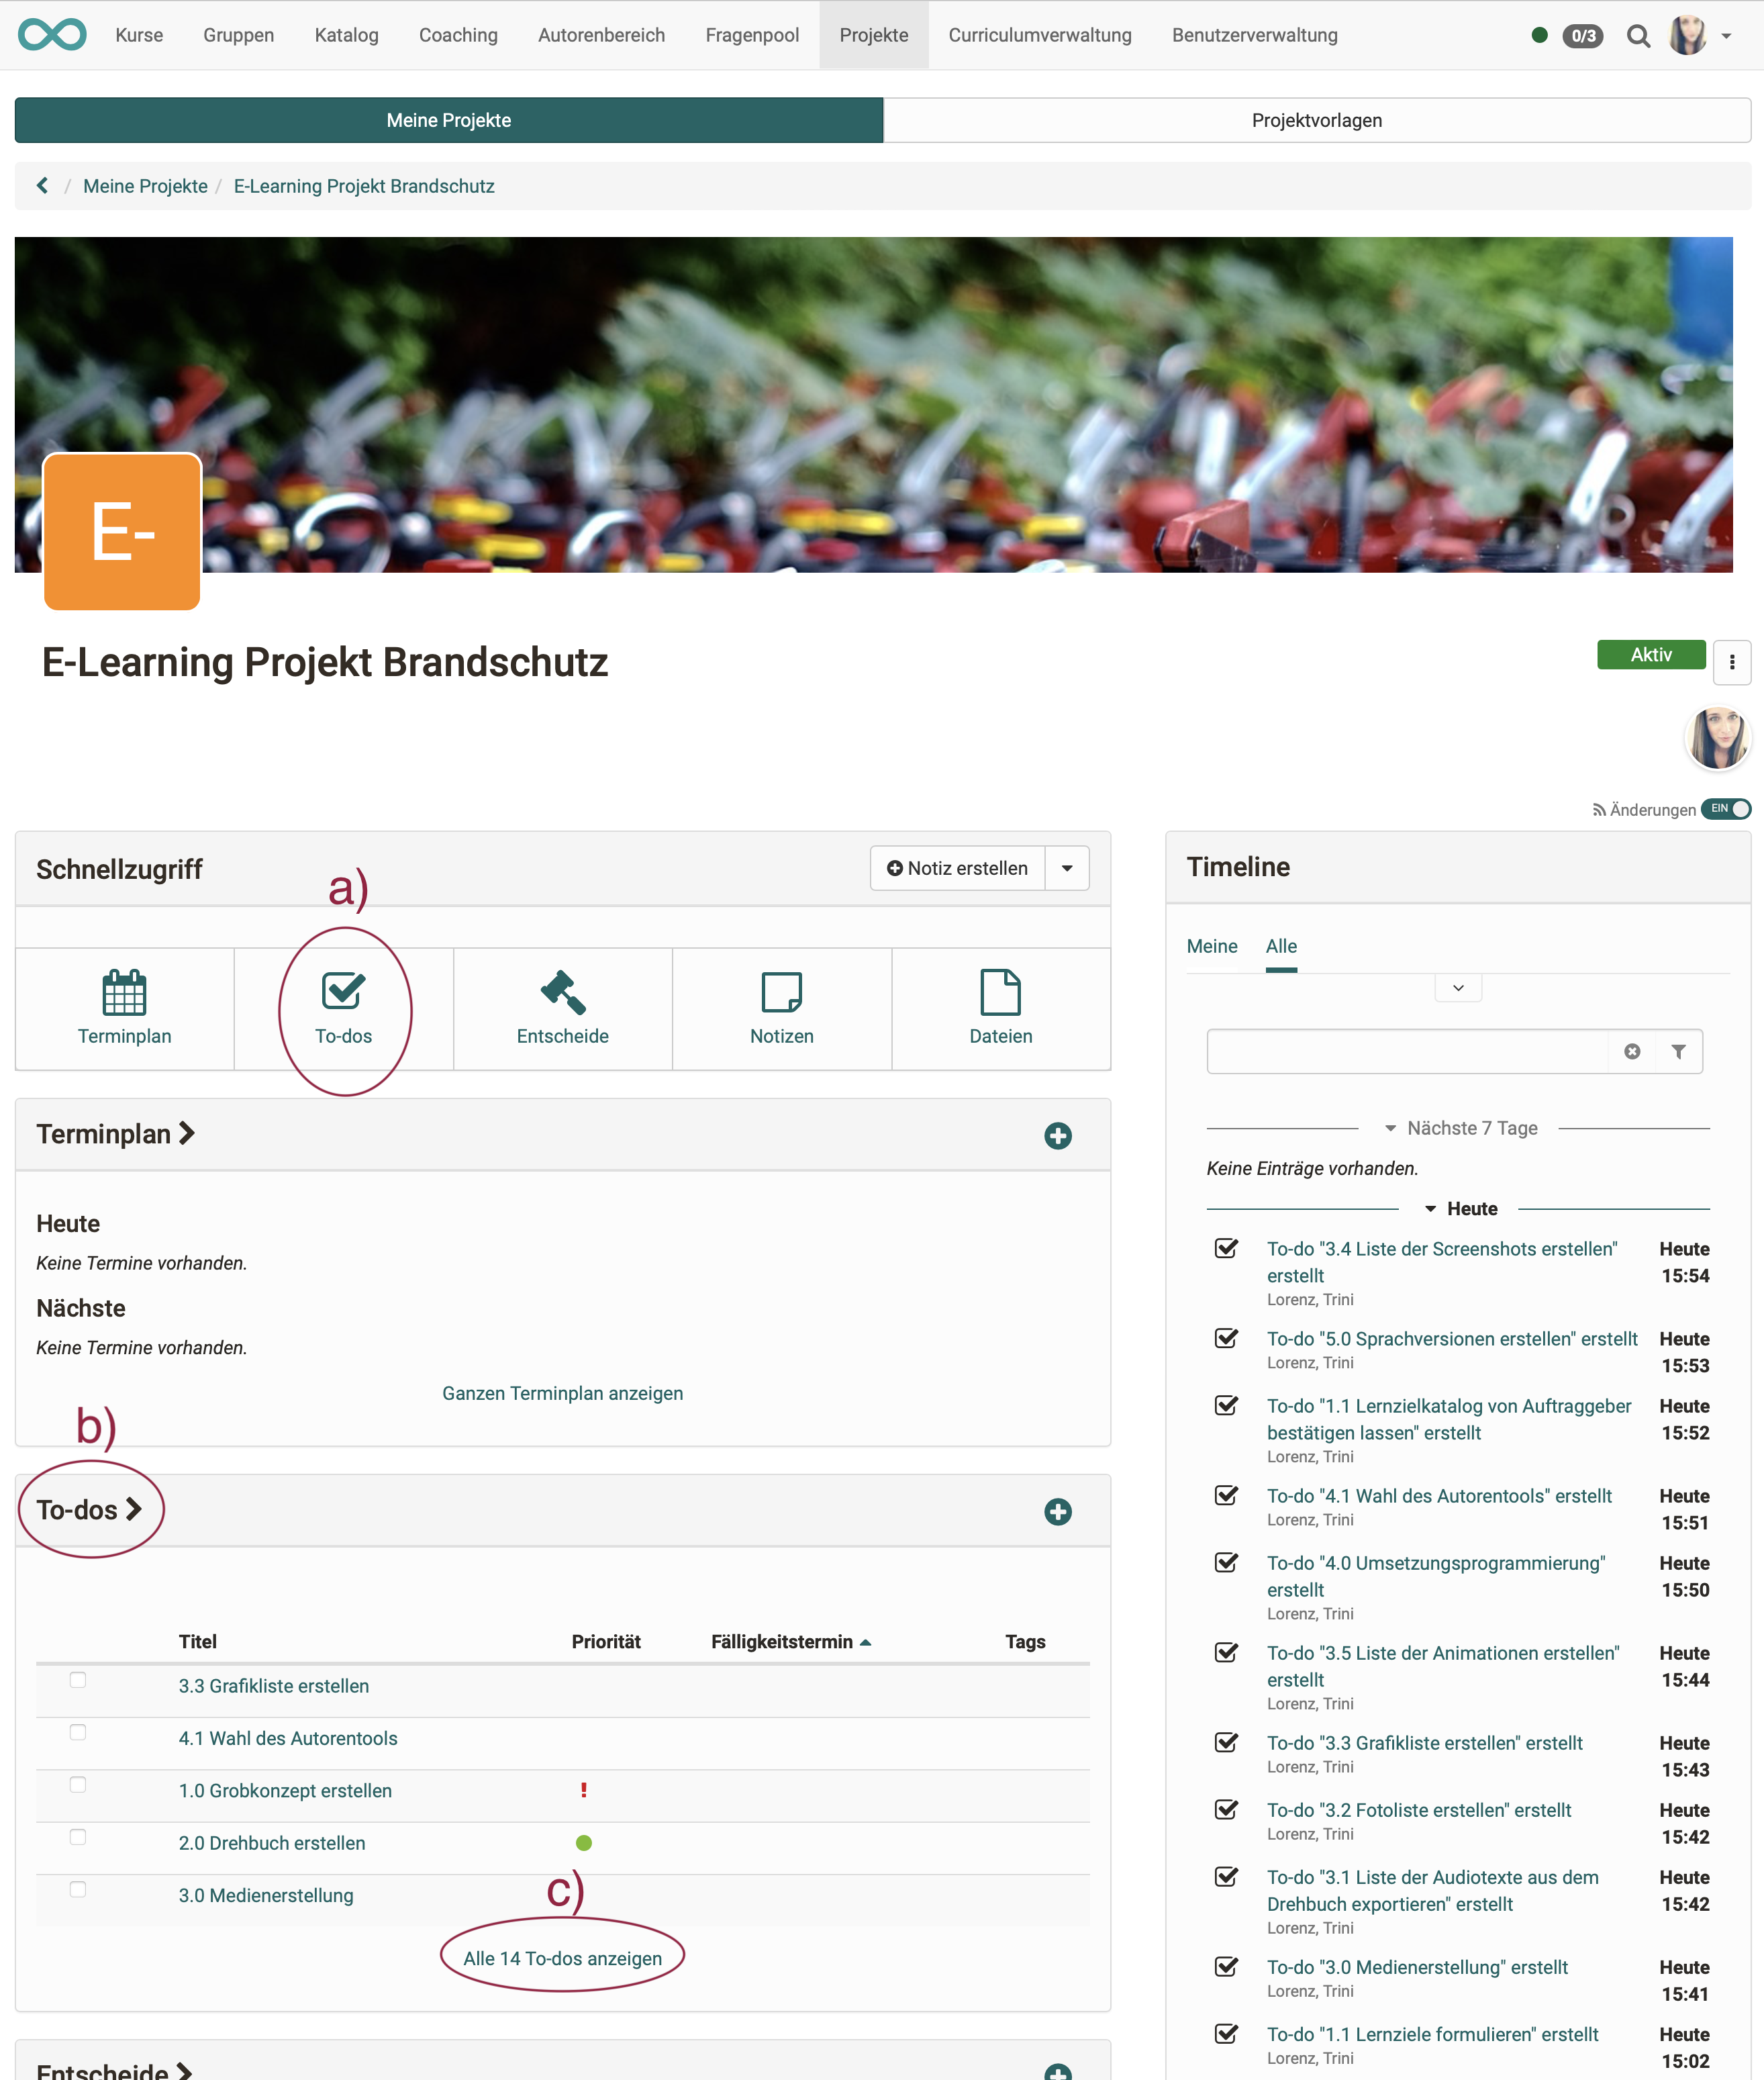
Once you have selected your project, you can access the to-dos of the respective projects in various ways from the project overview.
a) Projects > Tab "My projects" > Select project > Quick start button "To-dos"
or
b) Projects > Tab "My projects" > Select project > Title of the section "To-dos"
or
c) Projects > Tab "My projects" > Select project > Section "To-dos" > "Show all to-dos"
Edit to-do
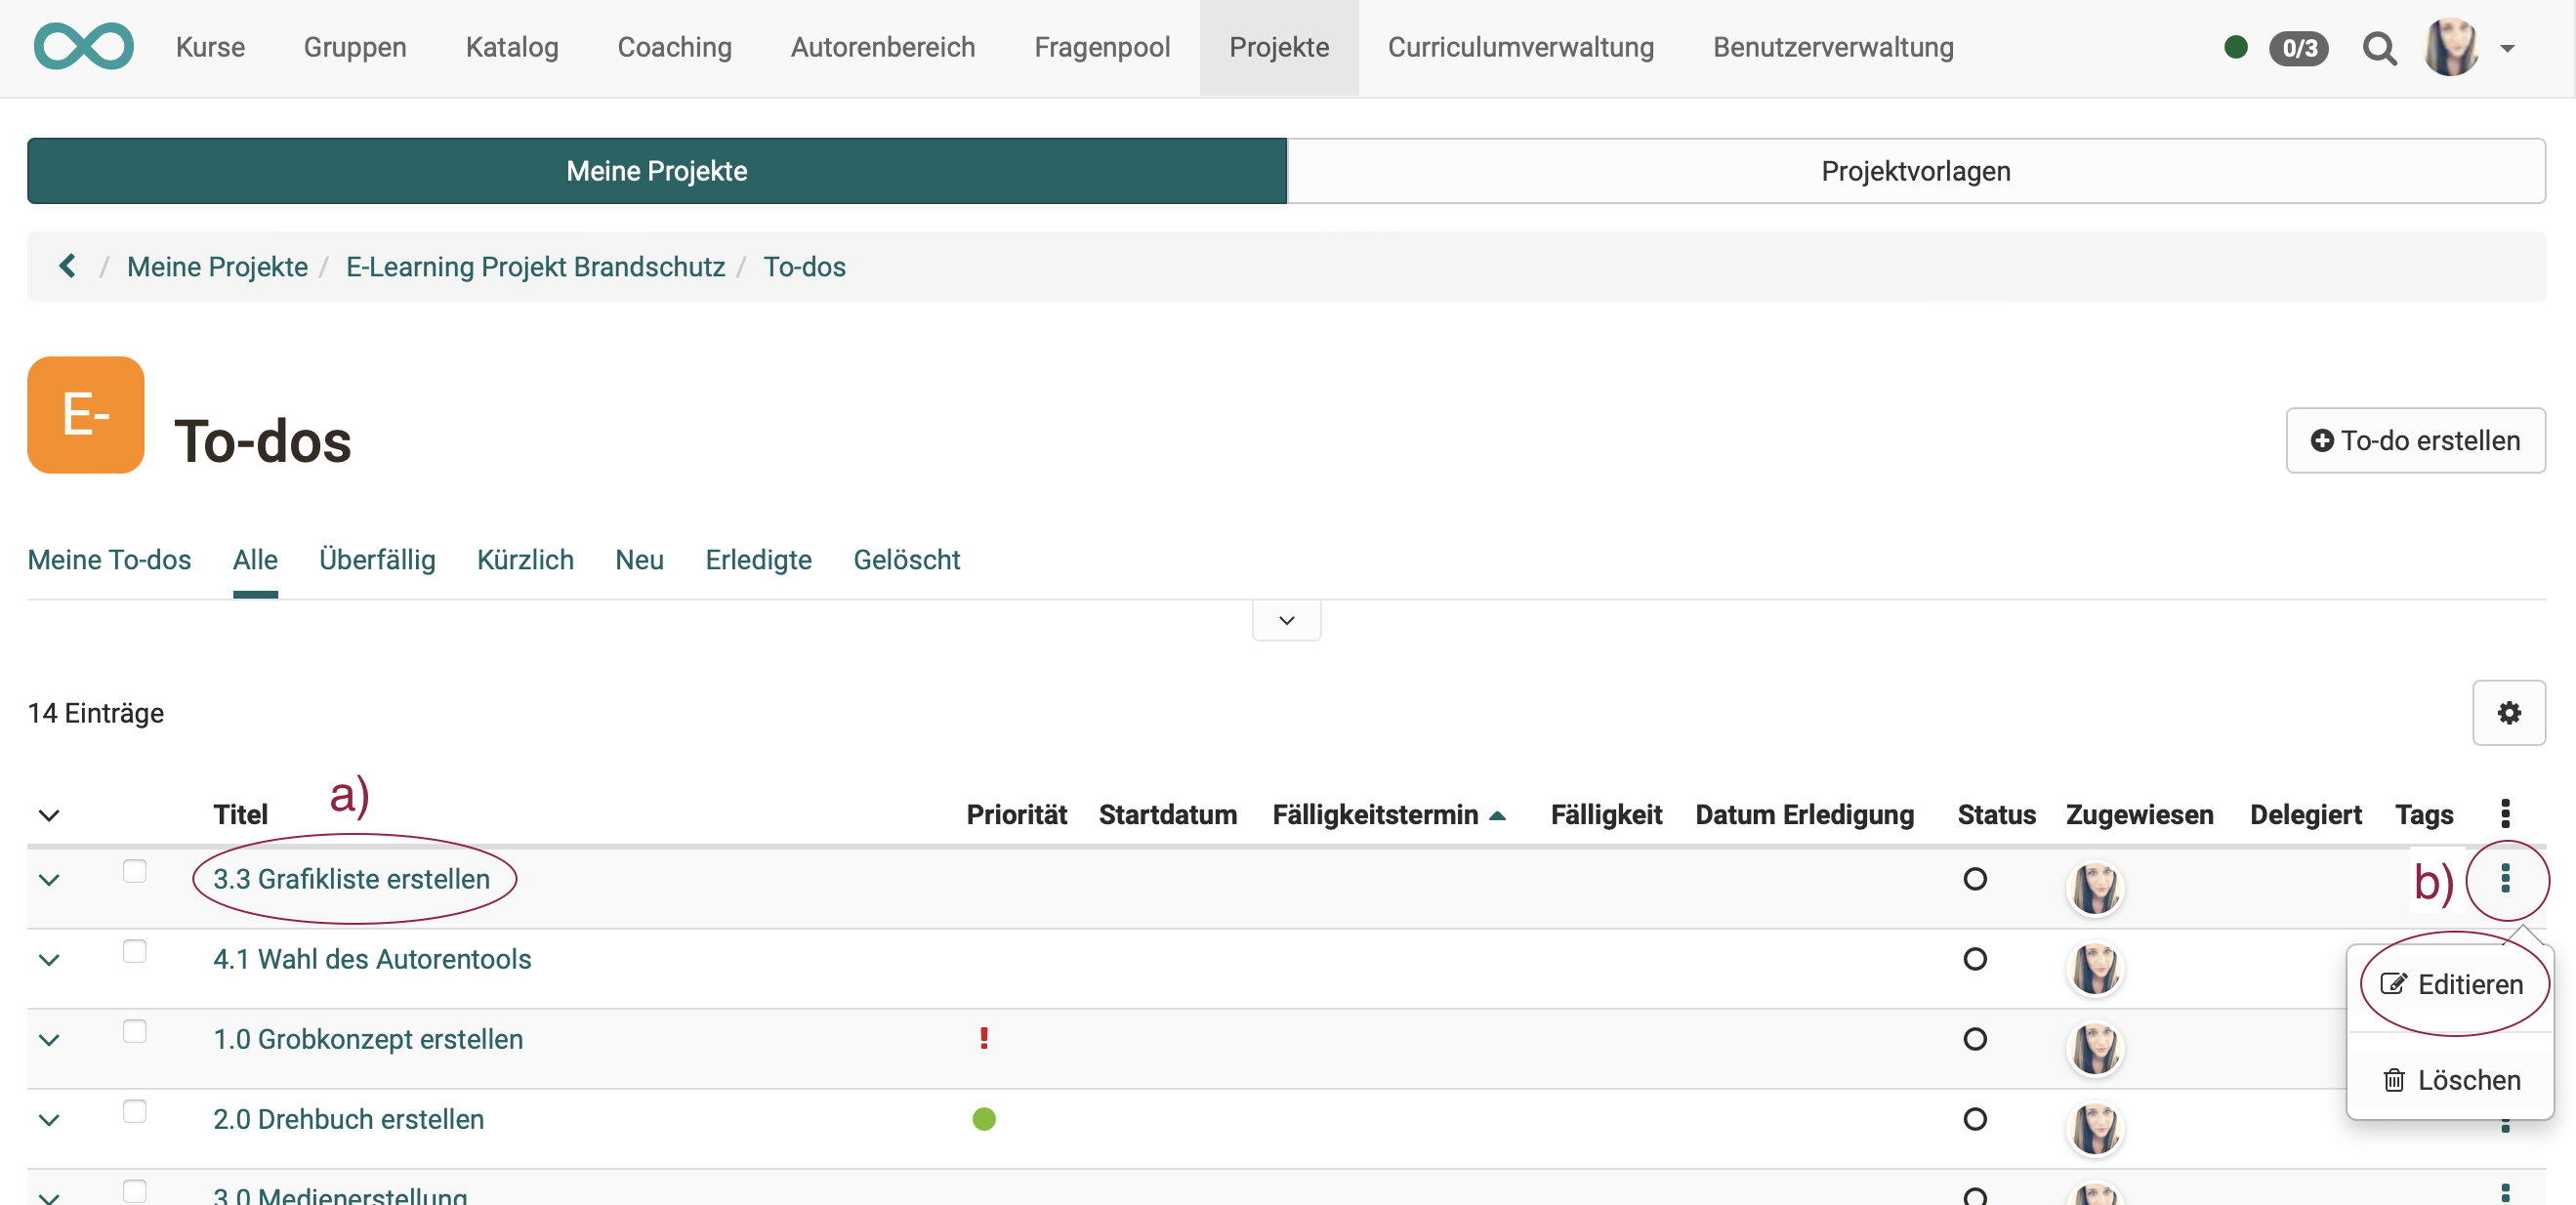
To edit a to-do, click in the to-do list
a) on the title of the to-do
or
b) on the 3 dots at the end of a line.
Assign and delegate to-do
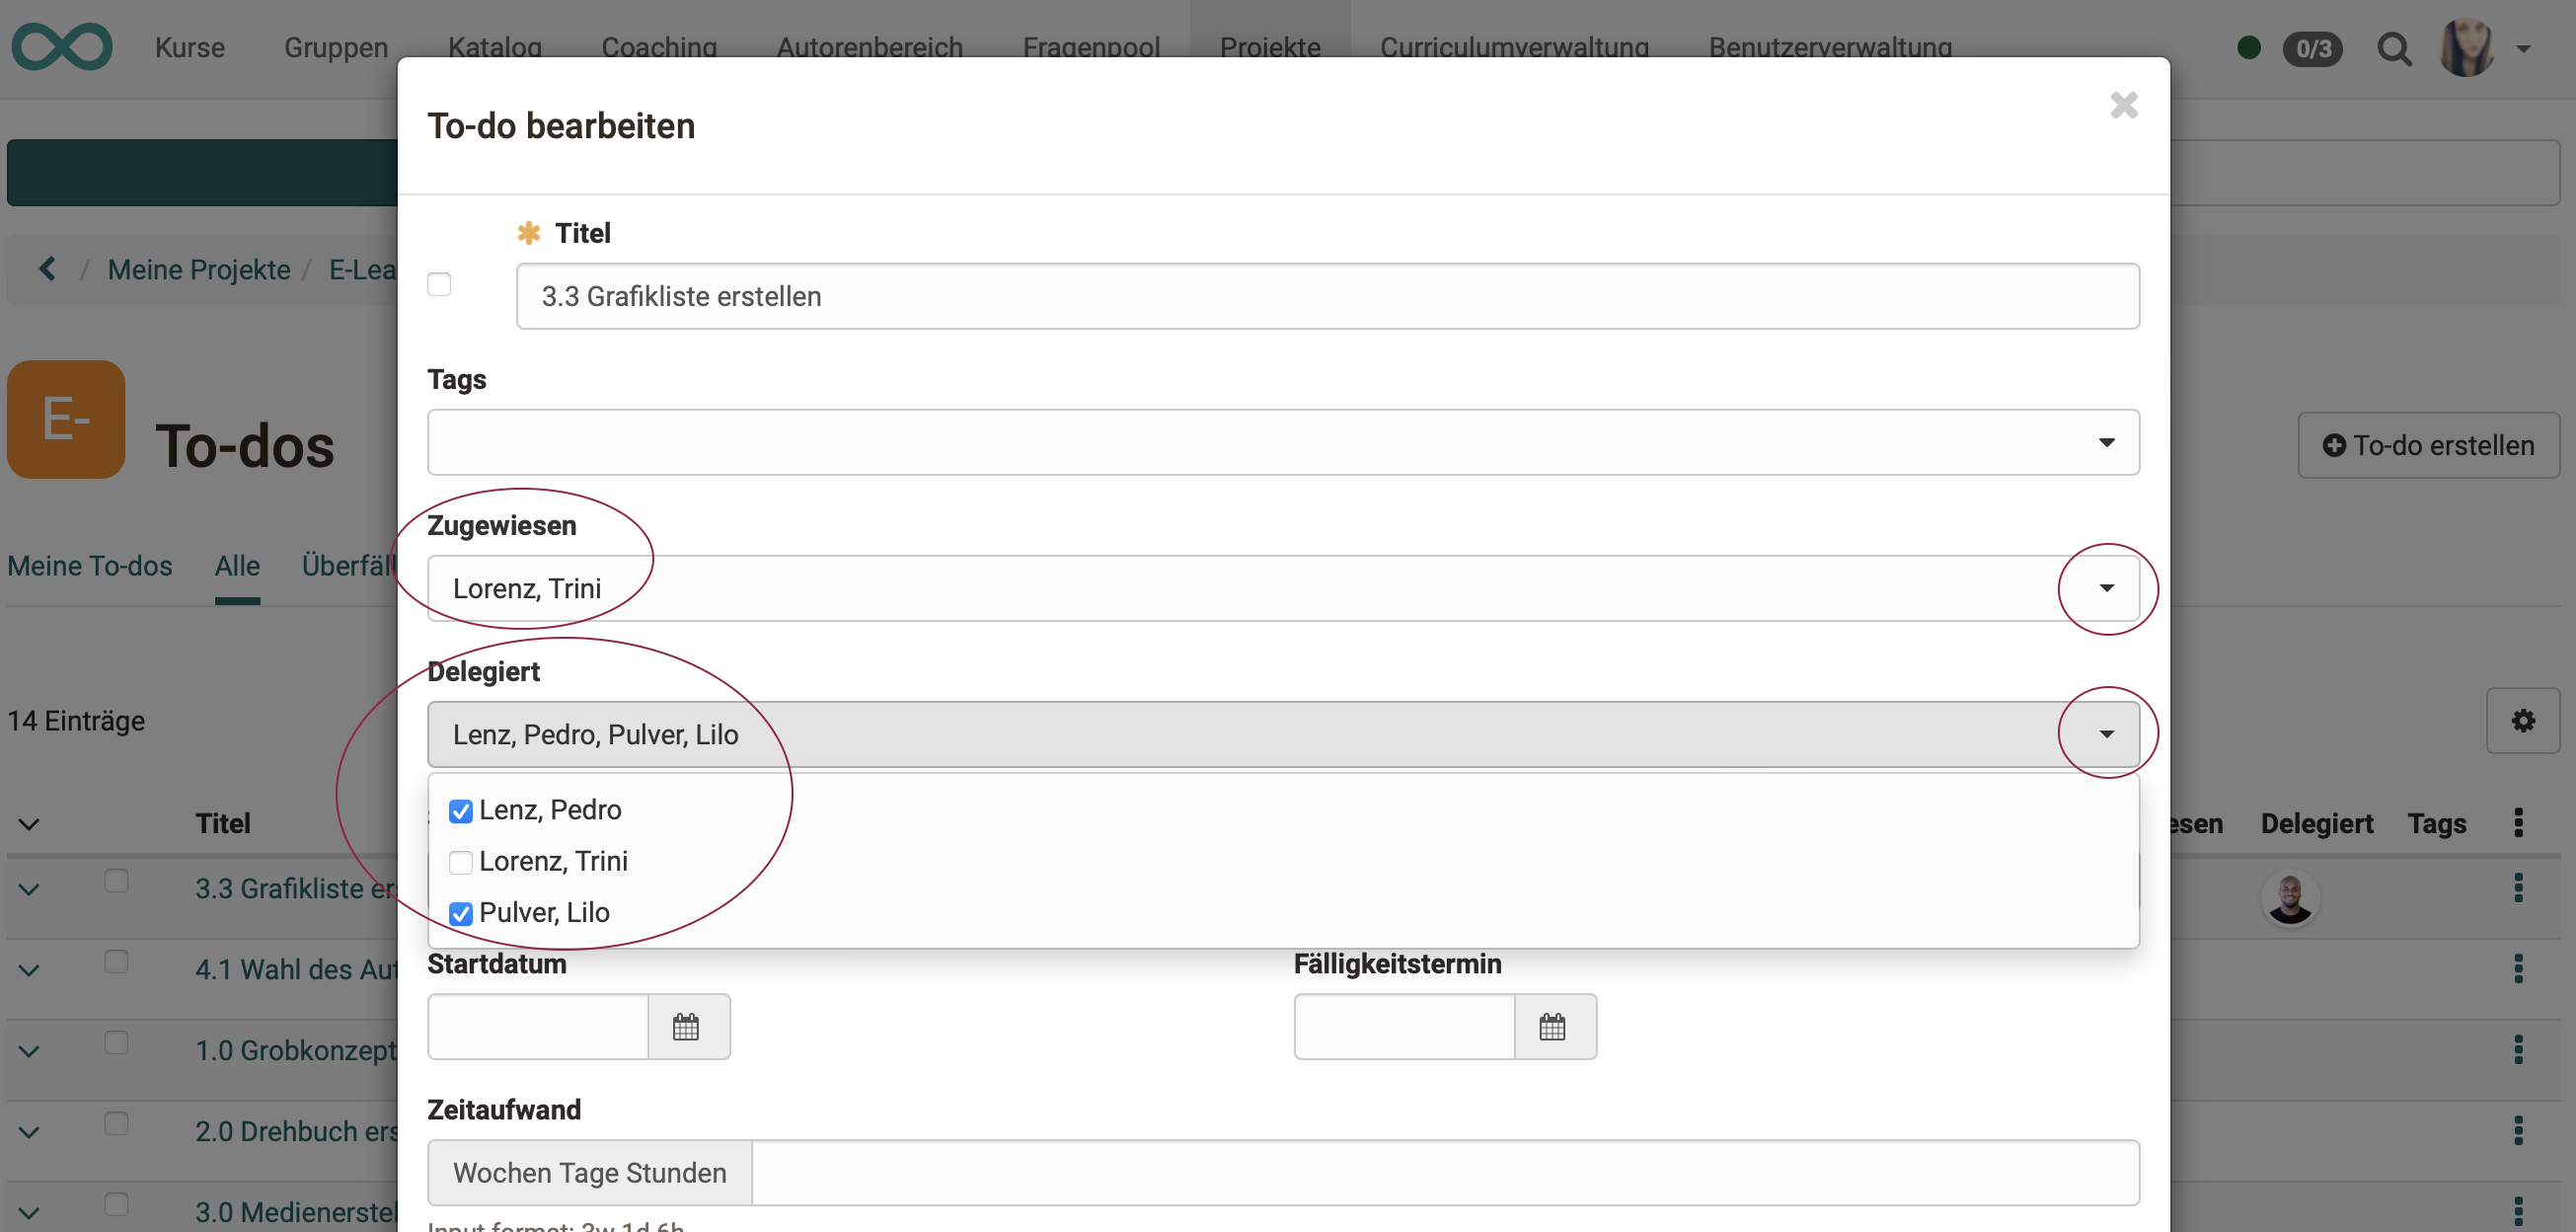
A newly created to-do is first automatically assigned to the creator. (However, it can then be assigned to another person.)
In another field, you can determine whether and to whom the to-do is delegated.
The distinction between assignment and delegation makes it possible to clearly understand who was originally responsible for a to-do. The responsibility can remain with the assigned person, while e.g. the execution lies with the person(s) to whom a to-do has been delegated.
Important
-
A to-do can be assigned to several people.
-
A to-do can be delegated to several people.
Link to-dos
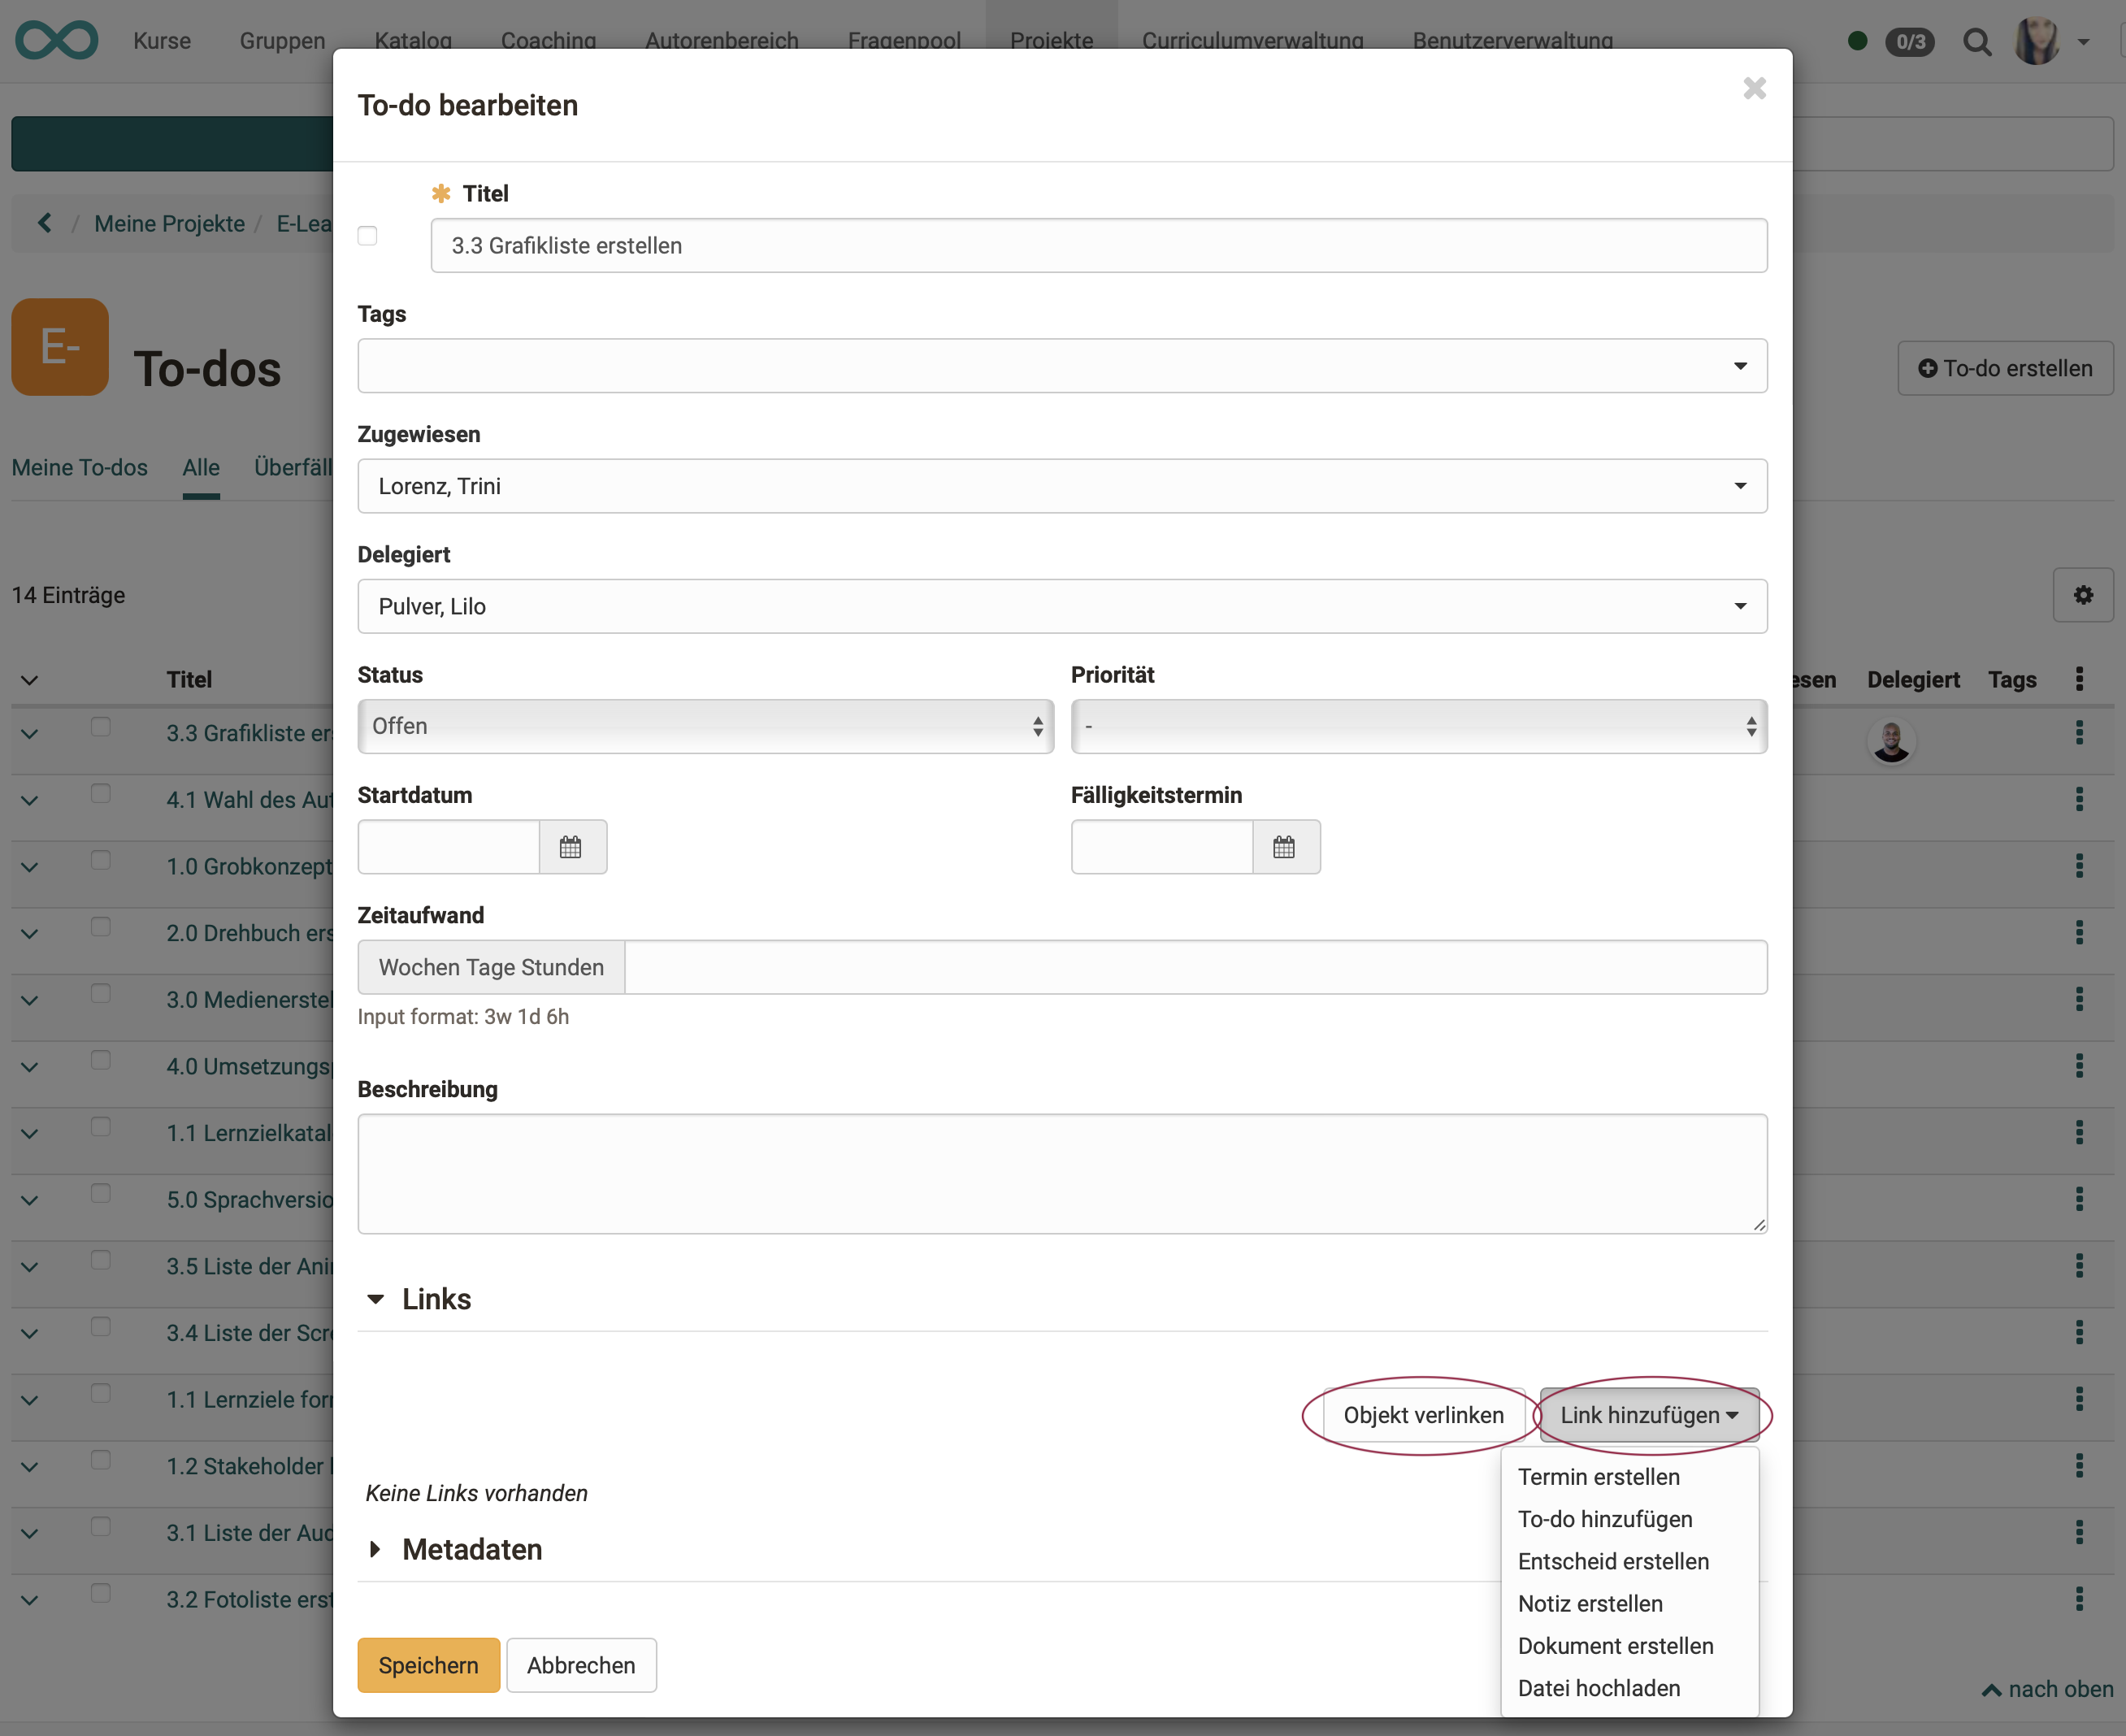
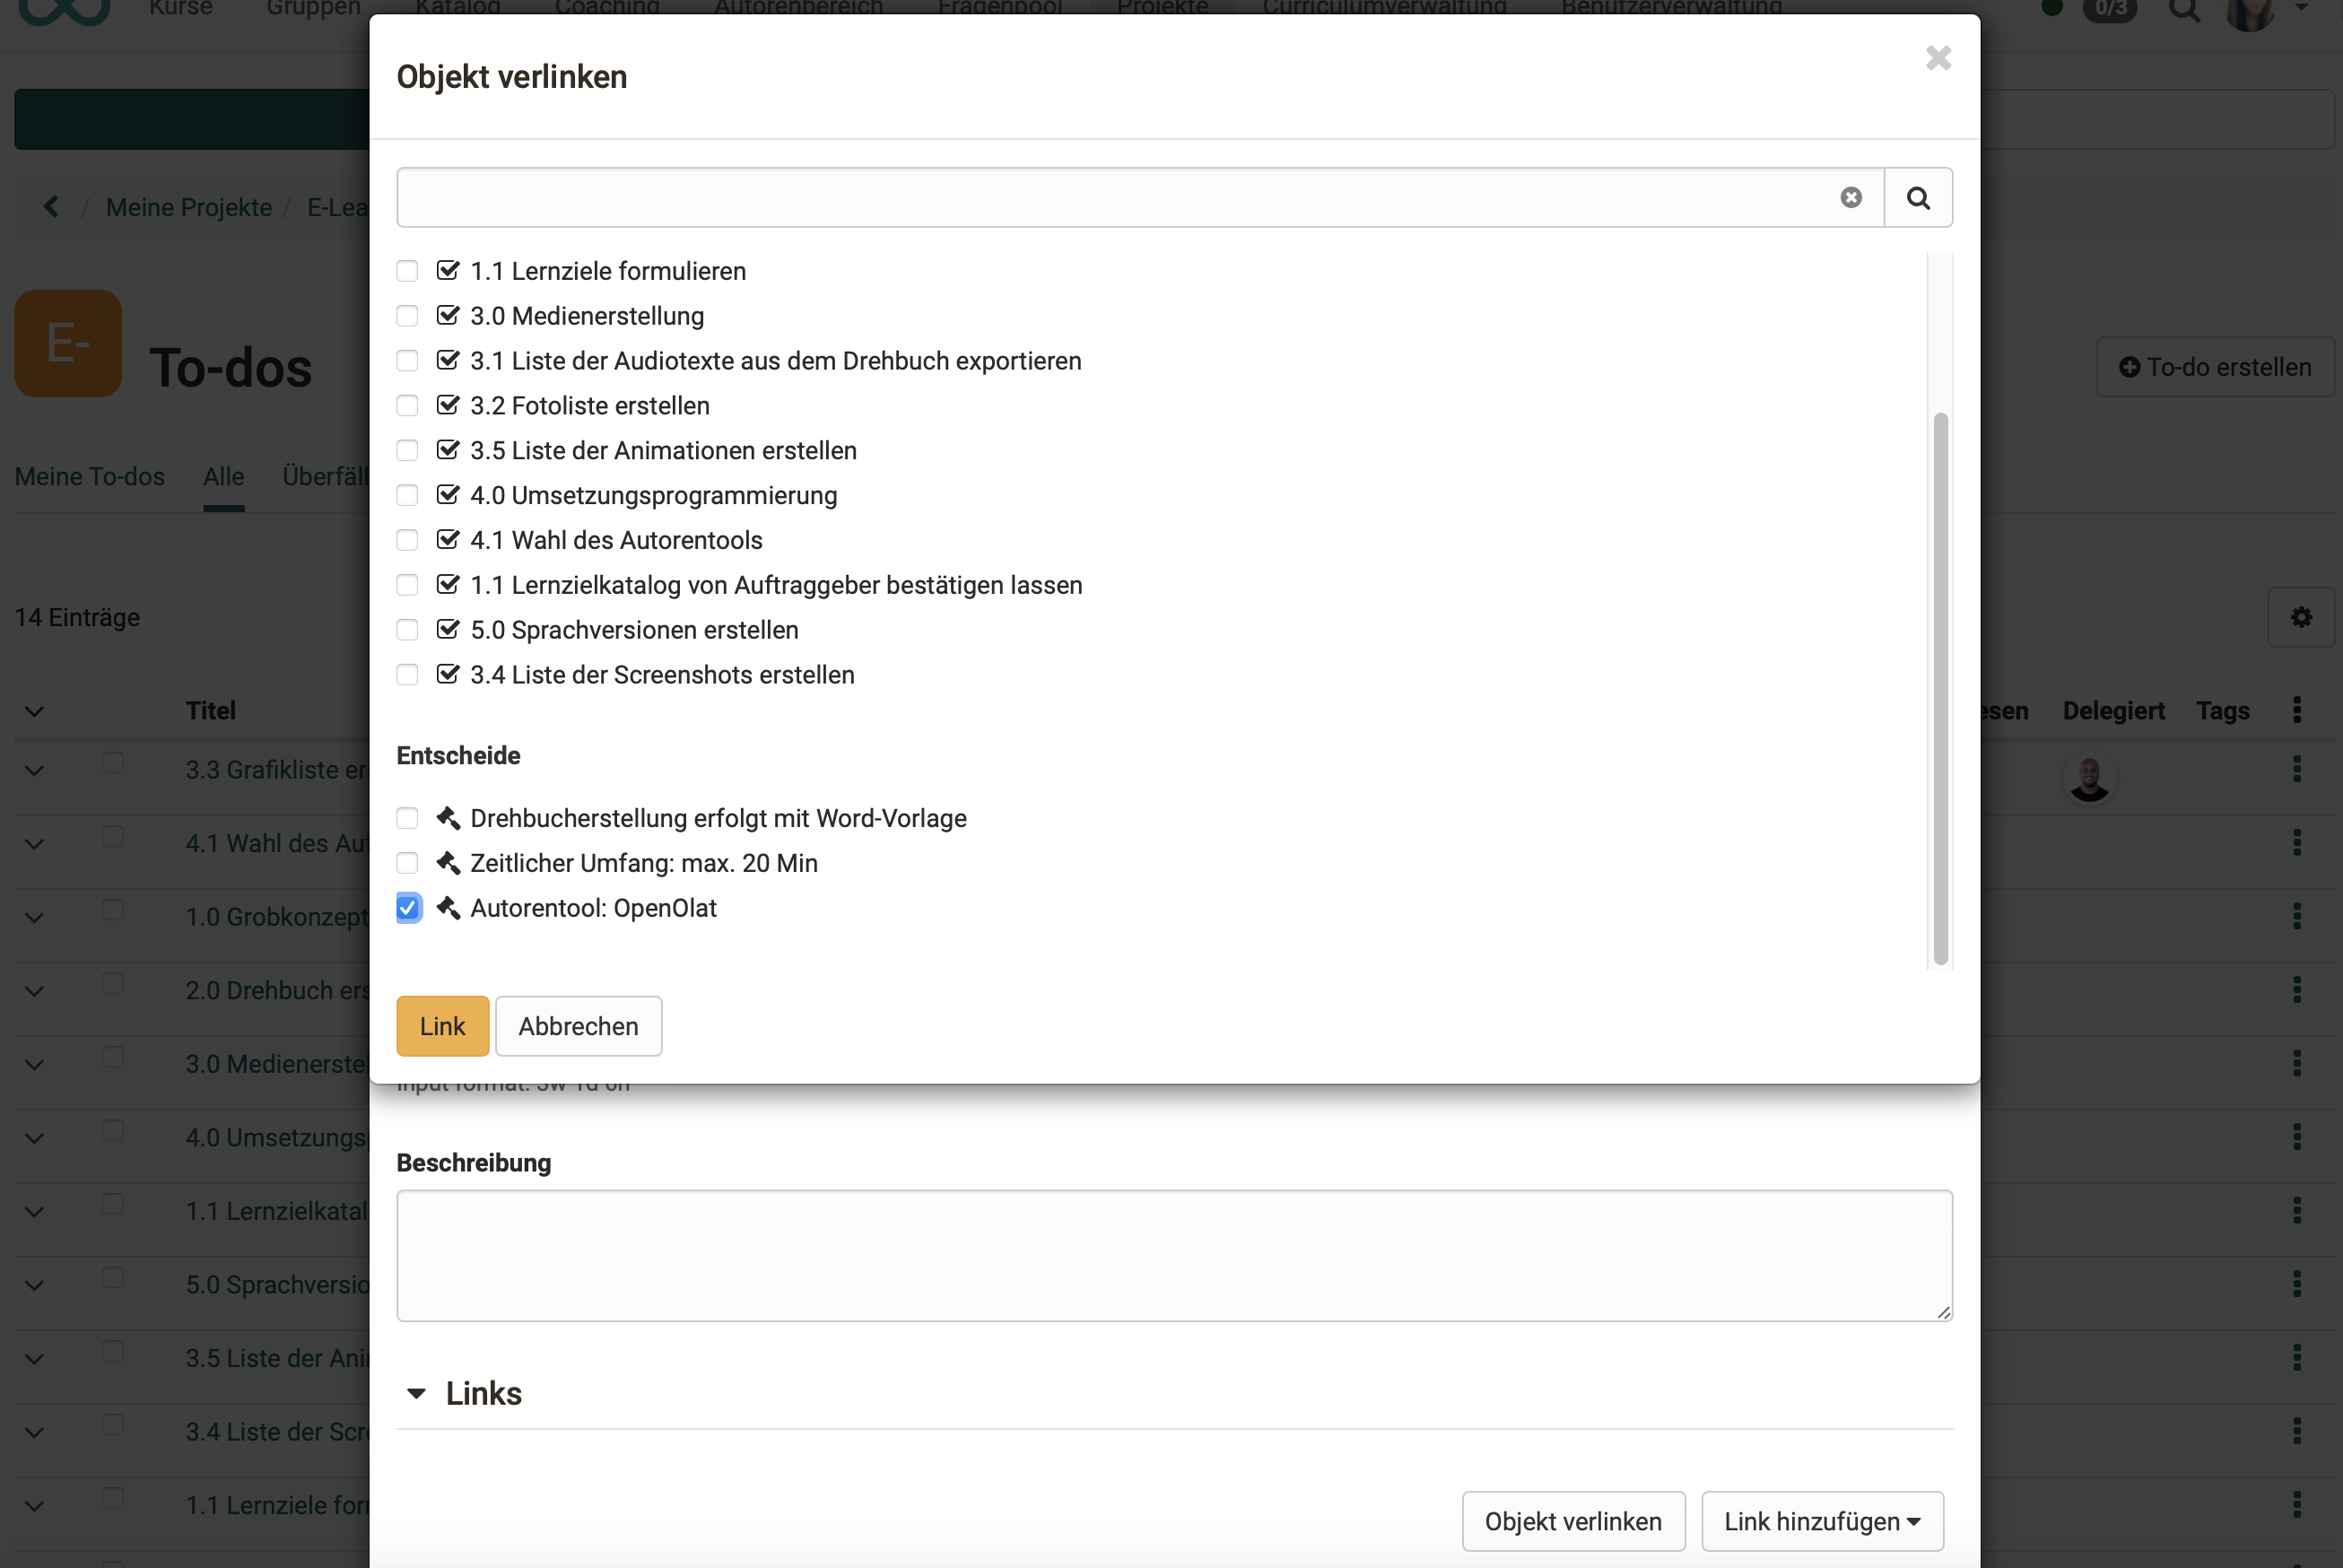
When you edit a to-do, you can create links to other objects of this project by linking to an already existing object (button "Link object").
Difference between "Link object" and "Add link"
Often, while creating a to-do, the need arises to create a decision, an additional appointment or another to-do.
With the button "Add link" you can create these objects and they are then automatically linked to the current to-do. The long detour (select another object type, create a new object, return to the to-do and only then create the link) is thus eliminated.
Linked objects can for example be decisions:
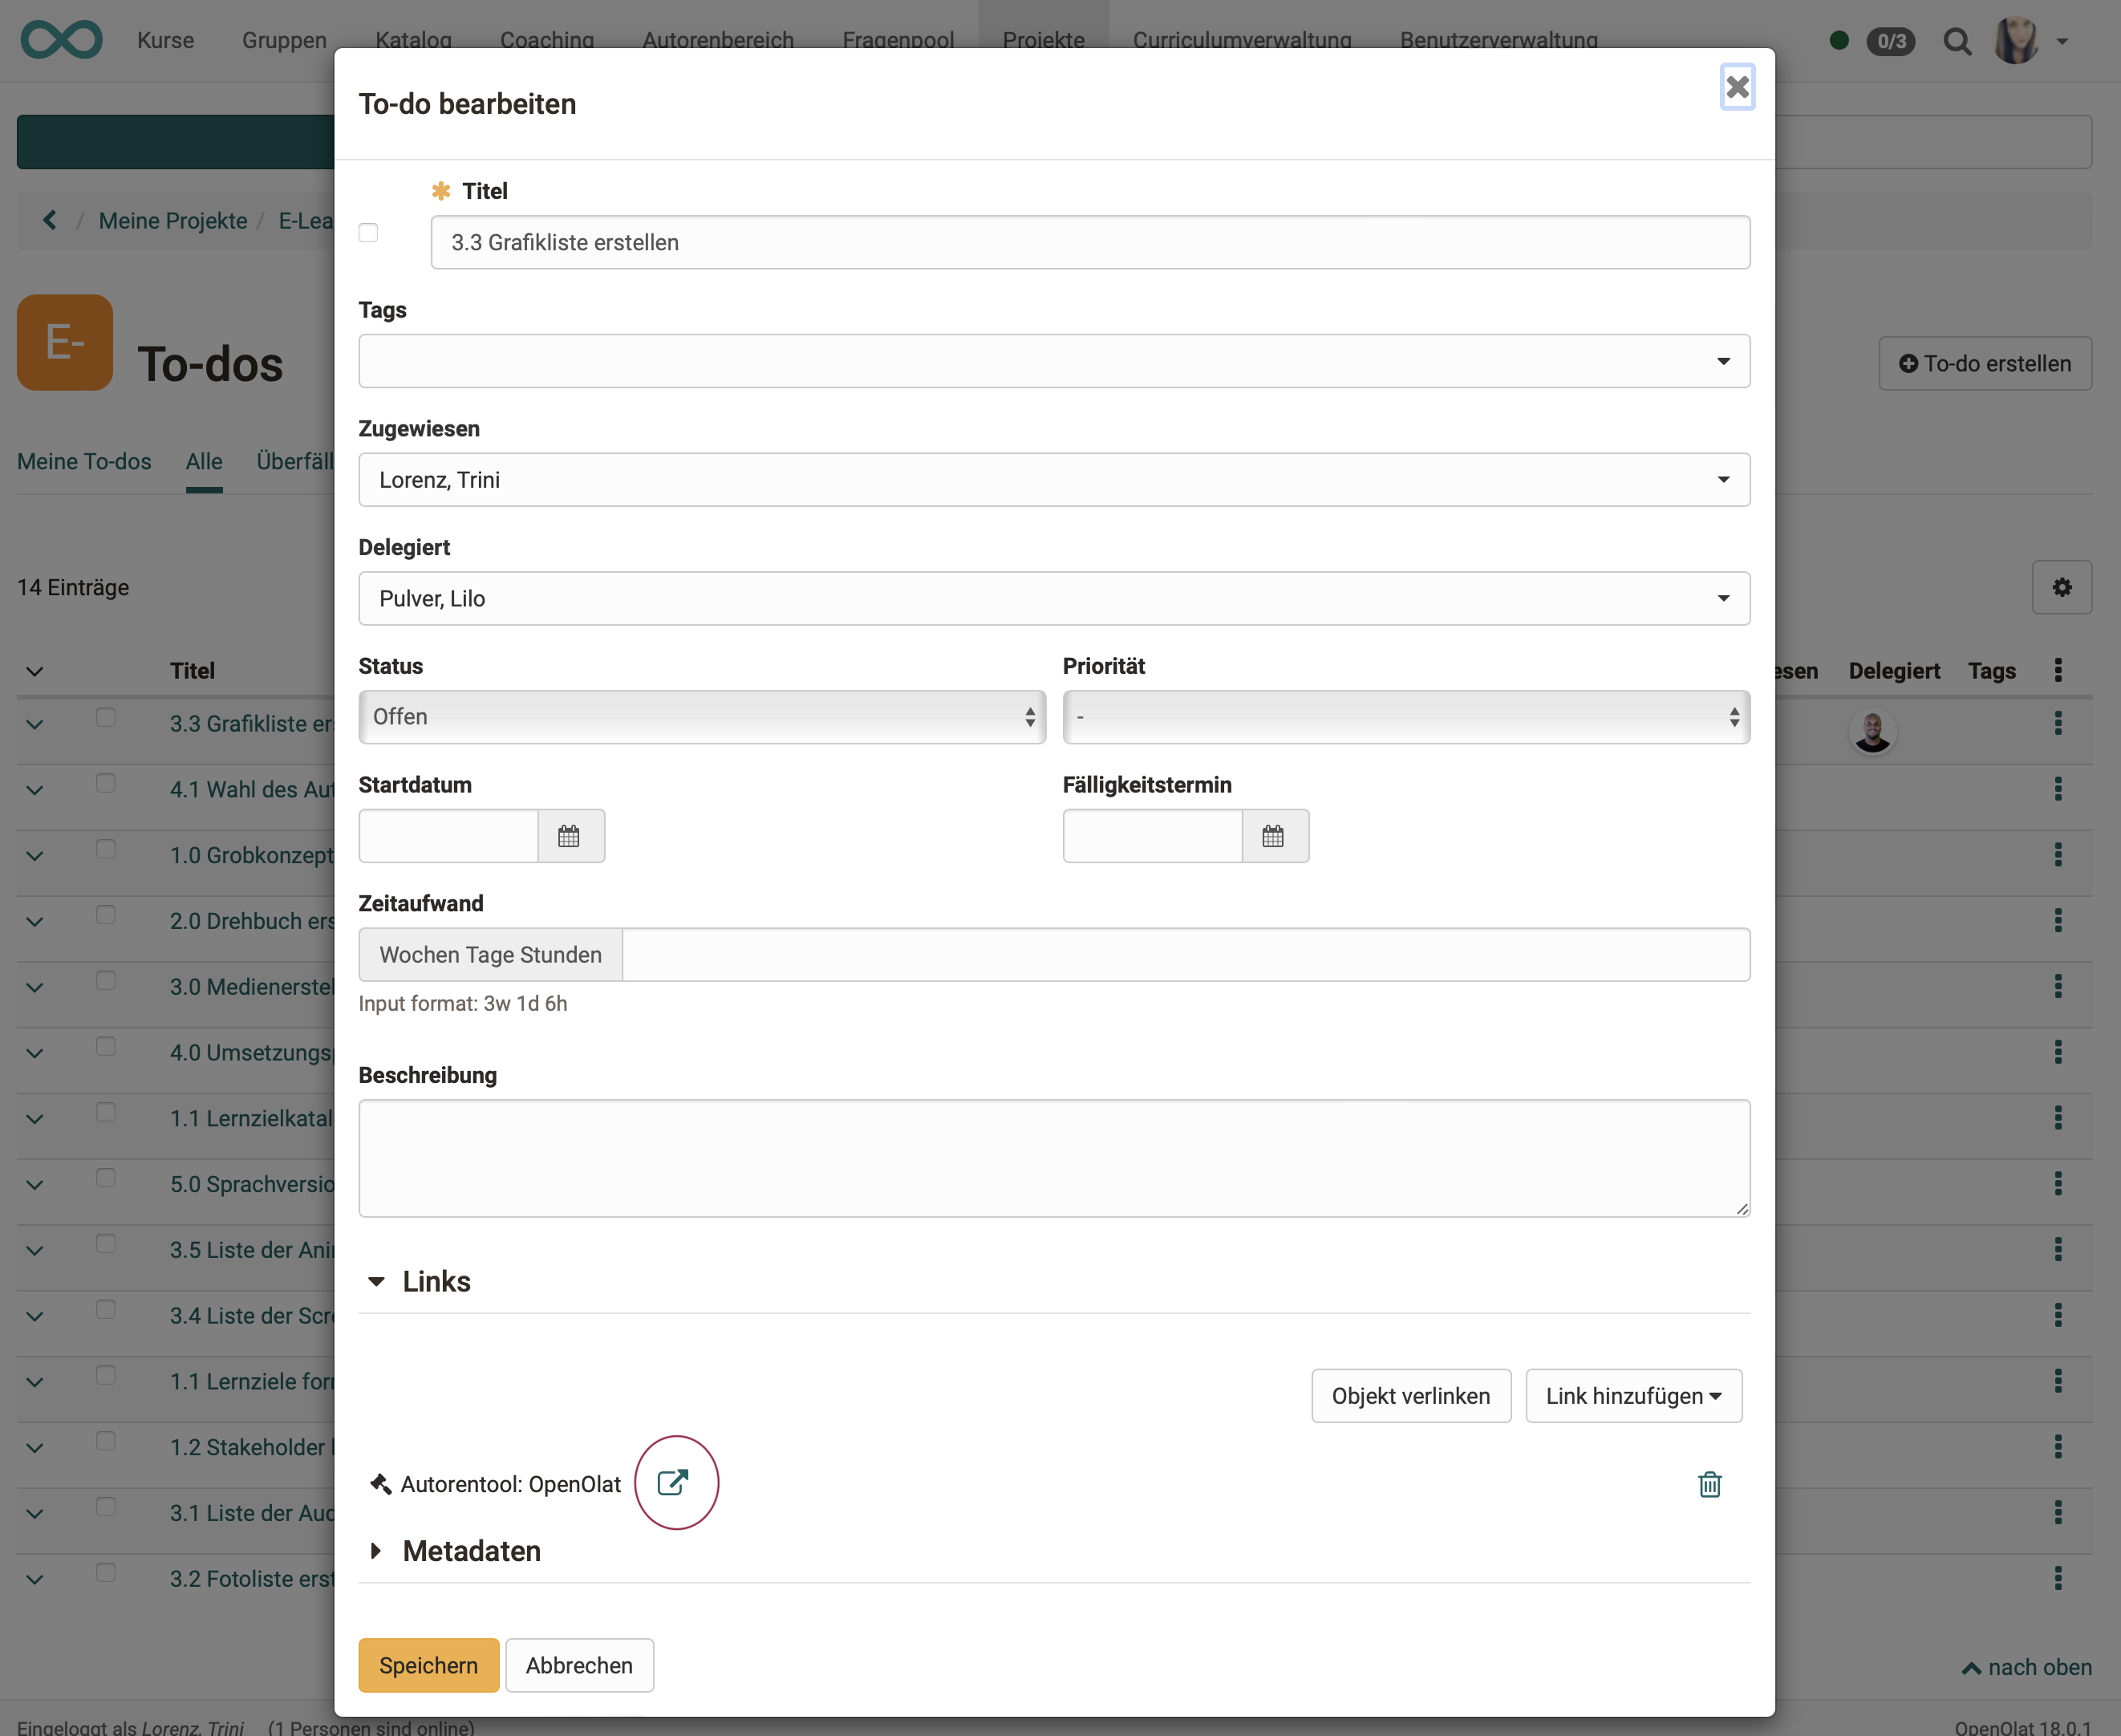
Links added to a to-do can be opened directly.
What happens if a linked object is deleted?
If a linked object is deleted, the links pointing to this object from other objects are also deleted.
Completed to-dos
In order for a to-do to be considered completed, its status must be changed. This change can be made in several different ways.
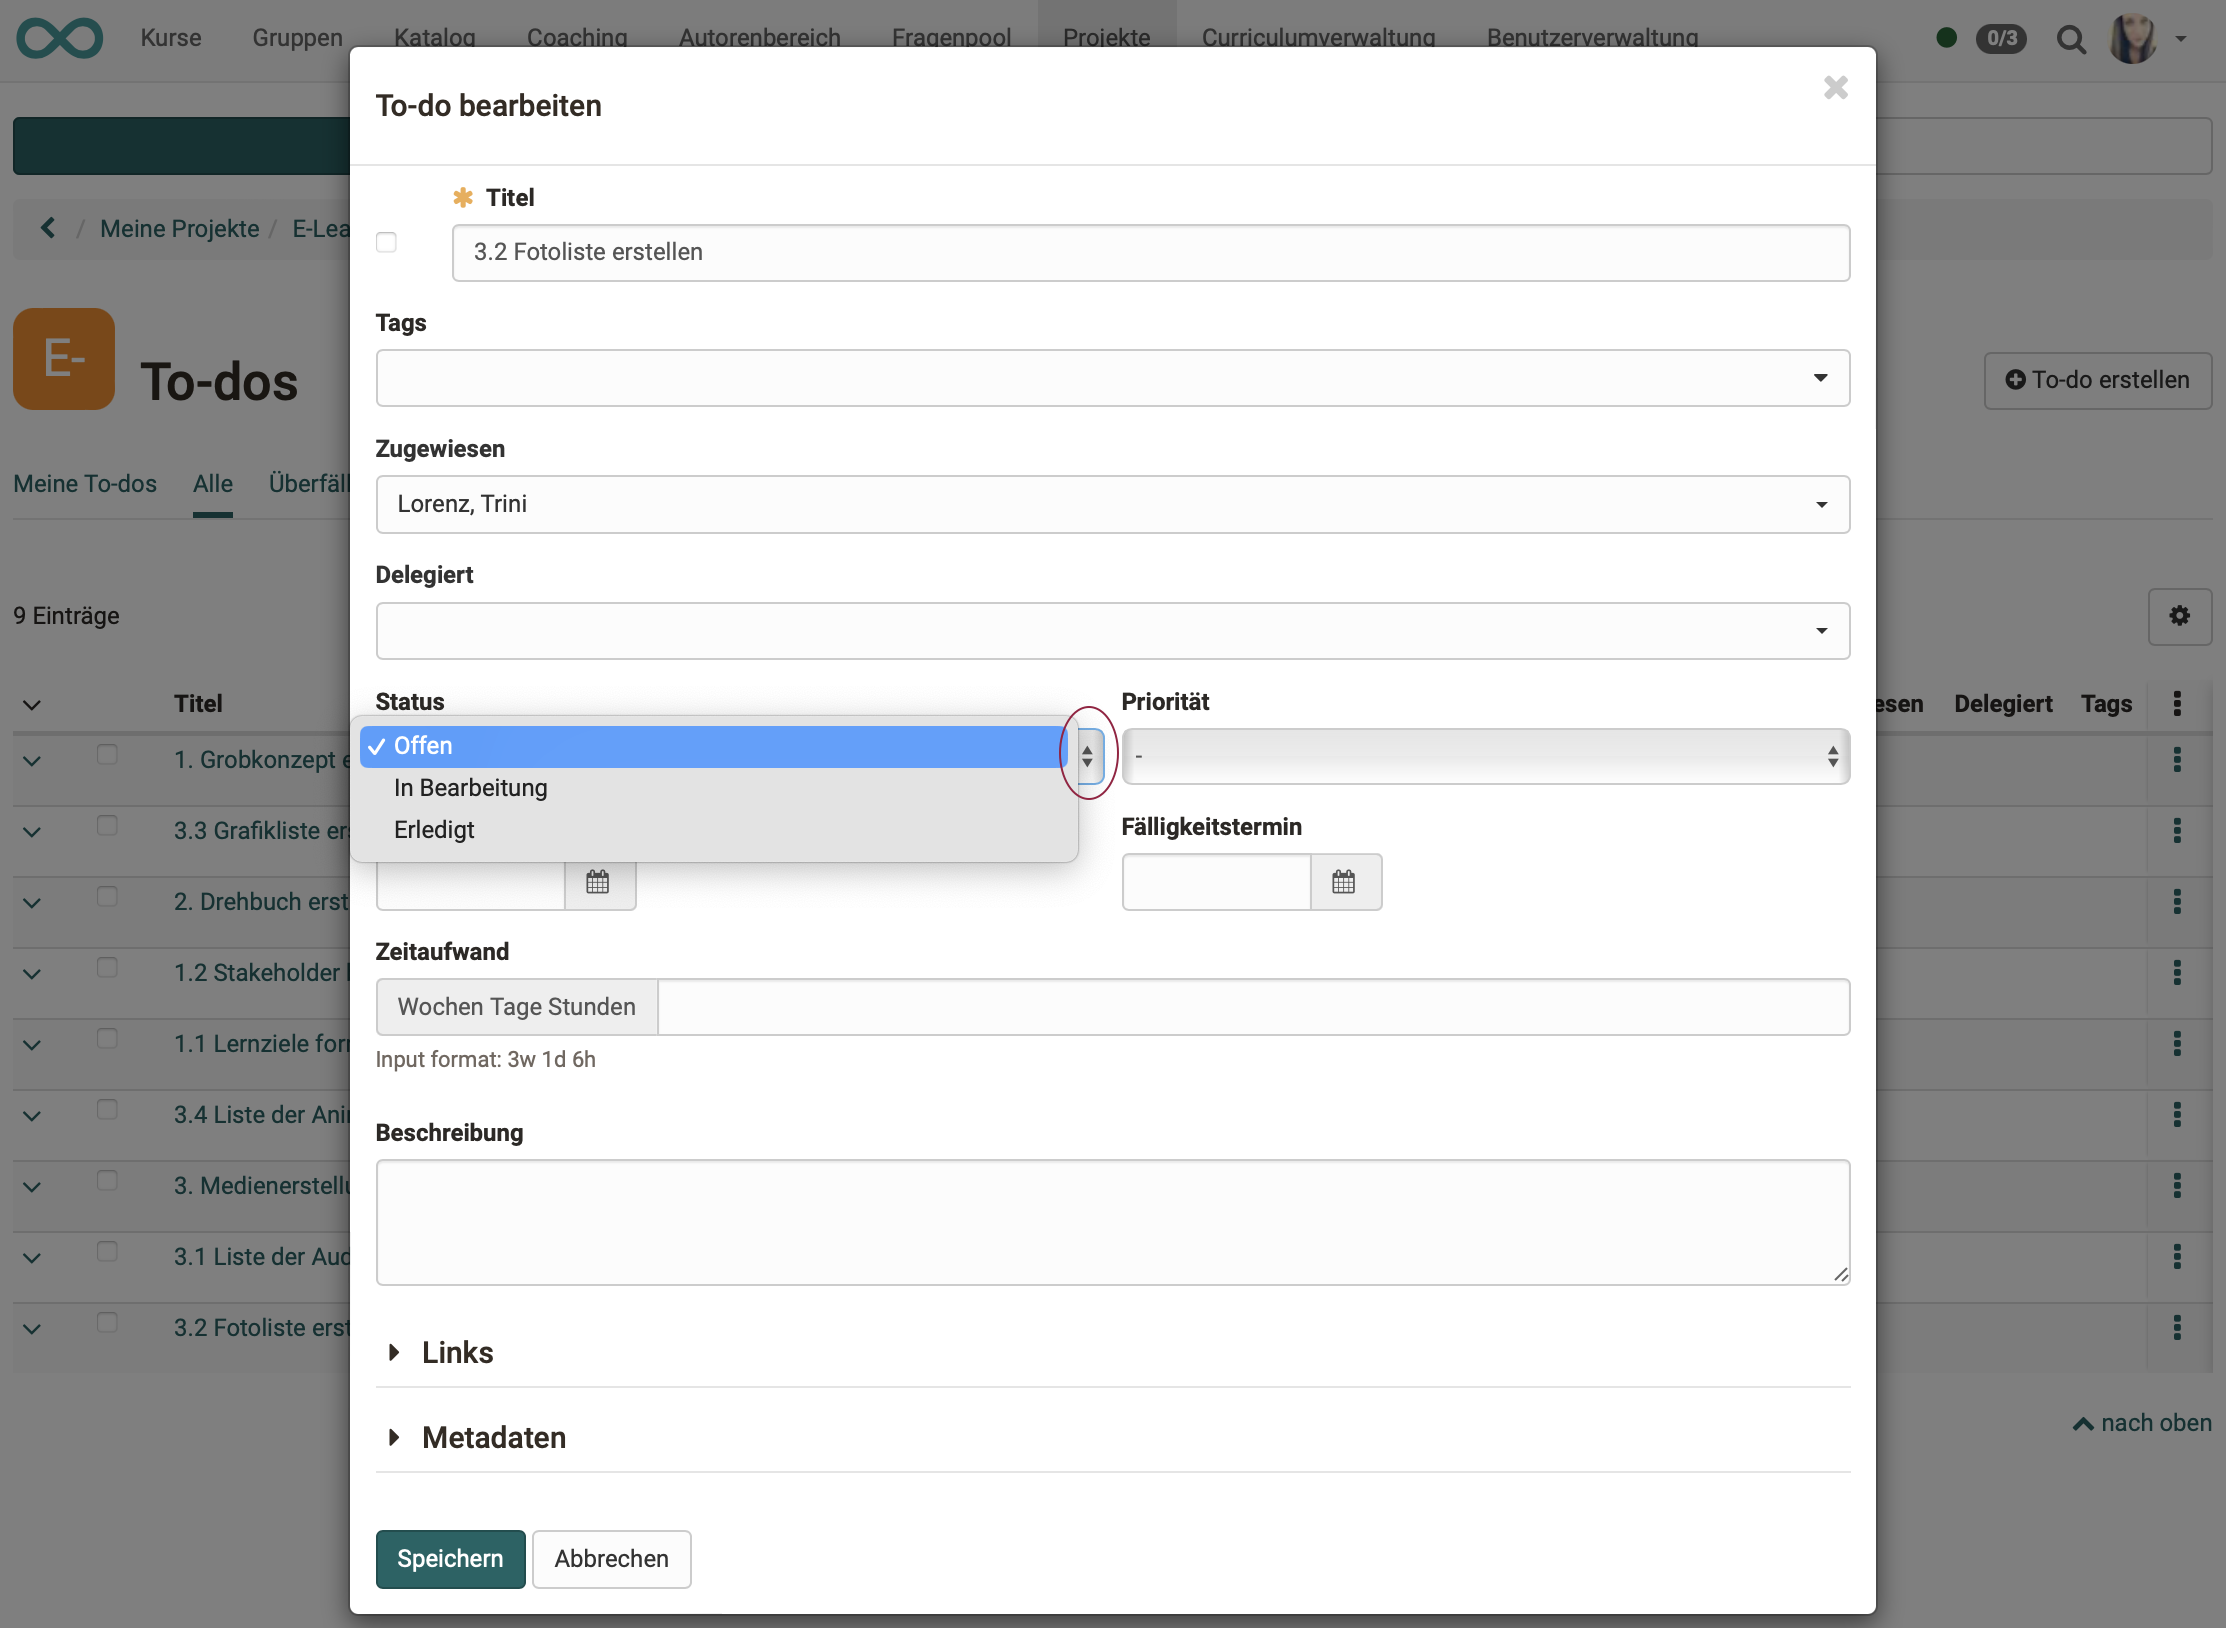
a) Change status in the edit screen
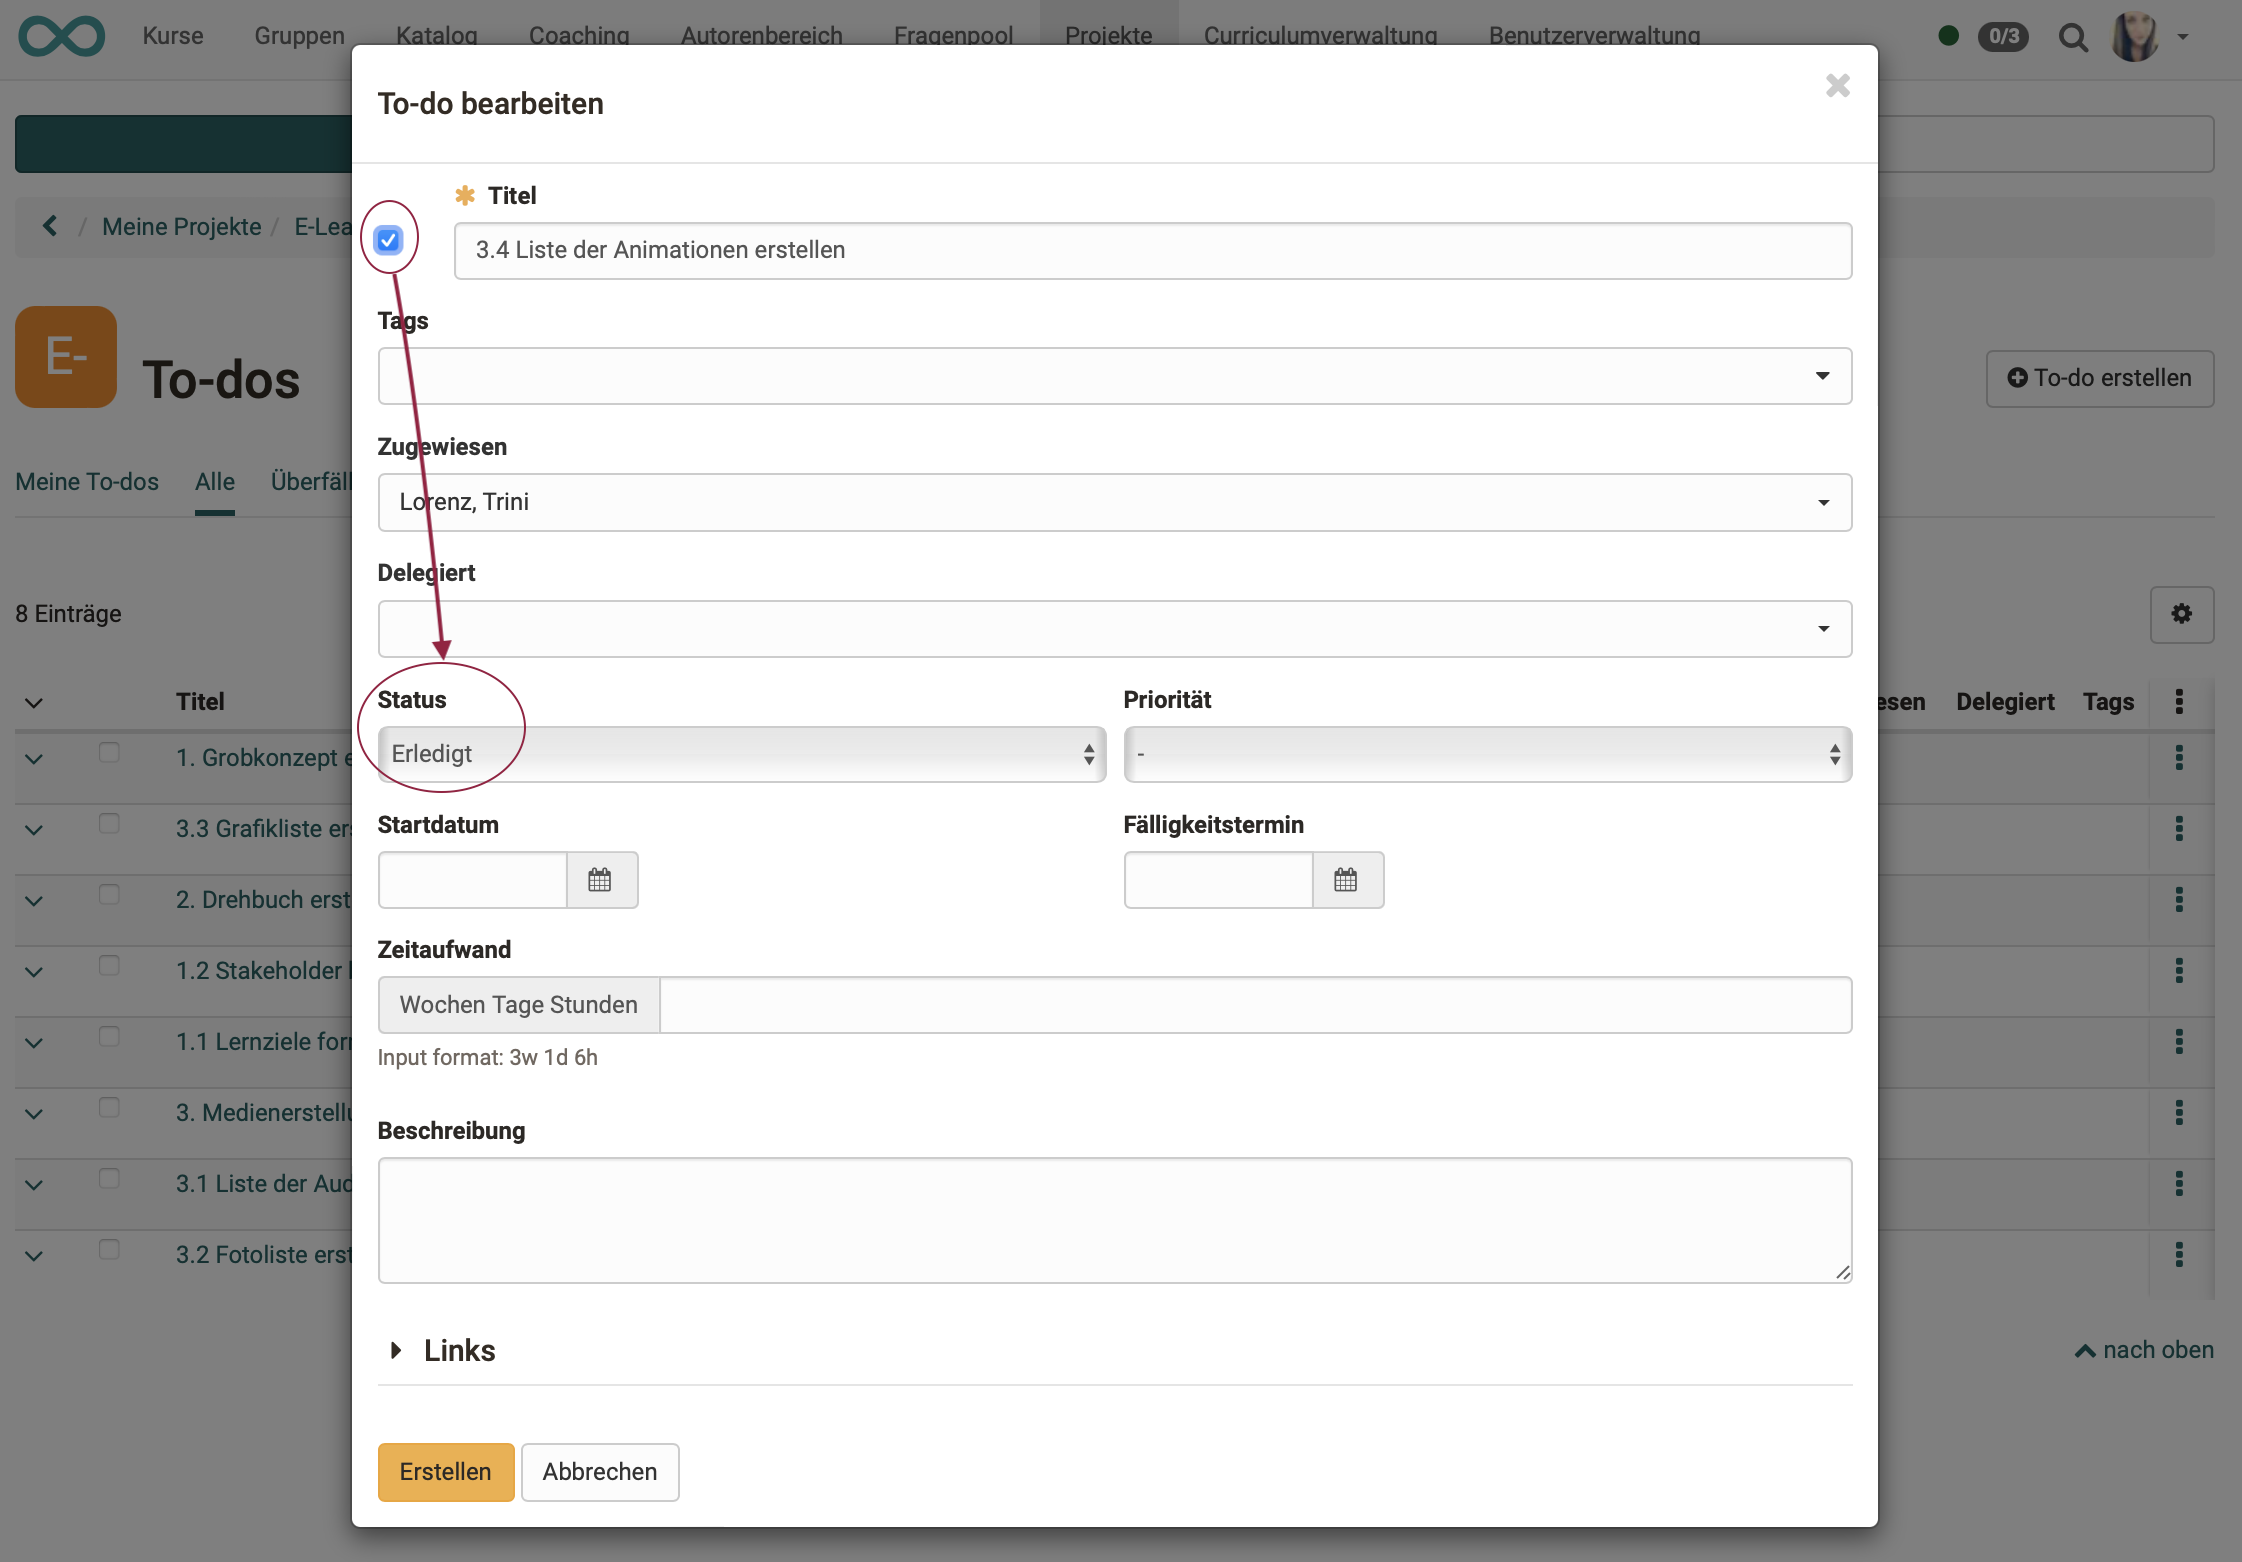
In the pop-up for editing a to-do, the status can also be set.
b) "Checking off" a to-do
If a tick is set in the checkbox in front of the title, the status changes to "Done".
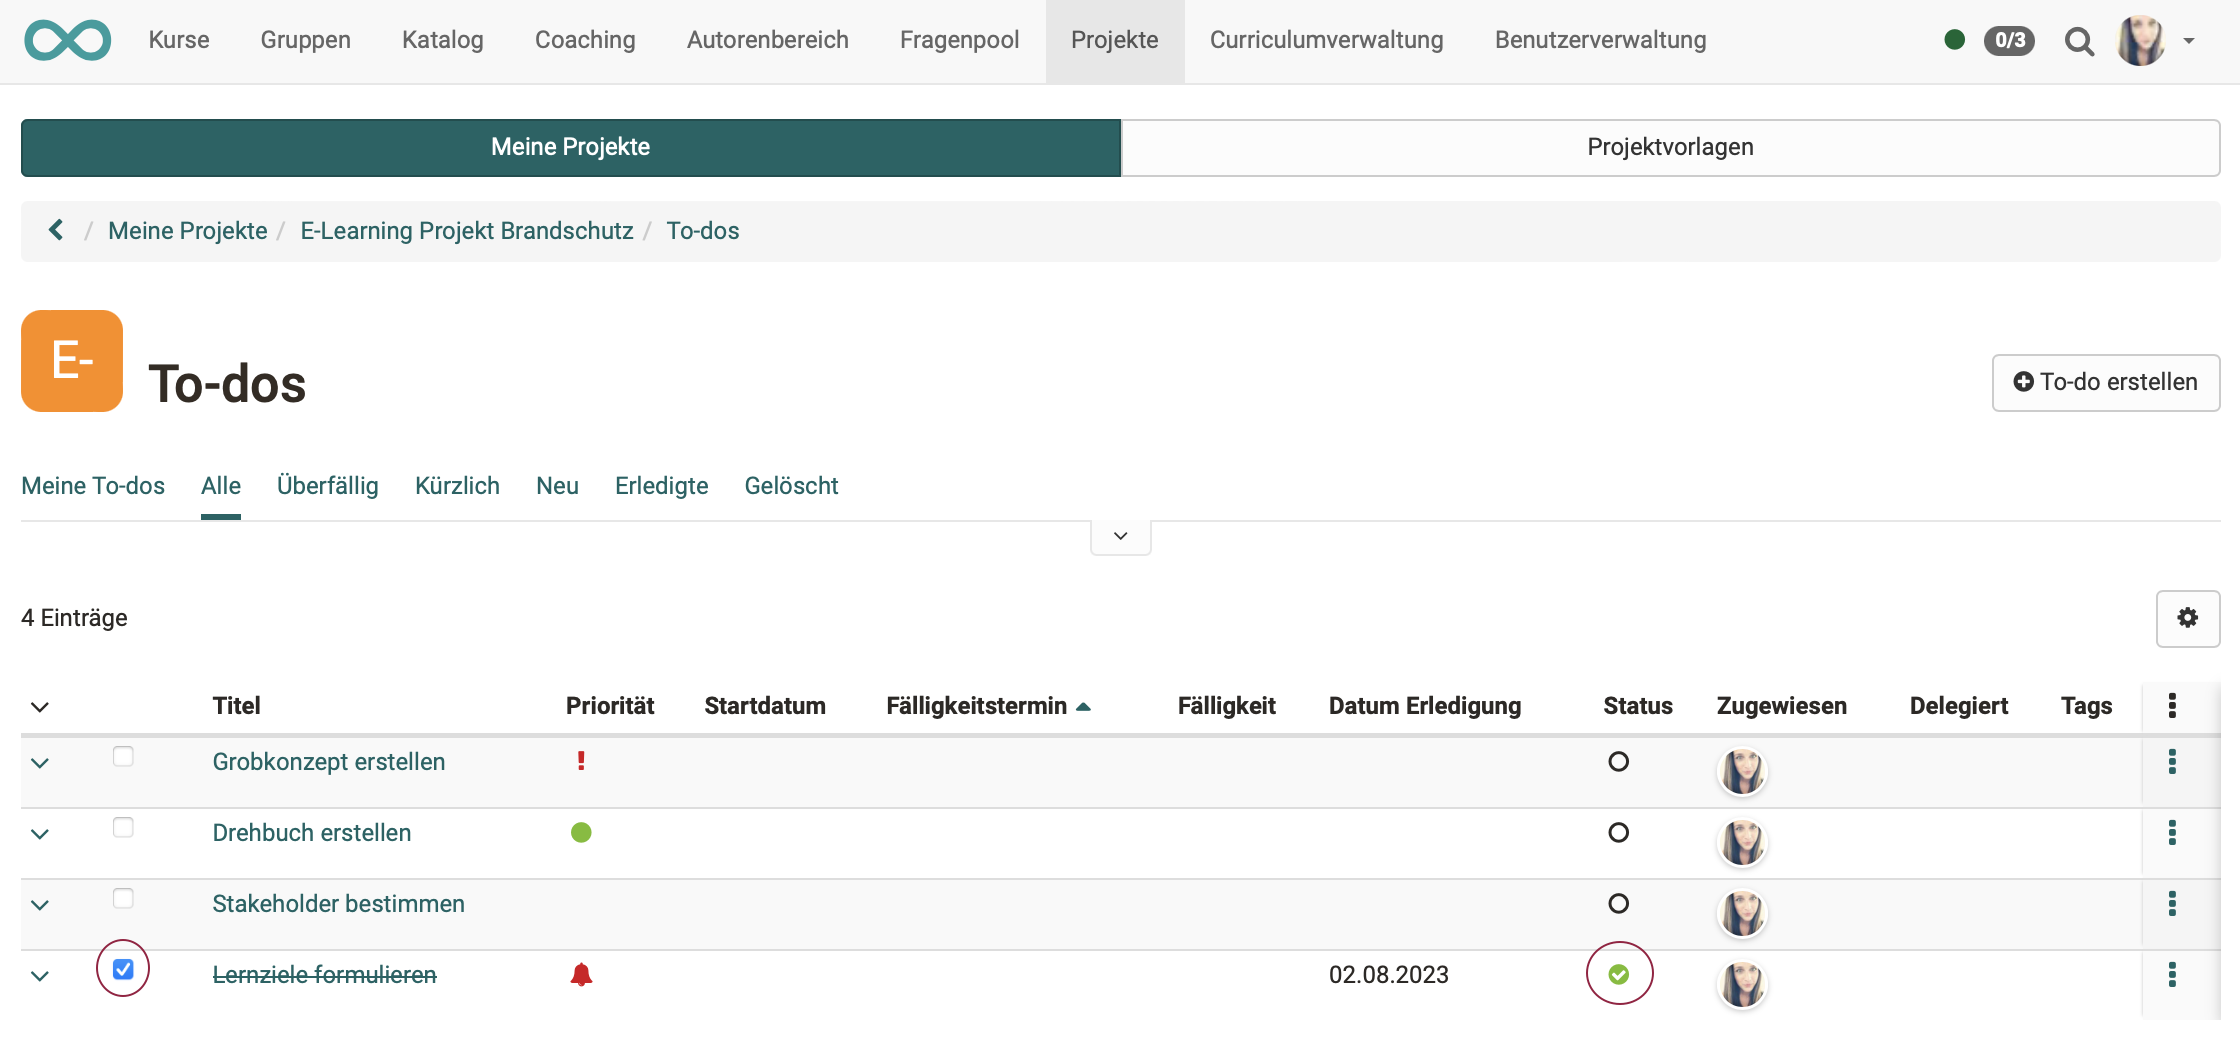
c) "Checking off" a to-do in the list
If an entry is selected in the to-do list by selecting the checkbox at the beginning of the line, it is automatically marked as completed. The to-do then only appears under the tab "All" and the tab "Done".
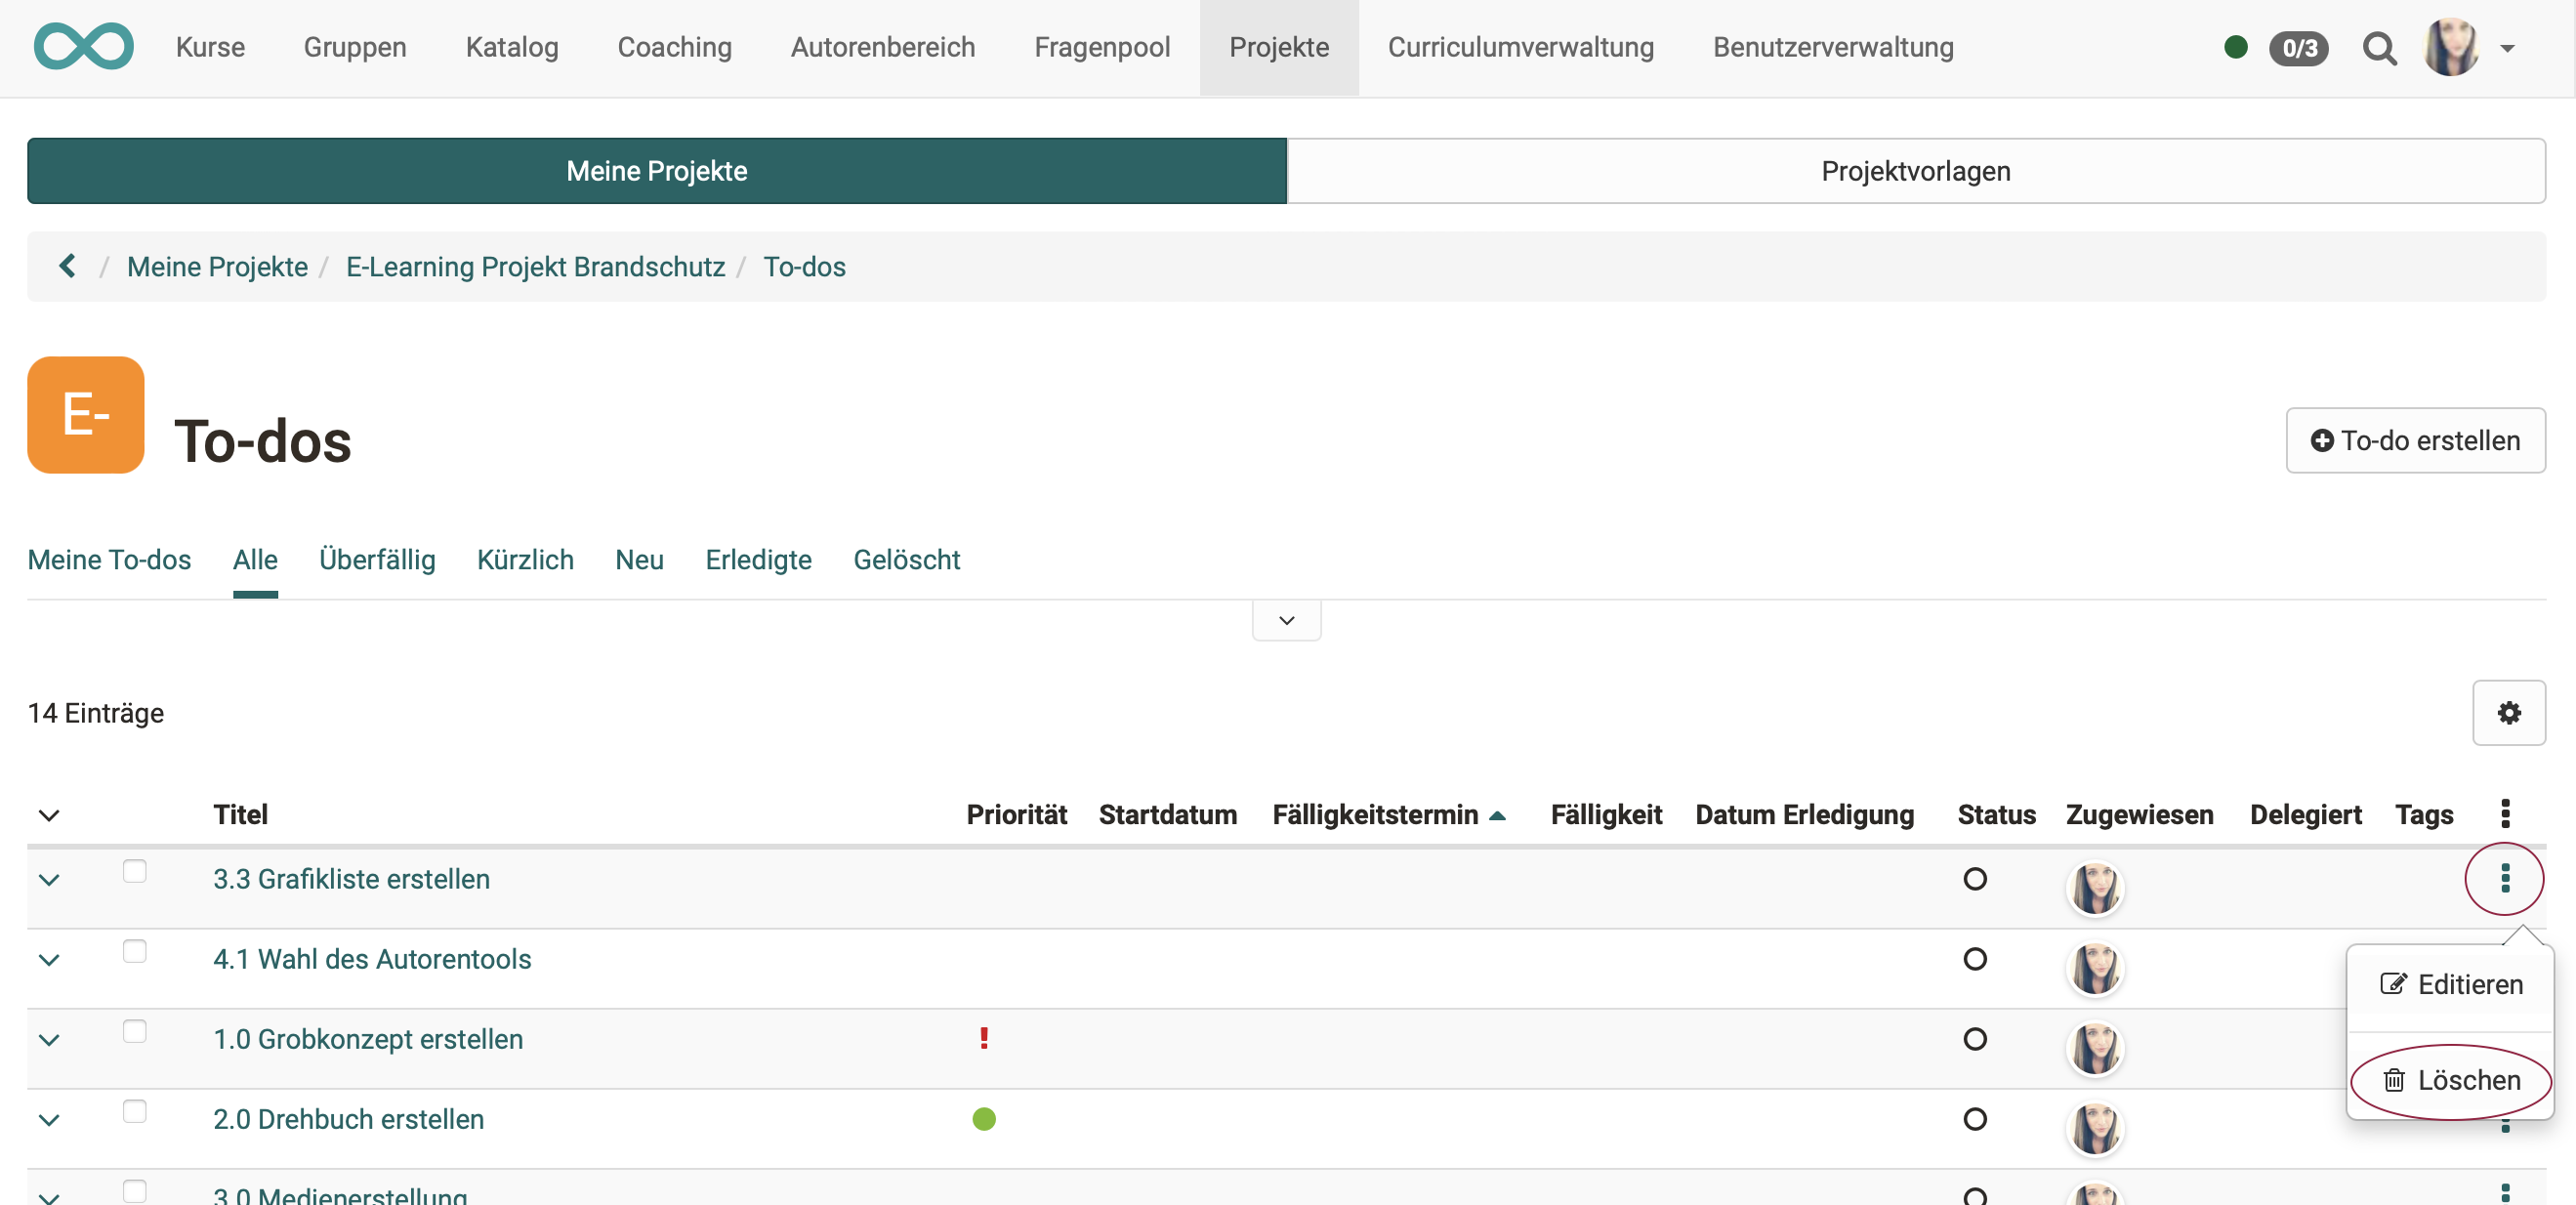
Delete to-dos
To delete a to-do, click on the 3 dots at the end of a line and then on "Delete". The to-do then only appears under the tab "Deleted". It cannot be restored.
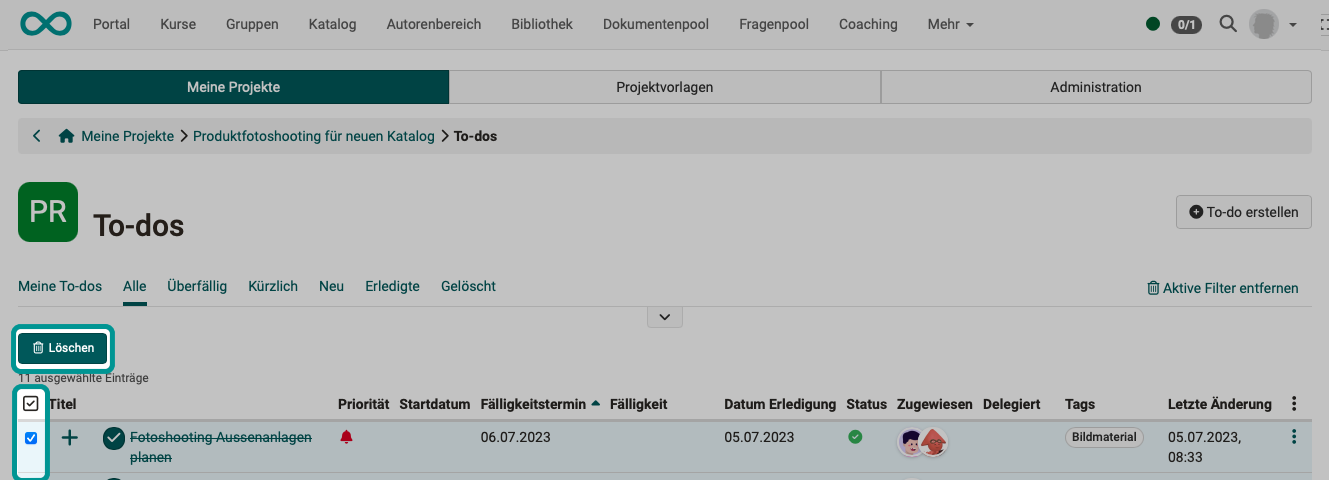
If you want to delete several to-dos at once (bulk action), select the list view and tick the desired checkboxes at the beginning of the lines. This will display a "Delete" button above the list.