Information and settings for items in the Media Center
Information and settings can be entered for each individual media item stored in the Media Center. To do this, open the Media Center in your personal menu and click on the desired media item. A view opens with the tabs described below:
- Overview
- Metadata
- Uses
- Shares
Tab Overview
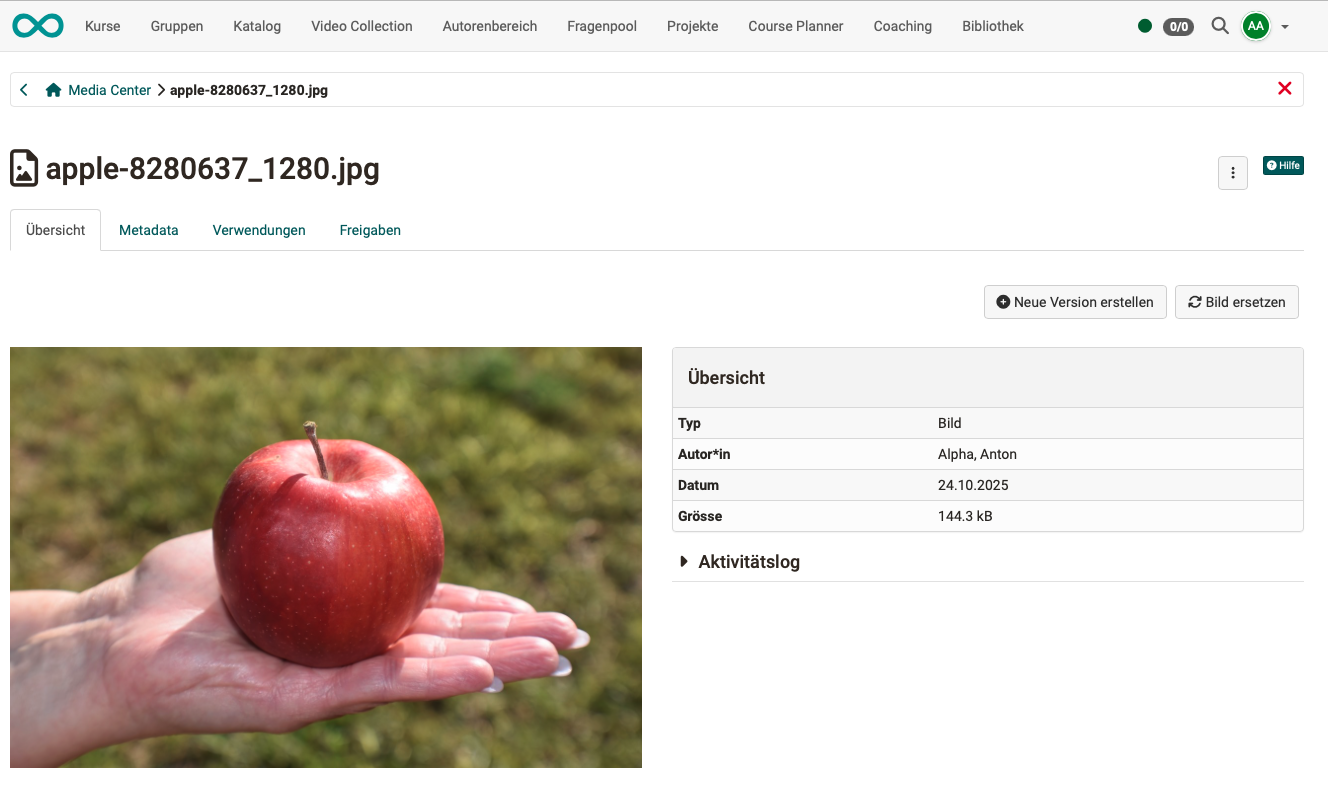
The Overview tab shows the details Type, Creator, Date and Size. You can also view the activity log and create a new version or replace the image.
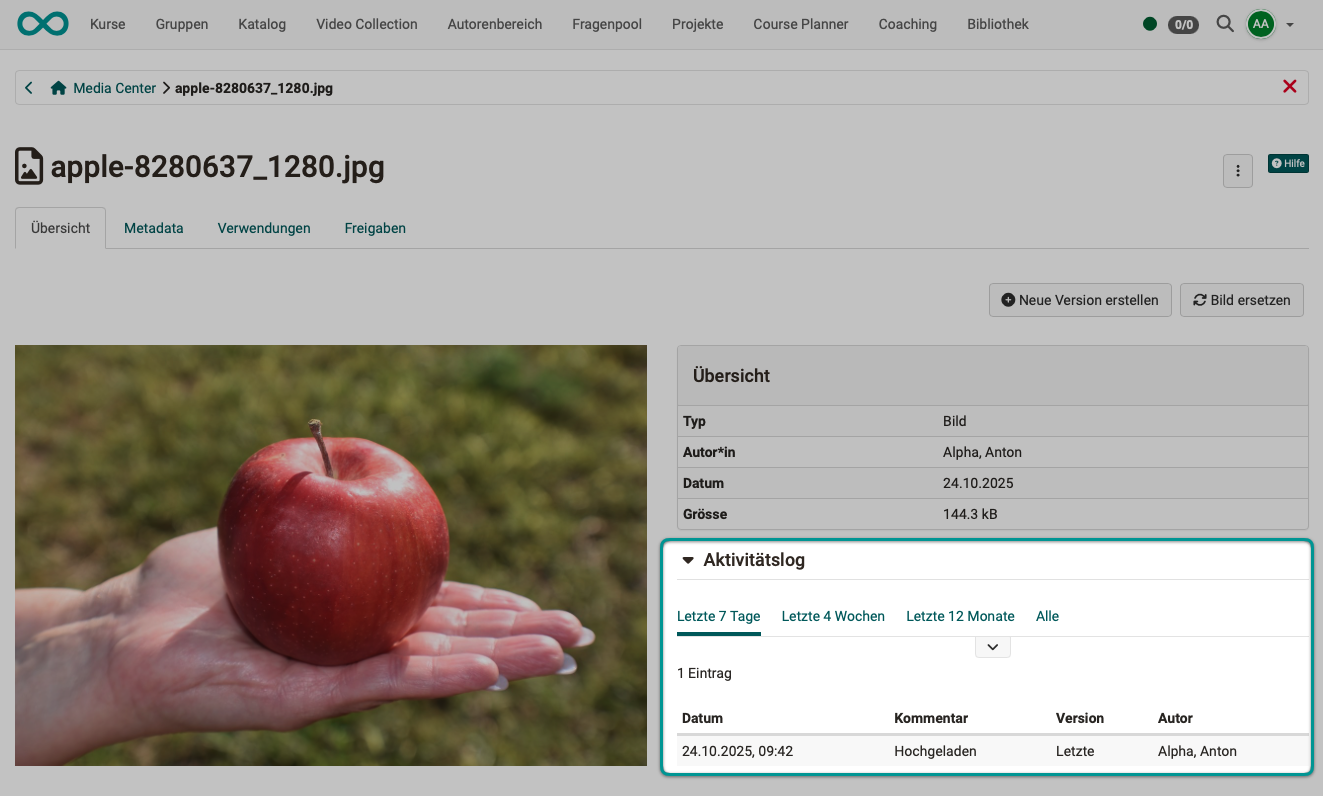
Activity log
The activity log can be used to track when the media element was edited and by whom.
"Create new version" and "Replace image"
An interesting feature is the option to version media elements. This allows you to save different work steps or intermediate stages, for example. You can then switch back to older versions at any time.
In contrast, Replace image replaces the image in the current version. All other metadata and settings (e.g. shares) remain unchanged.

Download or delete
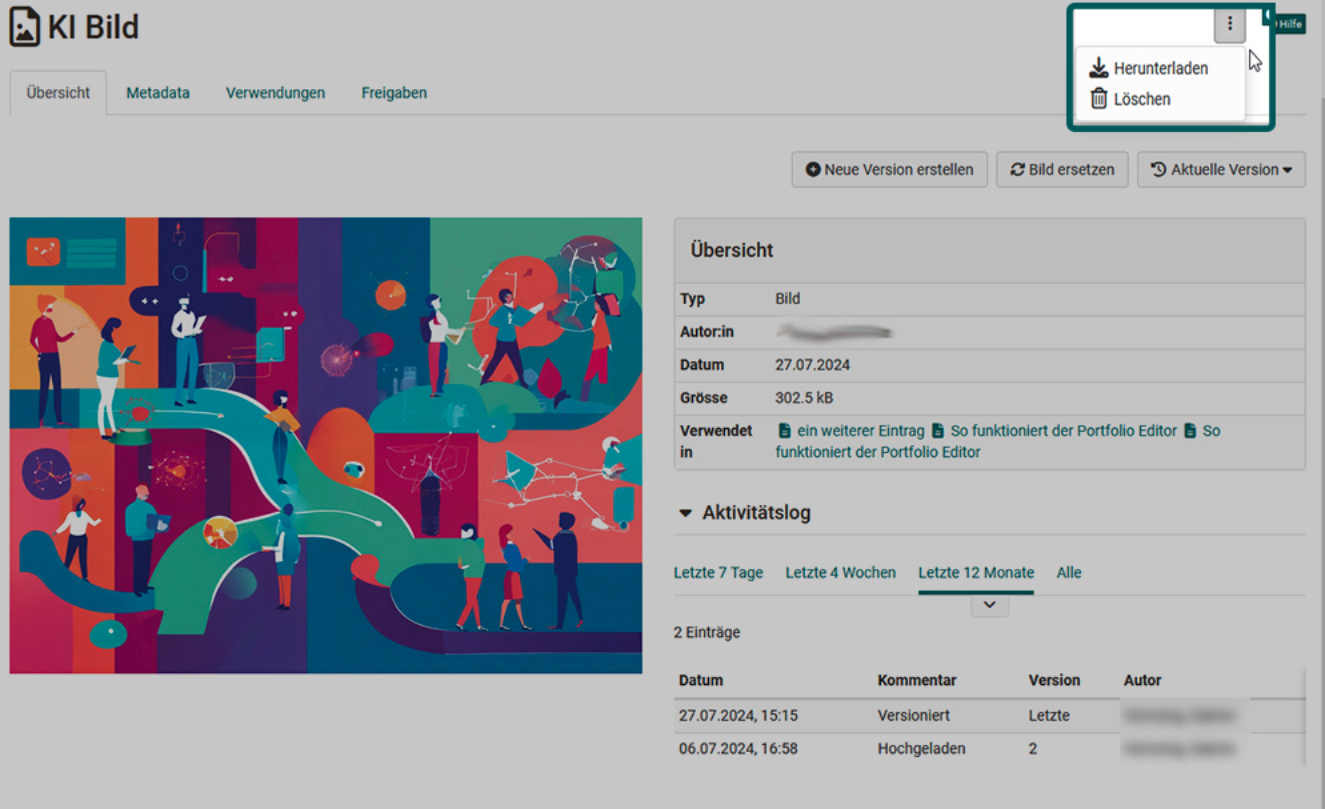
You can download individual media files from the Media Center using the 3-dot menu at the top right. If you are the owner, you can also delete your media element.
Tab Metadata
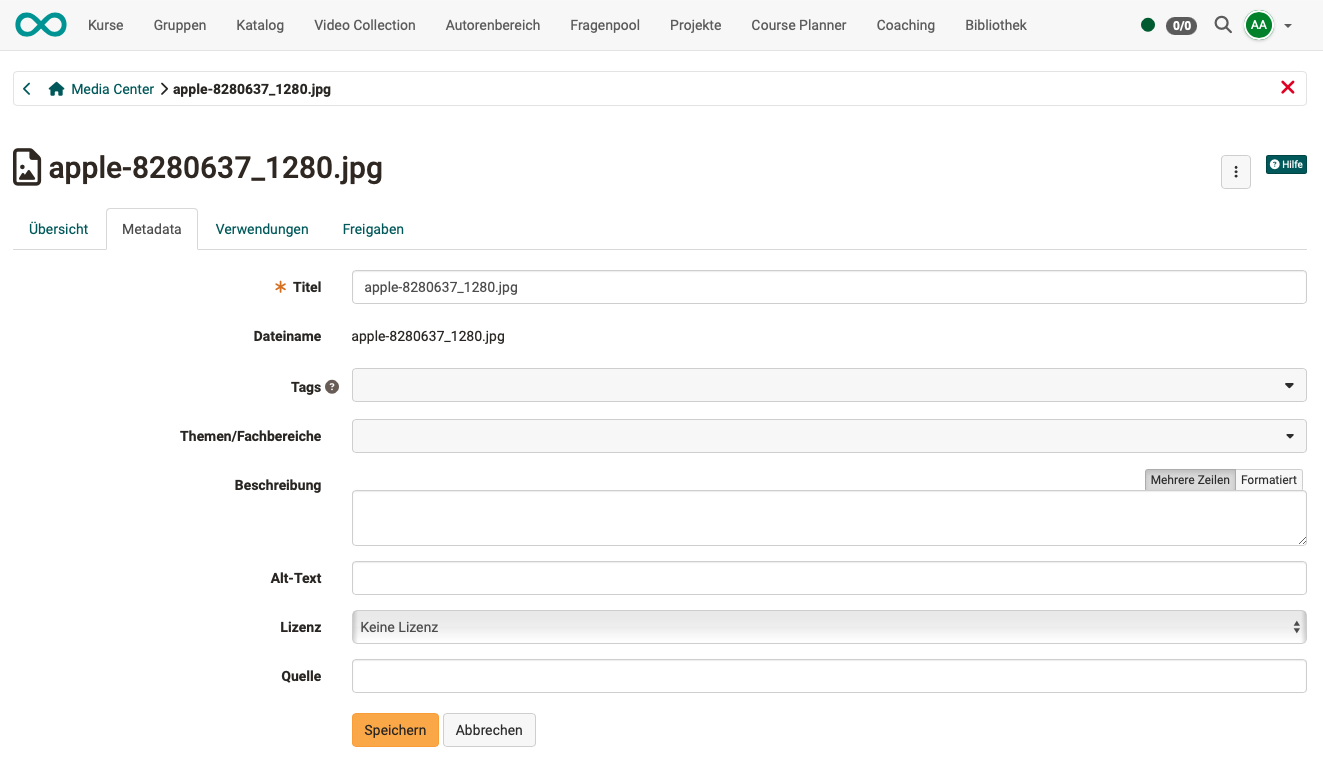
The following information can be added to a media element:
- a title that differs from the file name
- tags for keyword indexing and a better overview
- an assignment to subjects (taxonomy)
- a description
- an "alt text" for draw.io files or images/graphics. This is particularly relevant for screen readers.
- a license specification, such as "CC BY-NC-SA"
- a source reference
The information and options available for metadata vary depending on the type of media. All information can be changed later.
Generate metadata with AI
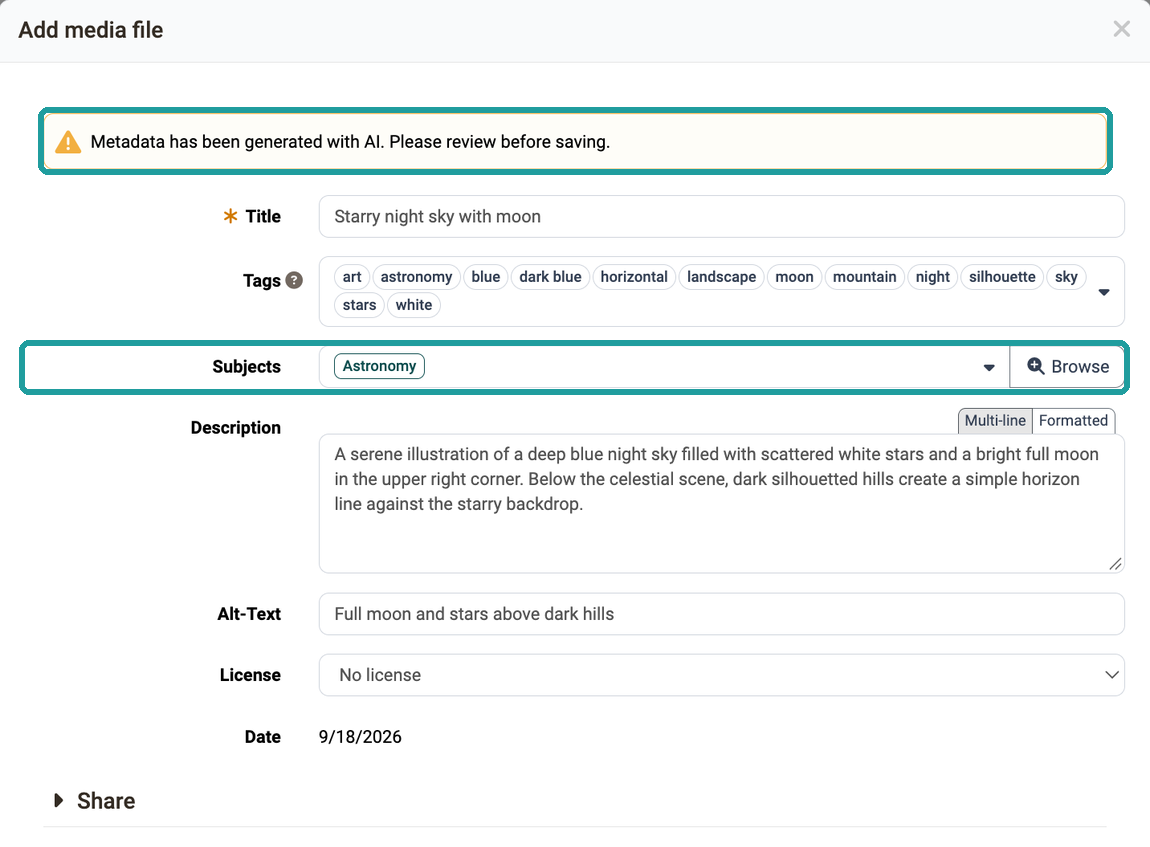
If the AI module is configured with the AI feature "Image Description Generator", the button "Generate metadata with AI" is available when uploading images and in the metadata dialog. Clicking it fills title, description, alt text and tags with AI-generated suggestions. If the AI detects what the image is about, it also assigns a subject (taxonomy) to the media item. If the automatic assignment by AI is set up, it finds the subject that matches in content even without an identical wording. Without this setup, the assignment only takes effect for a subject with an identical wording. If the field "Subjects" stays empty after "Generate metadata with AI", the Media Center has no taxonomy to choose from. The AI only selects the subject from the taxonomies that the Media Center uses. These are the taxonomies selected in the configuration of the Media Center under "Linked taxonomies". If none is selected there, the Media Center uses the taxonomies of the learning resources. A notice in the form indicates that the metadata has been generated with AI. Review the suggestions before saving and adjust them if necessary. AI image analysis is not available for SVG images.
Fields that are already filled in are retained during generation; the title is only replaced if it is empty or corresponds to a file name.
Metadata of imported images is also generated by AI in the background during Markdown import into the Content Editor .
Tab Uses
In the "Uses" tab, you can see where the media element is used.
By clicking on the usage information, you can jump directly to that place in this course.

Tab Shares
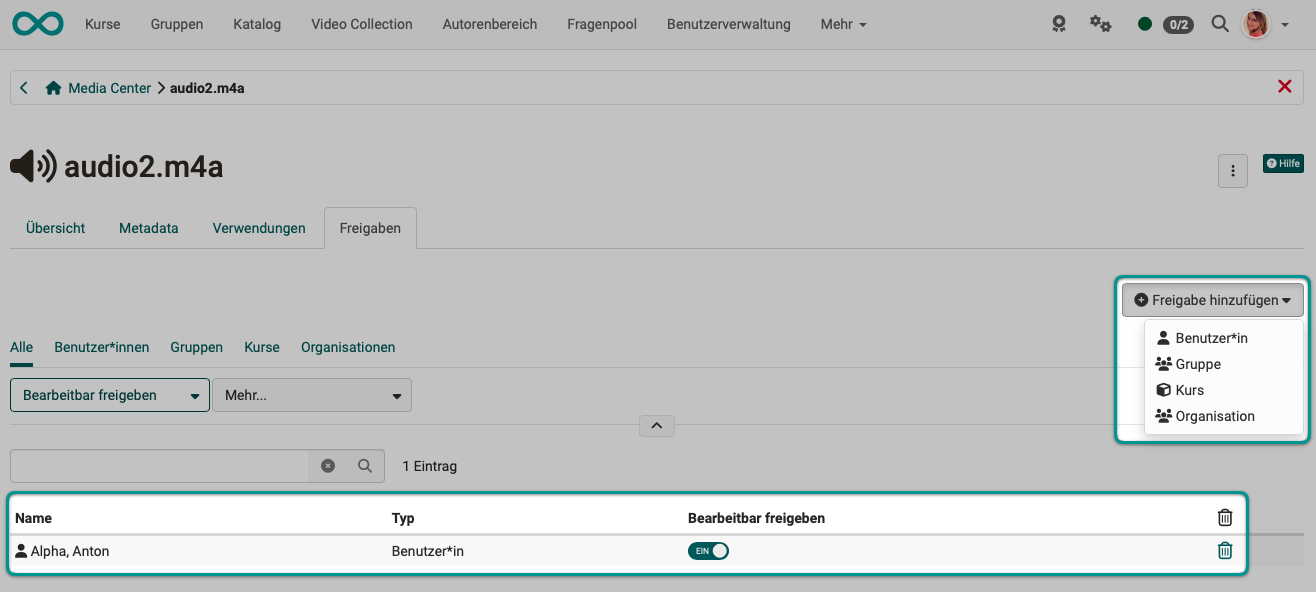
Here you can specify who is allowed to use a media element. Participants can only define groups. Authors have more options and can specify specific OpenOlat users, groups, or courses. By sharing files, they can also be used collaboratively if editing is allowed.
Further information
External tools: AI module >
Content Editor >
Media Center Concept >
Personal tools: Media Center >
Module Media Center >
Working with media files >
Module Taxonomy >