OpenOLAT courses enable the mapping of various event formats e.g. lectures, seminars, online tutorials or group puzzles, as well as the implementation of different types of learning, e.g. problem-based learning, cooperative learning, self-organized learning etc. A maximum of flexibility is guaranteed by using any number of course elements in any order of your choice; therefore it is easy to realize your didactic concept.
Apply for author rights at your OpenOLAT support office and you can get started!
The course cycle at a glance:
- Create course
- Set up, design course
- Set up access
- Publish course status
- Execute course
- End course
- Delete course
Step | Action | Further Information |
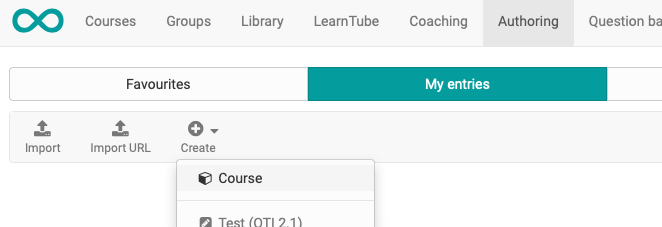
1. Create course | Creating a Learning Resource Course in the Author Area | |
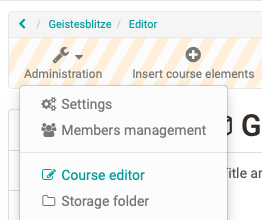
2. Set up, design course | You implement your course in the course editor. | |
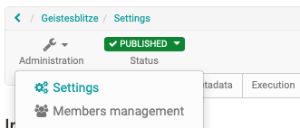
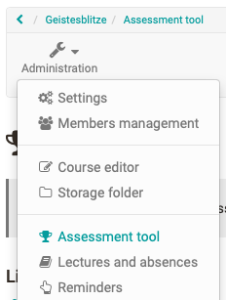
3. Set up access | In the administration menu "Settings" the necessary settings for the access are made. | |
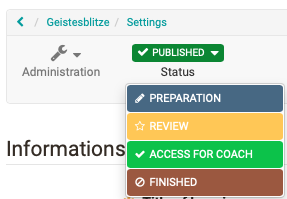
4. Publish course status | In the course toolbar set the status to "published". | |
5. Execute course and evaluate assessment modules | Now especially the assessment tool is needed and further actions are carried out directly in the course, e.g. forums are supervised, absences are organised etc. | |
6. End course | If the course has expired, the status is set to "finished". | |
7. Delete course | The "Delete" of the course is done via the appropriate menu in the course administration. Deleted courses then appear in the "Deleted" tab of the course owner. |
Note: Before you create your OpenOLAT course:
First think about how your course should be structured. What the course looks like depends on your didactic concept, the goals and the overall framework. Then prepare your learning content and other files (HTML pages, PDF files, CPs, etc.). for use in the learning platform. Select the optimal and most effective course elements and try to bundle things that belong together in a meaningful way in order to achieve optimal usability.
