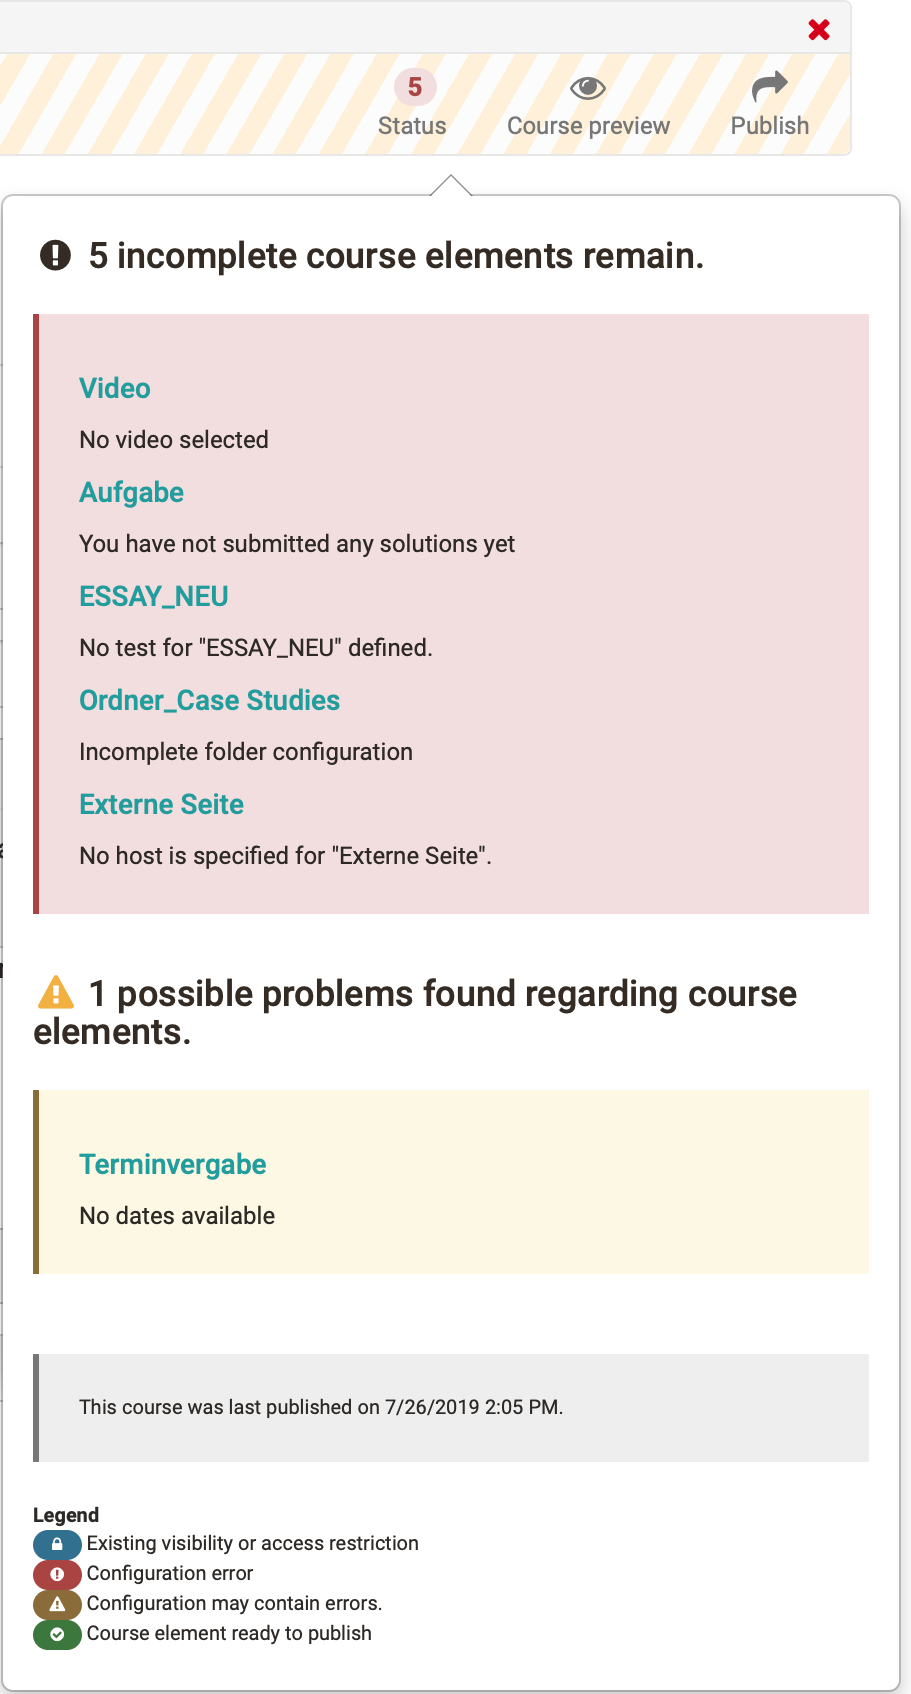
The problem status display and the editor tools Course preview and Publish can be found in the toolbar on the right.
Status in Course Editor
In the course navigation, a symbol is displayed behind each course element to indicate properties and any missing or incorrect settings. In the toolbar you will find the status display with the corresponding legend for these symbols.
Here you can see if there are problems with the configuration in the course editor. Click on the specified number and the corresponding problems will be displayed and can be solved by the course owner.
Course Preview
The editor tool "Course preview" enables you to see course settings and content from the course participant's point of view. By clicking on "Course preview" you will first get to the configuration menu to simulate your course at a certain point in time, as member of a distinct group, or with other attributes used in your course.
In contrast to the view of the course content you will see all modifications or course elements not yet published in the course preview. Features depending on an interaction between participant and system will not be available in the course preview, e.g. enrolling in groups, starting a test, self-test or questionnaire, and performing tasks in the course element "Task."
The course preview is useful e.g. to view a course from the participant's perspective before the start or to check certain visibility rules.
Publishing
As long as you have not published your course and granted access, your course participants will not be able to find your course in the search mask or the course list. Course modifications will not be effective during your course; you have to publish it once more. This means that you can prepare new course content in the course editor. Your participants will only see new features after publishing them. All settings and modifications will be effective after using the tool "Publish" in the course editor.
Step 1: First you have to select all those course elements you have modified and want to publish. Your choice will be reduced to course elements that are available for publishing.
Step 2: Then you determine who should have access to your OpenOLAT course. See section "Course Settings" to learn more about those four options at your disposal. Now you can complete your publishing process. Just click on "Finish."
Step 3: You can create a catalog entry for the course. Tip: Enter only complete and functional courses in the catalogue, no test or play courses.
Step 4: At this stage you will be informed on course elements that may not have been configured correctly and could cause problems when starting your course.
Step 5: Any background updates of course elements are displayed here.
Step 6: At last you will get a summary of your published modifications as well as a message containing the number of course participants working on your course at that very moment.Complete the steps with "Finish". You can also shorten the process by skipping individual steps and clicking on "Finish" immediately after step 2.
If you want it to go fast:
The course can be published automatically upon closing the editor. You can only publish either all or nothing, with none of the modifications from step two of the wizard available. This simplifies publishing enormously. However, none of the changes listed for step two can be made in this way. Only all changes to course elements will be published!


