Members management
Would you like to know who the members of your course are, who has access via groups and what rights those members have? The member management provides an overview of all users and groups within a course, and allows you to manage and administer them.
When opening the member management, you get a list of all members of your course, through either course or group membership. The table provides you with information on different user characteristics, such as roles, group memberships and visiting frequencies. Several tabs offer filtered views of the different member roles. Under each tab, you can view the respective members, manage existing and add new.
Users can get access to a course in two different way. Either they are part of a group which has been added to the course. We recommend to work with groups only if it is necessary due to didactic or organizational reasons. Or the users can be added directly to the course. It can be defined which role the user get in the course, independent of the general role in OpenOLAT. It is differentiated between participant (no editor rights), coaches (no editing, but access to the assessment tool and the statistics) and the owner (all rights).
The menu item Groups shows all groups linked to the course, as well as information on occupancy. Clicking the link "Edit" enables you to modify the group just as you would in the main navigation tab "Groups". You can create new groups on the fly, or link already existing groups to the course. How to create and configure groups and how to administer group members has been described in the section "My Groups".
The menu item Bookings shows all bookings for this course, ordered by status.
Do you want certain users to have the right to use course tools but you do not want to provide them with owner rights? The menu item Rights allows you to grant specific course rights to members of linked groups, such as the right to use the course editor or the assessment tool. The rights management differentiates between group coaches and participants.
Course rights are always tied to a specific course. The following course rights can be allocated to individual user groups:
| Group management | Members are allowed to add or remove groups. |
| Member management | Members are allowed to add or remove members. |
| Course editor | Members are allowed to use the course editor along with all its features. |
| Archive tool | Members have access to the course data, i.e. they are allowed to archive course data such as forums, etc. |
| Assessment tool | Members can assess and comment on the progress of course participants by means of the assessment tool, even without coaching rights. |
| Glossary tool | Members are permitted to administer the glossary. |
| Statistics | Members are allowed to access and download course statistics. |
Allocating course rights is suitable if you do not want to appoint an OpenOLAT user as course owner (co-author) but nevertheless want him to hold certain rights (e.g. permission to use the group management, the course editor or the assessment tool).
Coaches have the permission to use the assessment tool and may modify the groups they are coaching. It is not necessary to create a right group for that purpose. However, tutors can only assess members of groups they have been assigned to.
Other operations in the members management
In the course view, open the course tool members management. As course author, you are allowed to download Excel files with information on group and course members. In order to do this, navigate to the desired menu item and open the table download by clicking the icon "Table export". In the members view, a row of buttons provide you with several functions for collective actions such as sending emails to all selected members.
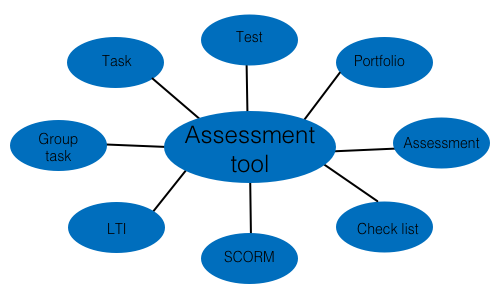
Assessment Tool
The assessment tool is used to assess or modify existing assessment of the following course elements:
All owners of courses have access to the assessment tool as well as members of a corresponding right group and, last but not least, all coaches. Owners may assess all course participants, tutors only those they have been assigned to. The course elements which should be assessed, first need to configured either in the tab "Assessment" or "Test configuration". Only if the assessment is turned on an assessment in the assessment tool becomes possible. To pass a course, the tab "Score" in the course element needs to be filled in.
Subscribe to the notification service to be informed on new test results or new generated certificates in your drop box.
Further information about the assessment tool you can found here.
Efficiency statements
The evidence of achievement allows you to active or deactivate the evidences for the course. Clicking the button "Change configuration" opens "Efficiency statement" the course setting. You can further initiate a new calculation of all existing evidences by clicking the button "Recalculate evidences of achievement".
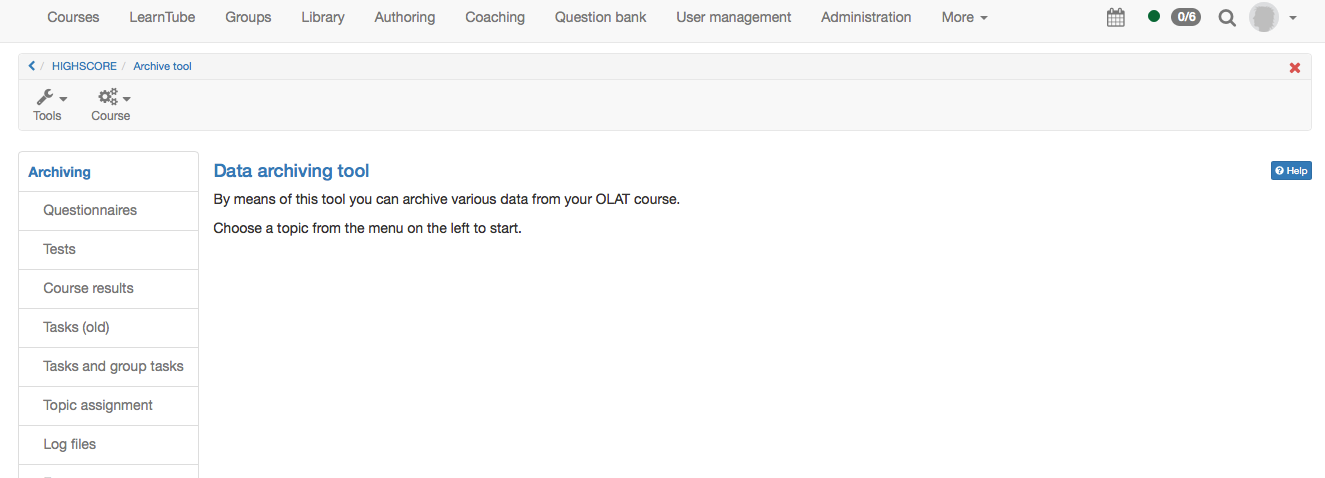
Data Archiving
By means of data archiving you can either upload files connected to your course in your personal folder or download as ZIP file. All archived data uploaded to your personal folder will be stored in the section "Private," sub-folder "Archive" by using course titles. You can archive results of tests, self-tests or questionnaires, SCORM modules and courses, drop boxes containing (group) task course elements, and log files. Furthermore, you can archive forums, file dialogs, wikis, checklists and the chat history.
Those archived files of tests, etc. will be stored in Excel format. You will dispose of information on when a certain user has taken your test, how this user has replied to your questions and what score this user has achieved. Archived self-tests and questionnaires will comprise anonymized user data.
Course results will also be stored in Excel format. In addition to results of tests, assessments and tasks also log files will be archived. For further information please go to "Record of Course Activities".
When archiving tasks and solutions all attempts loaded into the drop box will be zipped. Downloads can be divided into the respective user groups. Contributions in forums or file dialogs will be archived in the .rtf format. Attached files as well as the content of folders will be added. Wiki pages will be zipped along with all uploaded files. Checklists are downloaded as a zip file. The chat history is supplied in Excel format.
Additionally, you can delete the chat history of your specific course by clicking the "Delete" button in the "Chat history" menu.
When deleting a course all course data (but not the course elements!) will be stored in your personal folder automatically.
All course owners have access to the data archiving tool as well as members of groups with rights to the data archiving tool.
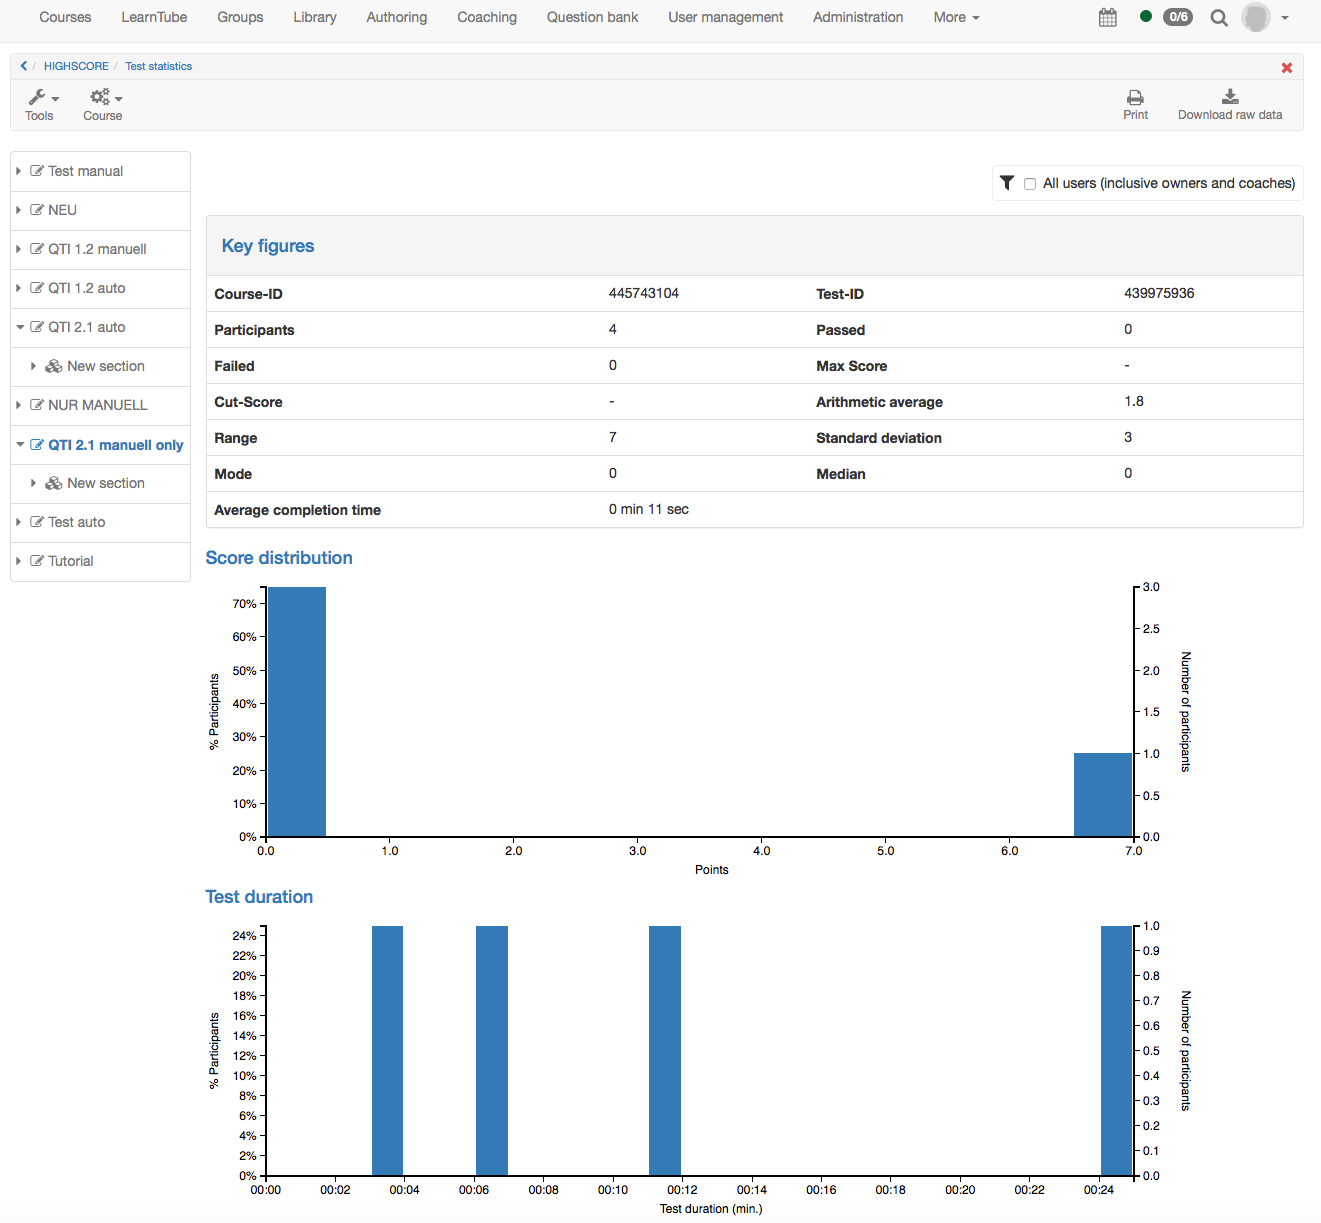
Test / Survey statistics
The test & survey statistics provide you with a anonymized statistical evaluation of all tests and questionnaires embedded in your OLAT course.
Other than theassessment toolwhich offers a wealth of information on test results of individual users, the test and survey statistics tools enable you to evaluate tests as a whole. This includes e.g. information on the average completion time, item difficultiy of individual questions, number of participants and how many participants passed the test. Single questions are analysed just as detailed. Typical item analysis parameters facilitate the evaluation of a test with regard to difficulty or suitability.
You can download both the graphical analysis as well as the raw data in the tool. The test and survey statistics tools use the same raw data as available in the archive tool.
Only coaches have access to the test and survey statistics. As a coach, you will get the analysis for all your coached participants.
Course Statistics
This course function provides you with statistics regarding access to your OpenOLAT course. All course owners have access to those statistics. You will receive data in the form of tables as well as in the form of charts. Table data can be downloaded as Excel files (e.g. for further processing) to your computer.
Relevant for your total of course accesses are user clicks on a single course element; however, clicks on this element's content will not be counted. If a user selects the Wiki from course navigation and clicks it three times, three clicks will be counted; no click will be counted though when clicking on a link within that Wiki.
Statistics can be created per hour, per day, per weekday or per week. Furthermore you can choose a certain period of time per day and per week during which any course access should be displayed in your statistics.
When selecting a course element in your table its corresponding chart will be displayed. If you select the number of clicks in the row "Total" your chart will show all accesses sorted by course element.
Learning Areas
Learning areas are used to easily assign groups to different elements within a course.
This course function enables you to manage and create learning areas for your course. By using the button "Create learning area" you can create a new learning area before allocating single groups to this learning area. If a learning area already exists you can use this one to allocate linked groups. All you have to do is editing the learning area, and then selecting the designated groups in the tab "Group assignment".
Learning areas are suitable for using the same course element within a course in several groups or if there are a lot of groups to choose from along with only one single registration element. Learning areas spare you the selection of each single group.
Instead of explicitly listing all relevant groups in the access and visibility rules, just add the learning area. If group access / visibility rules are added or modified, you need to republish the course. If, on the other hand, a learning area is edited by adding or removing groups, no access rule needs to be modified, and thus the course doesn't need to be published.
Add groups
Provided that groups have already been embedded in the course, these will appear in the tab. By means of check boxes you have the possibility to decide which groups your learning area shall contain. If no groups have been created the following text will appear: No learning groups found. Please create a learning group first by using the menu on your right.
You select learning areas in the course editor by means of the course element "Enrolment." All groups within a learning area will then be offered when registering. Additionally you can choose from learning areas in the tabs "Visibility" or "Access" if the option "Depending on groups" is activated.
