Here you can find all your binders. It can be differentiated between 2 types, which can show other features.
Besides you can create your own binder here.

Collected binders
These binders are at your disposal in a course. As soon as you collect the portfolio task in the course it appears in your binders. If you open your binder you can solve the assigned tasks. Further information you can find here.
Hint
By default it is not possible to create own entries in a collected binder. But all contents out of the media center can be inserted into an entry.
Self created binders
In general, all OpenOLAT user are allowed to create their own portfolio binders. How to create such a binder you get to know here.
There you get to know as well how to create a section or an entry.
Info
The possibility to create own binders can be restricted by your administrator.
Content
To every entry different contents can be added.

Hint
Citation, video and images are added to the media center and can be edited only there. Editing is only possible as long as the entry, to which the media file is linked, is not yet published
Title
Every entry can contain of several titles and subtitles.
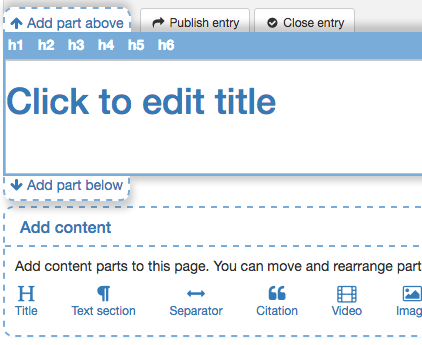
With h1-h6 the heading can be selected. h1 is according to the heading 1 and is therefore the tallest one and h6 is according to heading 6 and thus the smallest one.
Text section
With the help of the html-editor a "normal" text can be added. The common formatting is possible.
With "Insert" a math formula can be inserted as well.
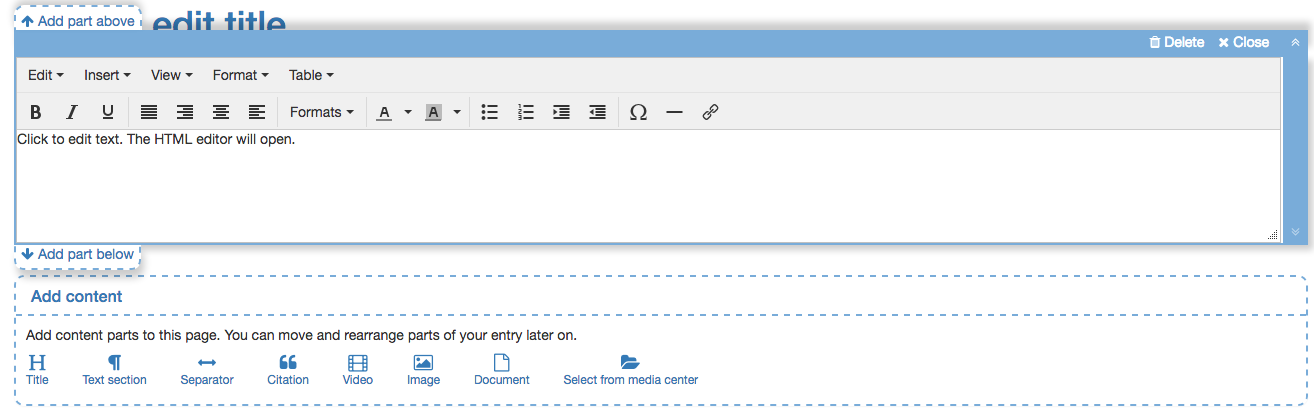
With "Add part above" and "Add part below" new parts can be selected automatically. In the edit mode individual parts can be deleted and the whole editor can be closed. With the arrows on the right, the order of the parts can be changed. Therefore a part needs to be moved up or down.
Separator
With the help of a separator a page can be divided graphically. A grey line is created, which cannot be formatted.
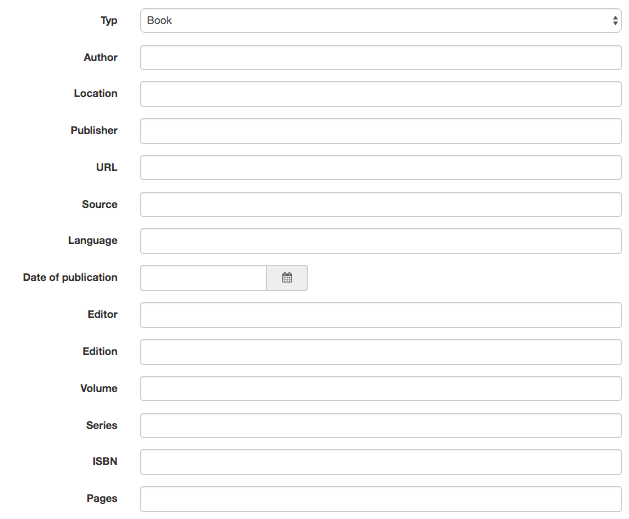
Citation
Directly in the entry, as well as in the media center, a citation can be added. First the corresponding citation type needs to be chosen. Afterward as many fields as possible should be filled in.

Video, image and document
Further on videos, images and documents can be uploaded. As soon as a title is added they can be saved and you can find them in the entry as well as in the media center.
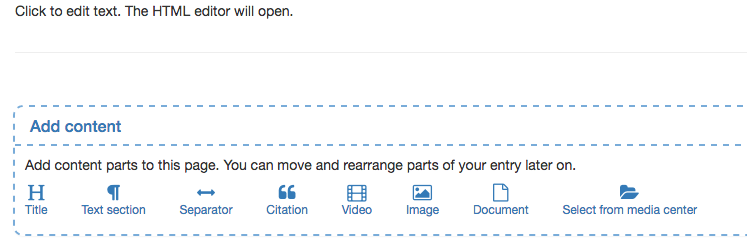
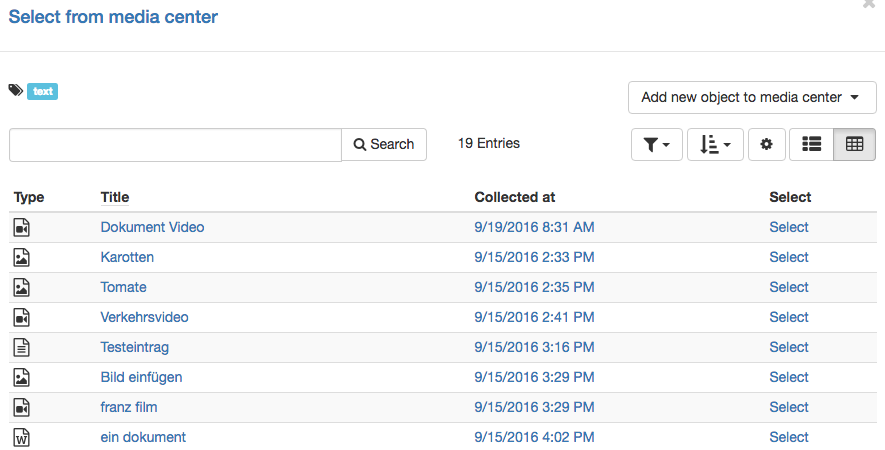
Select from media center
Files, which can be found in the media center, can be added to the entry with this button. The search and filter options help to find the desired files faster.
Further configuration
As soon as a binder is opened the following view appears:
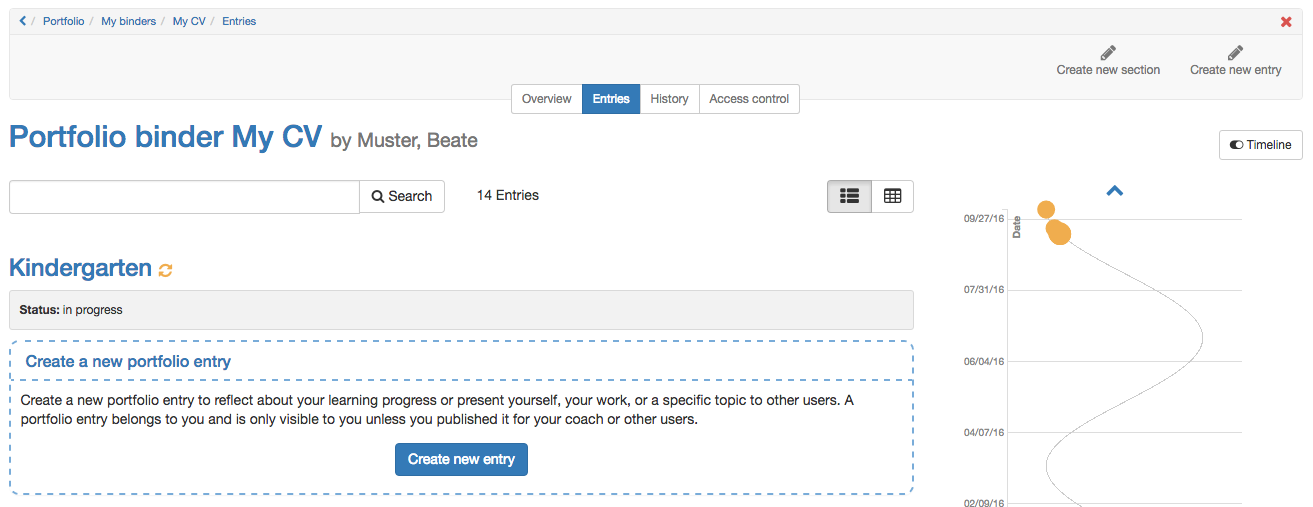
Not only sections and entries can be created here. Also the timeline is visible and the history can be selected here.
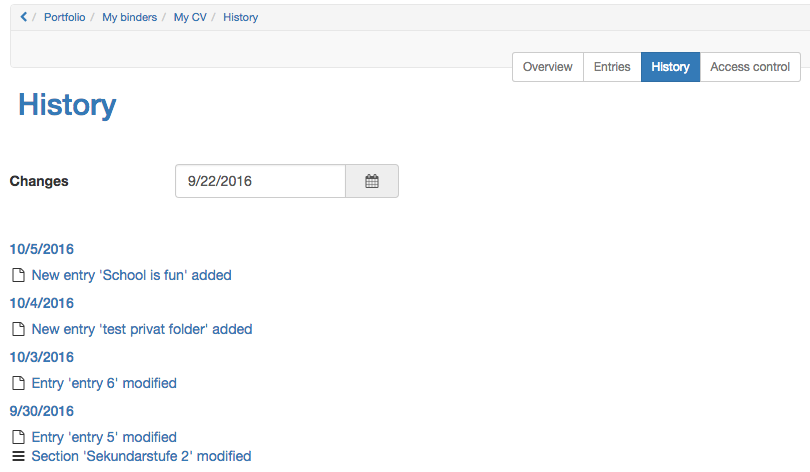
History
All changes are listed in a chronological order in the history. The latest change is always on top.
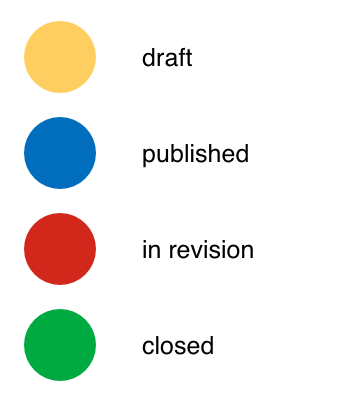
Timeline
With the help of the timeline the user gets a graphical overview about his activities in the portfolio. The colored points show the creation date of a section. With a "Left button click" on a point you get details about the corresponding entry. The different colors show the respective status of an entry.

Access control
Access rights can be added in the access control. Further information you can find here.
