A binder consist of sections, entries and contents. Here it is shown step by step how a binder is created.
| Step 1: Create binder | ||
|---|---|---|
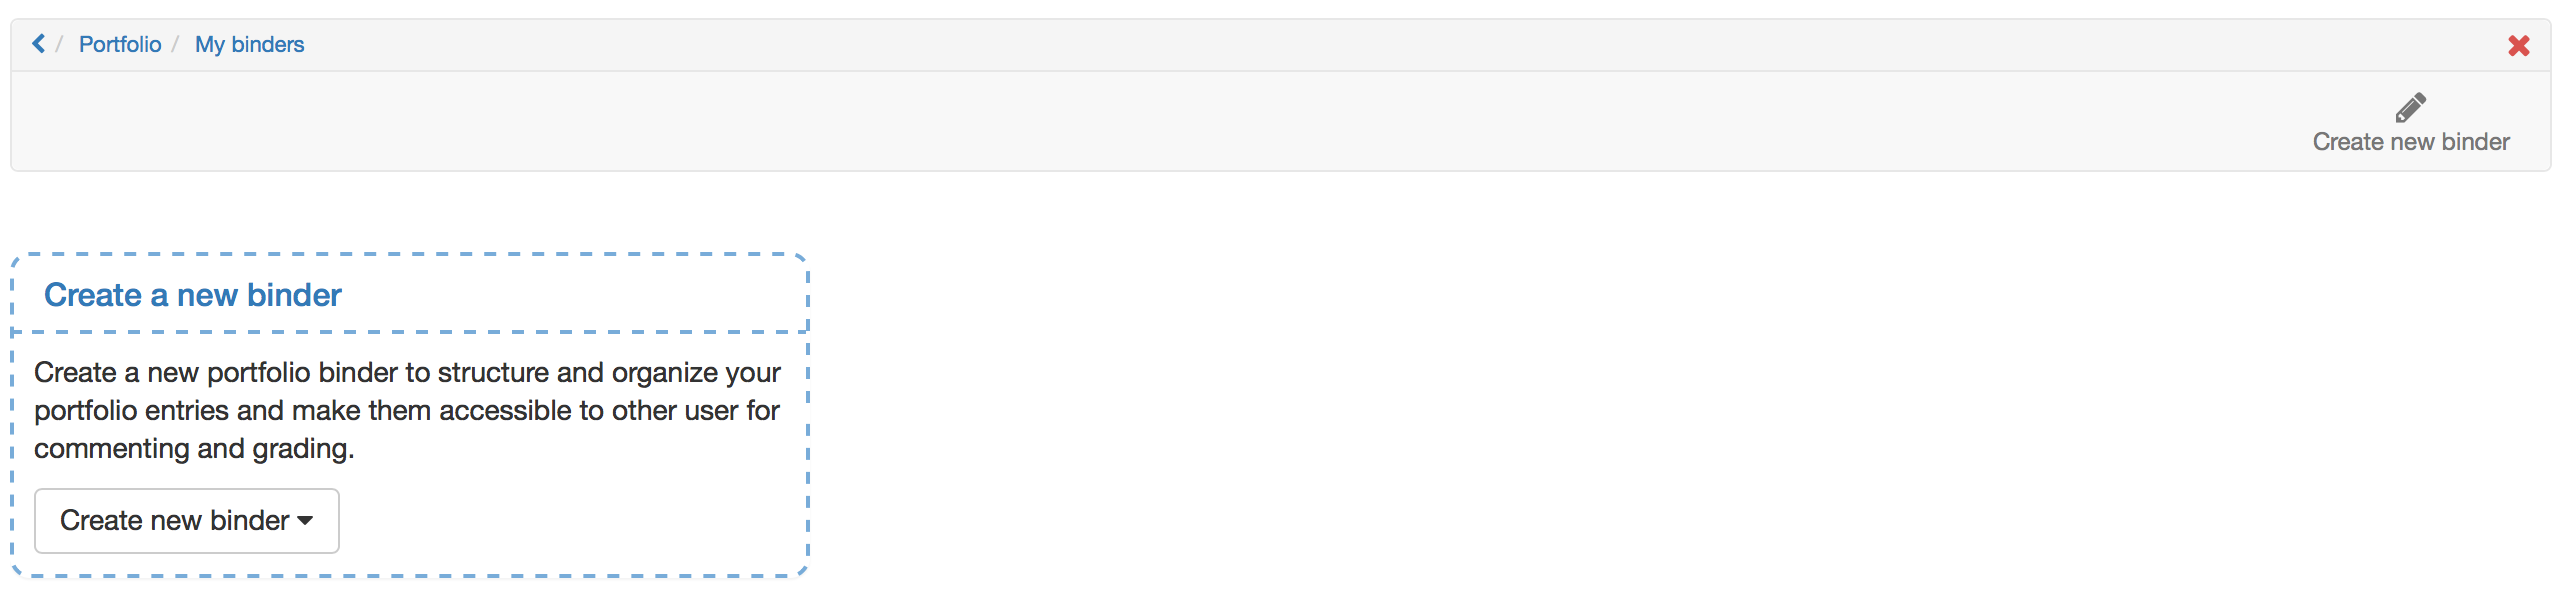
| 1 | Open landing page of the portfolio. |
|
2 | Click on the icon "Create new binder" on the top right. | |
OR: Chose in the dropdown "Create new binder" "New empty binder". | ||
| 3 | Alternatively a "New binder from course portfolio task" can be created, which is corresponding with "Collect portfolio task". | |
| 4 | Insert a title and create binder. | |
| 5 | Additionally a summary can be written, a teaser image uploaded or categories can be created. | |
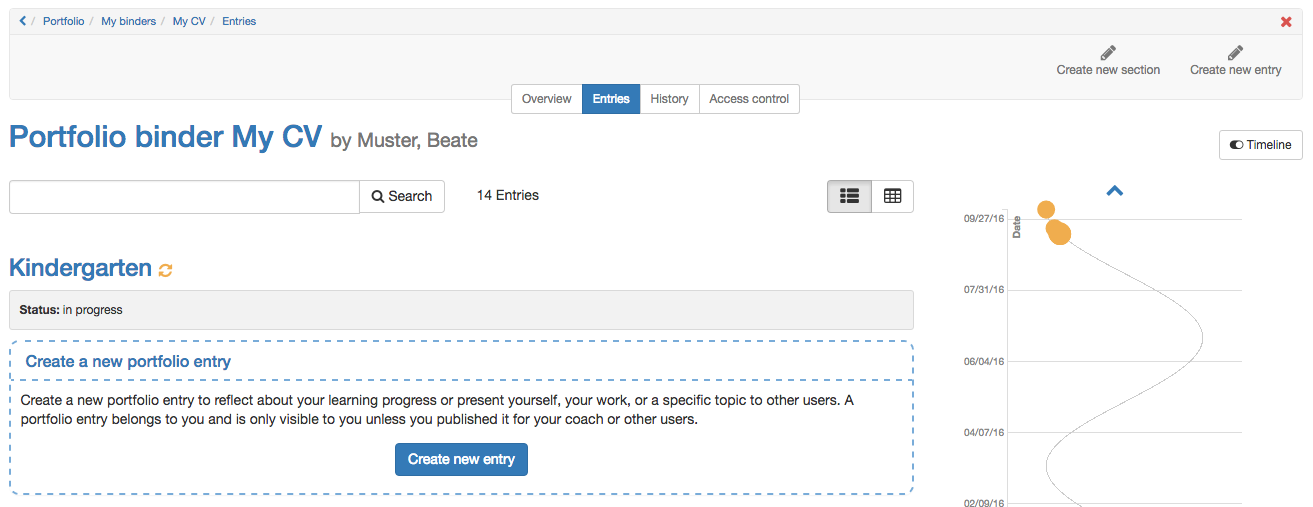
| Step 2 Create section | ||
|---|---|---|
| 1 | As soon as a binder is created, sections can be created. |
|
| 2 | On the top right or with the button in the middle "Create new section". | |
| 3 | Insert a title and create section. | |
| 4 | Additionally a summary can be added. | |

Hint
Sections can only be edited in the tab "Overview".
Sections cannot be divided in subsections. To every section entries can be added.
| Step 3: Create entry | ||
|---|---|---|
| 1 | As soon as a section is created, entries can be created. |
|
| 2 | On the top right or with the button in the middle "Create new entry". | |
| 3 | Insert a title and save with "Create entry". | |
| 4 | Additionally a summary, a teaser image and categories can be added. | |
| 5 | Afterward different contents can be added. | |