Format and Standardization
Tests are saved in a standardized format, in the IMS-QTI format (version 2.1). A detailed description of this QTI specification you can find on the website of IMS.
The creation and storage of tests and questionnaires in a standard format makes it possible, to use them on one hand as a course element in different OpenOLAT courses. On the other hand the can be applied in different LMS, whip support the same version of the IMS-QTI format.
In the questions pool, questions meeting the QTI standard 1.2 can be converted into QTI standard 2.1. Please find information on how to create a test here.
Types of Questions
There are twelve different types of questions to be explained in the following. Information on the creation of a question type can be found in the respective question type row. Settings for score and assessment mode are not valide for the questionnaire.
Each question gets a short title.
Type of question | Description | Example |
|---|---|---|
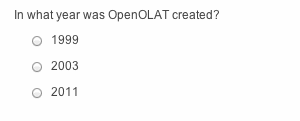
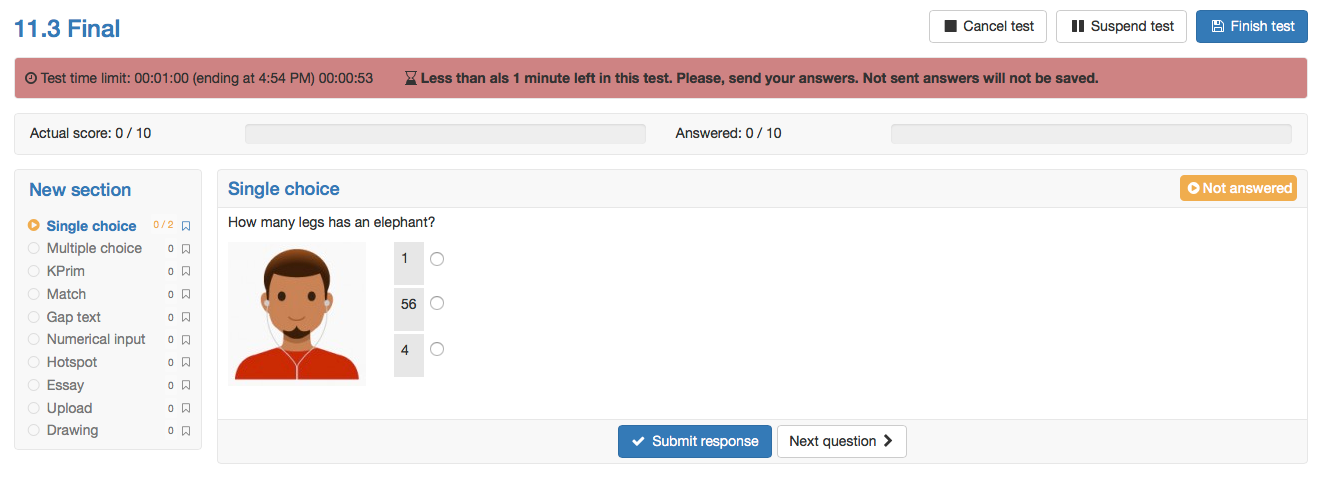
Single Choice | A single-choice question comprises a question and at least two answers; only one of them can be selected. In a test only one of those two answers is correct. First a short title and a question are inserted. Afterward it need to be selected, if the questions should be shuffled, if the alignment of the questions is vertically or horizontally and if the check-boxes are aligned left or right. Then the answertexts can be added. Additional answers can be added with the button . Questions can be deleted with the button . The correct answer can be selected in column Correct Answer. The order of the questions can be changed with the arrows. | |
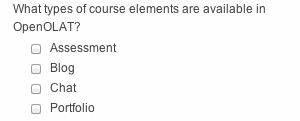
Multiple Choice | A multiple-choice question comprises one question and at least two answers; several answers can be selected. In a test several answers can be correct. First a short title and a question are inserted. Afterward it need to be selected, if the questions should be shuffled, if the alignment of the questions is vertically or horizontally and if the check-boxes are aligned left or right. Then the answertexts can be added. Additional answers can be added with the button . Questions can be deleted with the button . The correct answer can be selected in column Correct Answer. The order of the questions can be changed with the arrows. In the tab "Score" obviously the score can be defined as well ad the method of assessment. Additionally the "Max. number of possible answers" and the "Min. number of possible answers" can be defined. | |
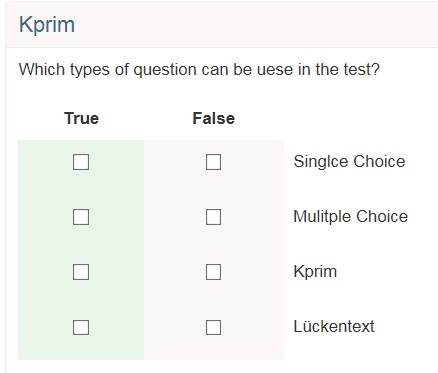
Kprim | A Kprim question can only be used in a test. It comprises one answer and exactly four answers. The one taking that test has to decide for every single answer if it is correct or not. 0 to 4 answers can be correct. First a short title and a question are inserted. Afterward it need to be selected, if the questions should be shuffled and if the check-boxes are aligned left or right. Then answer texts can be inserted. The order of the questions can be changed with the arrows. No more answers can be added and no answers can be deleted. For every answer it must be chosen, if it is true or false. For the assessment, the following score can be reached: All correct answers = 100% score | |
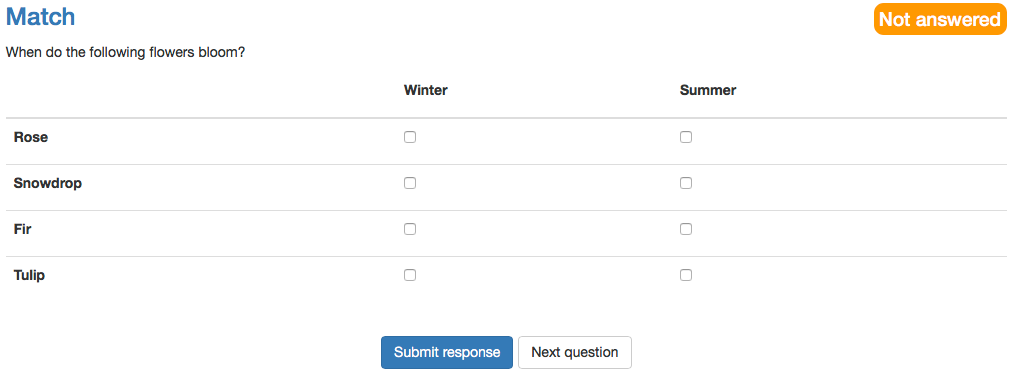
Matrix | A matrix question consists of several rows and columns, where the answer can be filled in for every row, either as single choice or as multiple choice. Again first a title and the question are inserted. Afterward it need to be selected, if the questions should be shuffled and if the answers are single or multiple choice. Then values can be added in the columns as well as in the rows. If more columns or rows are needed, they can be added with the corresponding button. Finally, the correct answer need to be selected per row. For single choice it is one answer per row, for multiple choice several answers per row are possible. | |
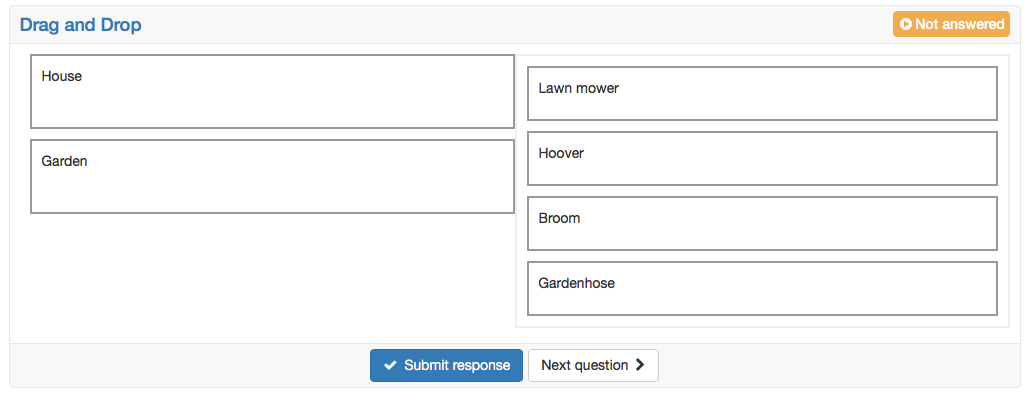
Drag&Drop | In general the Drag&Drop questions has the same behavior as the matrix question. However, the test participants do not select the checkboxes, but move the items in the corresponding category. First a title and the question are inserted. Afterward it need to be selected, if the questions should be shuffled. If the type single choice is selected, every item can be dropped only once. For multiple choice every item can be dropped in every category once, but not twice in the same category. The alignment of the answers defines where the items in relation to the categories are set. In the columns categories will be defined. Categories are the fix elements where the items will be dropped into. In the rows the items are added. With drag&drop the items can be moved into the categories afterward. | |
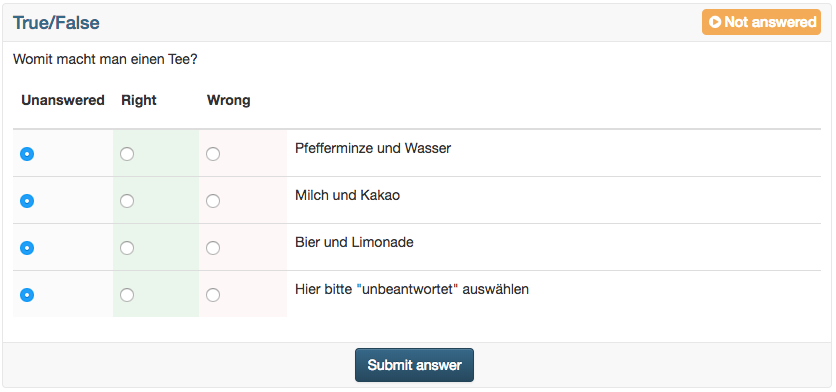
True/false | The question type True/False is similar to Kprim. In each line the corresponding statement has to be assessed. User can choose from three options: "Unanswered", "Right", "Wrong". "Unanswered" is selected by default. There is no option to add more columns. However, you can add as many lines as required by clicking on "Add row". The scores can be defined as needed. You may even give points for the option "Unanswered". | |
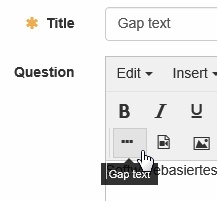
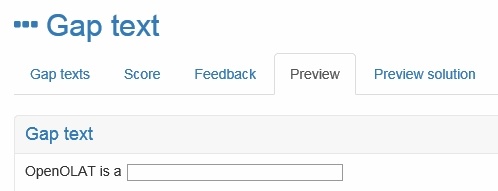
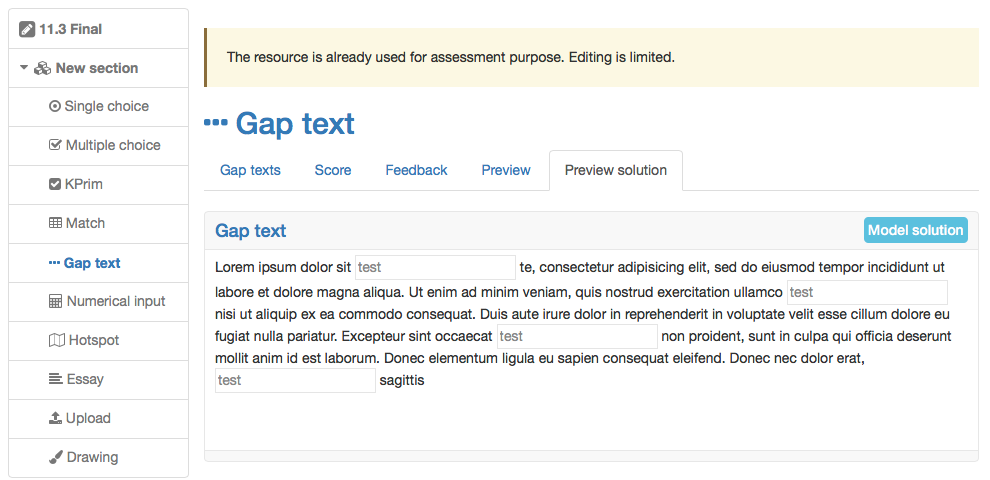
Gap text | In a gaptext question the sought terms are replaced by empty fields, which need to be filled in by the participants. Gaps are added with the icon in the editor and with a click on the gap it can be edited. For every gap the following attributes can be filled in:
|
|
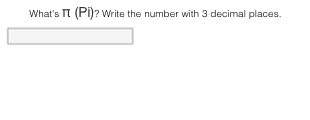
Numerical input | In general the numerical input is the same as the gap text. But as solution there are numbers and no texts required. First a short title is inserted. Afterward the next is written with fields for the gaps. For every gap the following attributes can be filled in:
| |
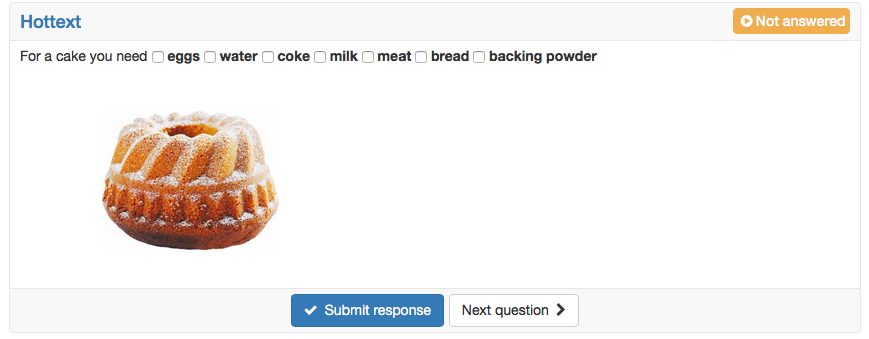
Hottext | The hottext questions is similar to the gap text. In a running text different terms are marked, and can then be selected by the test participants. First a short title is inserted. Afterward a text is written and the selectable terms are marked as hottext. Finally the correct answers need to be marked by selecting the check boxes. | |
Hotspot | In a hotspot questions hotspots are graphically presented on an image and need to be selected by the participant correctly. Thereby the question can be created either as single or as multiple choice. Various fine adjustments as the hot spot form or color, the adjustment of the size etc. allow an optimal visualization. The spots are visible for the participant. Approach: First a short title and a question are inserted. Afterward the desired picture is uploaded. Than spots in form of circles or rectangles can be placed on the image.Finally, the correct answer need to be selected. | |
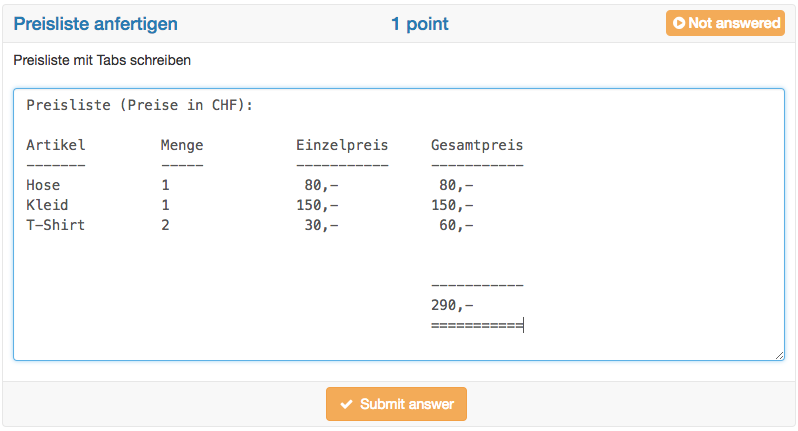
Essay | The answer to a free-text question is inserted into a field of variable size. In a test environment, the free-text question must be evaluated separately and manually. First a short title and a question are inserted. Afterward the following attributes can be chosen:
Free-text questions come with a pre-defined width and a tab function. Hence, answers can be formatted more easily, e.g. by displaying columns. Warning Essay questions must be assessed manually and the final score need to be adapted in the assessment tool. Info As the name already says it, with this question type essays are written often. Thus this question type has got an autosave feature, which saves written text every minute. Further information about the configuration of essays can be found in the excursion below this table. | |
File upload | For this question type participants need to upload a file. A short title and a question is inserted. No correct answer can be marked, as the assessment of this question type is only possible manually. | |
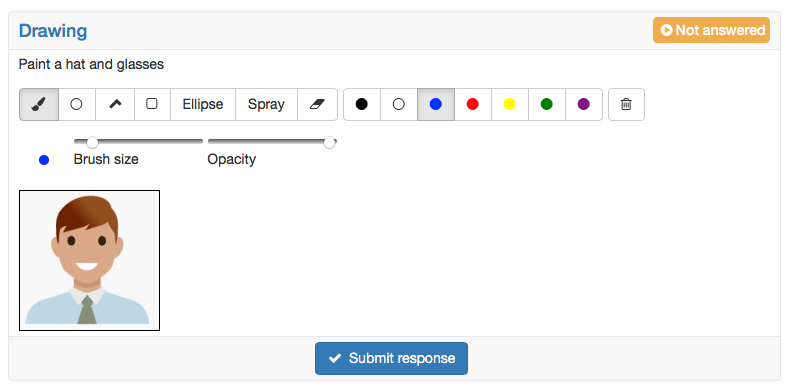
Drawing | For the questions type drawing the participant get the task to edit a given picture with the available drawing tools. First a short title and a question, or more an edit instruction are inserted. Afterward a picture for the background is uploaded. This picture need to be edited by the test participants. No answer need to be added, as the assessment of this question type is made only manually. |
Beside the direct creation, questions can also be imported out of the pool (question bank) or by excel.
Excursion about writing essays
With the learning resource test and the question type essay, essays can be written in OpenOLAT. The following points need to be considered:
- The autosave feature for the question type essay saves the written text every minute. The time of the last storage is visible on the bottom right. The autosave prevents the test participants of loosing written text, for e.g. if the internet connection is broken or a session time out is reached. If a participant has not actively submitted the answer to the question via the "Submit answer" button, the content already saved via autosave is displayed in the correction workflow with a note to this effect.
- It it comes to an interruption, the test participants should be able to start the test again. So the following settings need to be met:
- The number of attempts for the whole test should not be limited. To make sure, that the test is not started again at a later point (after the actual test time), it can be done with the Save Exam Browser or in the assessment mode.
- Suspend the test is allowed. So after an interruption the test participant comes back to where he left. The text is saved until the last storage. There can be some small text losses.
- The number of attempts for the essay question is not limited. This allows test participants to submit the written text over and over again and continue writing. The regular submitting of the written text gives security to the test participants.
- If a test has a time limit, the text is saved in the very end only if it is submitted right before the time is running out. Please remind your test participants shortly before test end to submit the question one more time and not writing anything anymore afterward.
If considering these recommendations an essay can be written in OpenOLAT.
With each question type you have the following tabs available: Name of the question type, Score, Feedback, Preview, and Preview Solution.
For the question types Single and Multiple Choice, as well as KPrim, the tabs question type and Feedback contain three formating options:
By default "One line" is chosen, which is for answers using only one line and no further formatting is necessary. Use the option "Multi-line" if answers consist of two or more lines and no further formatting is necessary. Use "Formatted" if the answer consists of images, videos, links, mathematic formulas or any other formatting which can be created in the html-editor of OpenOLAT.
Tabs of a test question
Please find below detailed information on the tabs which serve to set up a test question.
The first tab serves to enter the question and to define answer options. Depending on the question type, more setup options are available. For example, you may define whether the answers will be displayed randomly. Furthermore, you can change formating and other settings.
Score
In the tab "Score" you can define the number of attempts for a question, set the minimum and maximum score, and define how the question shall be rated. The following settings are possible:
- Limit number of attempts
- Yes: A maximum number of attempts needs to be indicated. For example, a question with one attempt can only be answered once.
- No: The number of attempts is unlimited. However, you can still limit attempts to work on a specific section or the whole test.
- Inherit: The number of attempts is taken form the level above.
- Yes: A maximum number of attempts needs to be indicated. For example, a question with one attempt can only be answered once.
Min. score: For the question types single choice, multiple choice, hotspot, matrix and drag&drop, where it is possible to get a negative value the minimum reachable score can be defined. Also for a negative total score the result can be set to 0 to avoid a negative score or a negative score can be tolerated. For all question types the default is set to 0.
- Max. score: Fill in the maximum score which can be reached in this question.
Method of assessment: If "All correct answers" is chosen, the score can only be reached when all answers are correct. If "Score per answer" is chosen, you can in the column "Points" what score is given per answer. No matter what is inserted here, with the summation the maximum score cannot be exceeded (cannot be chosen for Kprim, upload file, drawing or essay).
Feedback
You can add different types of feedback to each question. E.g. hints to help with the answer, or provide the correct answer if certain conditions are met. This allows you to support the learner in a very effective way, especially with formative or self testing. Feedback and hints are mostly used with self tests, since you can push the learner towards the correct answer by providing helpful information.
You can add and even combine the following types of feedback:
- Hint: For the hint a title as well as a text can be inserted. The hint can be opened, as long as the answer is not submitted yet.
- Correct solution: The solution is shown automatically, if the answer is wrong. Special case essay question type: The solution will not be shown during the test. But this feedback option can be used to provide the sample solution, which is shown in the correction workflow (assessment tool).
- Feedback for all correct answers: The feedback appears only if all answer are correct. You could for example add a praise for the correct answer.
- Feedback for wrong answer: This feedback appears as soon as 1 answer is wrong. E.g. also in a gap text which consists of 50 gaps and only 1 answer is wrong. The feedback types allows you to signal the learner that he/she is on the right track, although not all answers have been answered correctly yet.
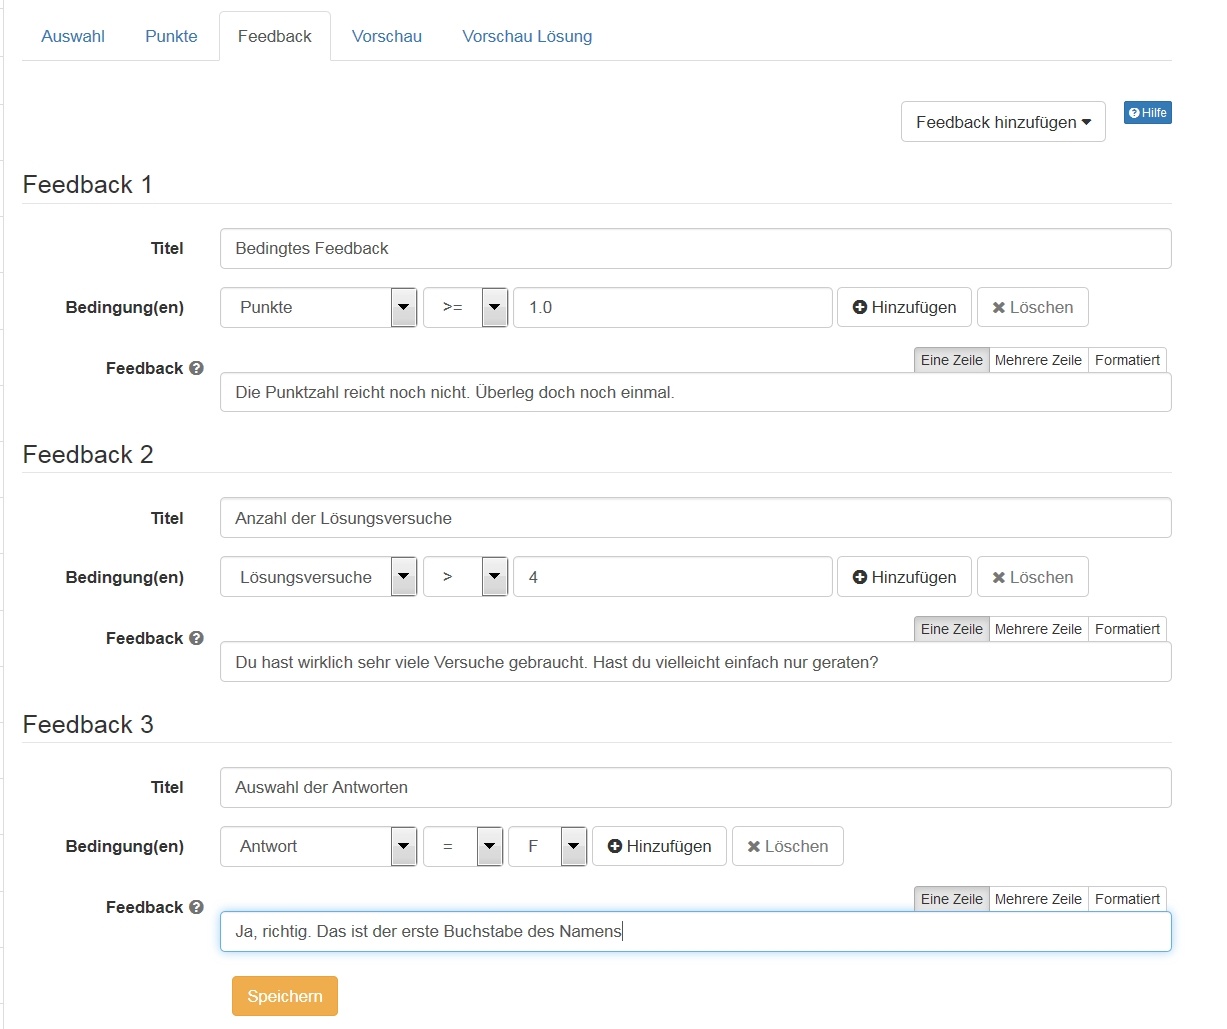
- Conditional feedback: Depending on the question type you may define feedback which is dependent on the score, the number of attempts, or the answer provided by the learner.
Conditional feedback allows you to individualise feedback. The learner can be provided with a specific feedback to a specific answer. You can thus address common errors, for example. Depending on the criteria additional options may be available: such as equal to (=), not equal to (≠), or smaller/greater than (<, >). You can even combine criteria of conditional feedback.
Feedback typically requires a title and a feedback text. The title is optional, whereas the feedback text is mandatory if feedback shall be displayed. If the feedback text is missing, the feedback will not be shown, and the entry will be deleted, respectively. If no feedback is available, the learner is guided to the next question when clicking on "Submit answer".
For tests already in use, the stored feedback on the questions can still be edited, but it is not possible to add new feedback.
Warning
"Feedback for all correct answers" is not effective in a Multiple Choice question where no wrong, but not all correct answers are chosen.
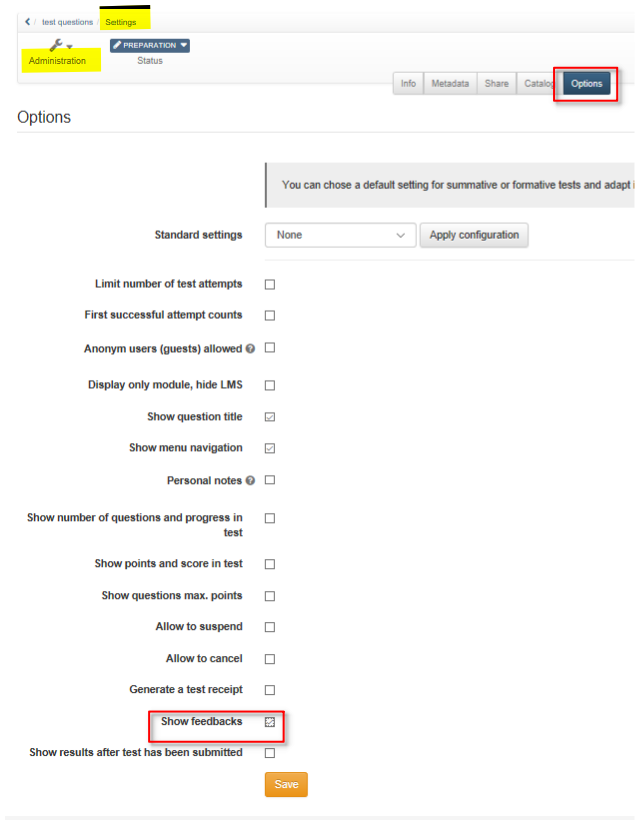
At the test level, you can set the overall feedback of a test in the Test Editor in the "Feedback" tab. Under Options in the test tools, the feedback for the entire test can be switched on and off.
Structuring and Organization
Every test must consist of at least one section and one answer. This is why there is already a section ("New section") along with a single-choice question ("New question") when creating a test or questionnaire. If you do not need a single-choice question in your test you can delete it as soon as you have added another type of question. Just click on the title of a section or question on your left to be able to modify it.
Sections are used to give your tests or questionnaires a certain structure. For example you can pose general questions at the beginning and therefore create a section "Preface." Your test or questionnaire can contain of as many sections as you like. Nesting of several sections among each other is possible.
If you want to add a new section or question just navigate to the position of your choice and select in the drop-down menu "Add elements" in the toolbar the new element. You can also add one or more questions directly from the question bank or via Excel-Import into your test. Just navigate to the corresponding menu item. It is possible to delete or move sections or questions anytime. You can even copy questions.
It is recommended to copy questions if there are questions with the same possibilities to answer, e.g. if several questions could be answered by selecting a value between 1 and 5.
Display Options and Configuration
The further options can be configured on different levels.
On the test level...
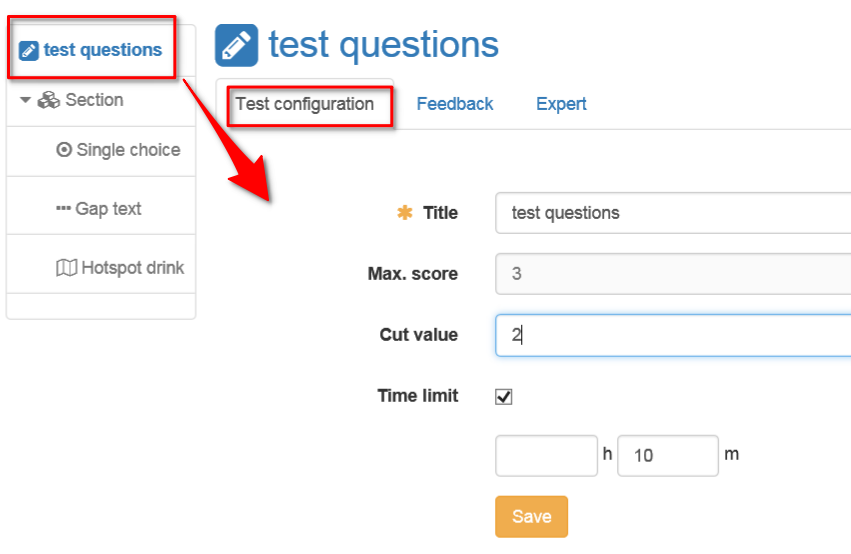
...the title which appears in the navigation is set. Additionally the following configurations can be selected:
| Max. score | This score is calculated automatically out of the single questions of the test. |
| Cut value | If a test can be passed at a certain cut value, this value can be inserted here. The "Cut value" is only relevant, if the test is embedded in a course with the course element test. |
| Time limit | The time limit can be defined for the whole test. Hours and minutes can be defined. A time limit for sections or single questions is not possible. As soon as the time is over, the test is pulled. Questions which have not been submitted yet will be treated as empty, not answered questions and don't give a score. It is not asked, if the questions should be saved or not. The feedback over the whole test and the review are also part of the time limit. 10, 5 and 1 minutes before the time is over a warning bar informs about the resting time. A time limit of the test can either be done in the test editor as described here or after embedding the test into the course in the course editor in the tab "Options". If necessary the test time can be extended for single users in the assessment tool. |
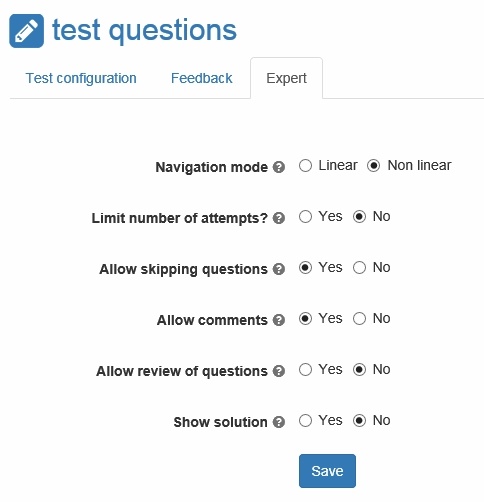
In the tab expert or on the level of the part, as far as a part has been added, the following configurations can be done:
| Navigation mode |
|
| Limit number of attempts? | If only a certain number of attempts is allowed, it can be defined here. This limitation is only valid for the test part. If the number of attempts should be limited for the whole test, it needs to be limited in the options or in the course element test. If the number of attempts is limited on the level of the test or part, this configuration is inherited to all sections and questions below. |
| Allow skipping questions | If this check box is selected, the test can be finished before all questions are answered. |
| Allow comments | The participant can take personal notes, which are not available after the test anymore and are not assessed. This feature can only be selected, if "Personal notes" is selected in Options. |
| Allow review of questions | After finishing the test the test and its answers can be shown again, but no corrections are possible. |
| Show solution | In the review the solutions are shown additionally. This feature is only possible, if "Allow review of questions" is selected. |
Beside the test configuration a feedback can be created for the whole test. As soon as the cut value is inserted, a feedback text can be added. The feedback for passed appears as soon as the cut value is reached. The feedback for failed appears as long as the cut value is not reached yet.
On the part level...
... it is in general the same as on the test level. Every created test consists of one part. But it is not shown. The parts are only visible when parts are added and the test consists of at least two parts. As soon as there are two or more parts, the configuration is mainly made on the part level and no longer on the test level.
On the section level...
... you can optionally give the section a more detailed description. If the visibility of the section title is activated, the respective section description is also displayed in the following places in OpenOLAT:
- In the test, when a question belonging to the section is called. The participant can show or hide the section description.
- In the test results.
- In the correction workflow for the questions belonging to this section.
Several nested sections with descriptions are displayed below each other and can be shown or hidden separately.
Some options that can be set at the test level can be configured again at the section level. This allows a different behavior compared to the rest of the test, especially for the corresponding section. These settings can be found in the expert tab.
Further options can only be configured at the section level and can be found in the section tab:
| Random order of questions | It can be configured, if the order of the single questions of a section are chosen randomly or if they appear in the created order. A random order can complicate cheating. |
| Number of questions in this section | Here it can be chosen, if all questions of a section appear in the test or only a defined number, which is selected randomly. If there are more questions in a section than chosen they are mixed randomly. For the user different test summaries are created. |
| Section's title visible in test | The section titles can be hidden. Then the respective section descriptions will not be displayed either. Only the questions are still visible. (Adjustable in the Expert tab) |
In the options...
...are some more configuration possibilities.
Under "Default setting" → "Select profile" exists the possibility to chose one of the two basic settings for tests.
Optionally a pre-configuration for summative or formative tests can be applied. Some options are selected and can be adapted manually. This simplifies unexperienced authors to get quickly to a fitting setting.
Excursion summative and formative tests
For formative tests the improvement of a status will be looked at and assessed. This occurs during a pre-defined period of time and with pre-defined criteria. The aim is to interfere in the learning process to reach an improvement. An exercise test is an example, as in the ongoing class feedbacks can be given.
Summative tests are applied only after the performance of e.g. a course, to get a final assessment and to check the attainment of the defined goals. An example therefore are sharp tests.
The following configurations can be done:
| Limit the number of attempts | The number of attempts can be limited. The maximum value is 20. The defined number of attempts here corresponds to the whole test. | |
| First successful attempt counts | A user cannot try to improve the test result with a further test. | |
| Anonym users (guests) allowed | It is also possible to perform in a test as guest. The results can be reviewed in the test statistic. Guests cannot suspend the test. Only finished tests are counted. Guests cannot suspend a test. Only finished tests are counted. | |
| Display only module, hide LMS | This option is selected to avoid that a user has access to other OpenOLAT features during a test. OpenOLAT then is faded out and is only shown after finishing the test. OpenOLAT is faded out and will only be shown when finishing the test. | |
| Show question title | Select this checkbox to show the question titles to the users. If the questions titles should not be shown, but the navigation is activated, the titles appear in the menu navigation in an anonymized form. | |
| Allow menu navigation | If you do not allow the menu navigation the next question appears automatically after submitting a question. The user cannot navigate to other questions. | |
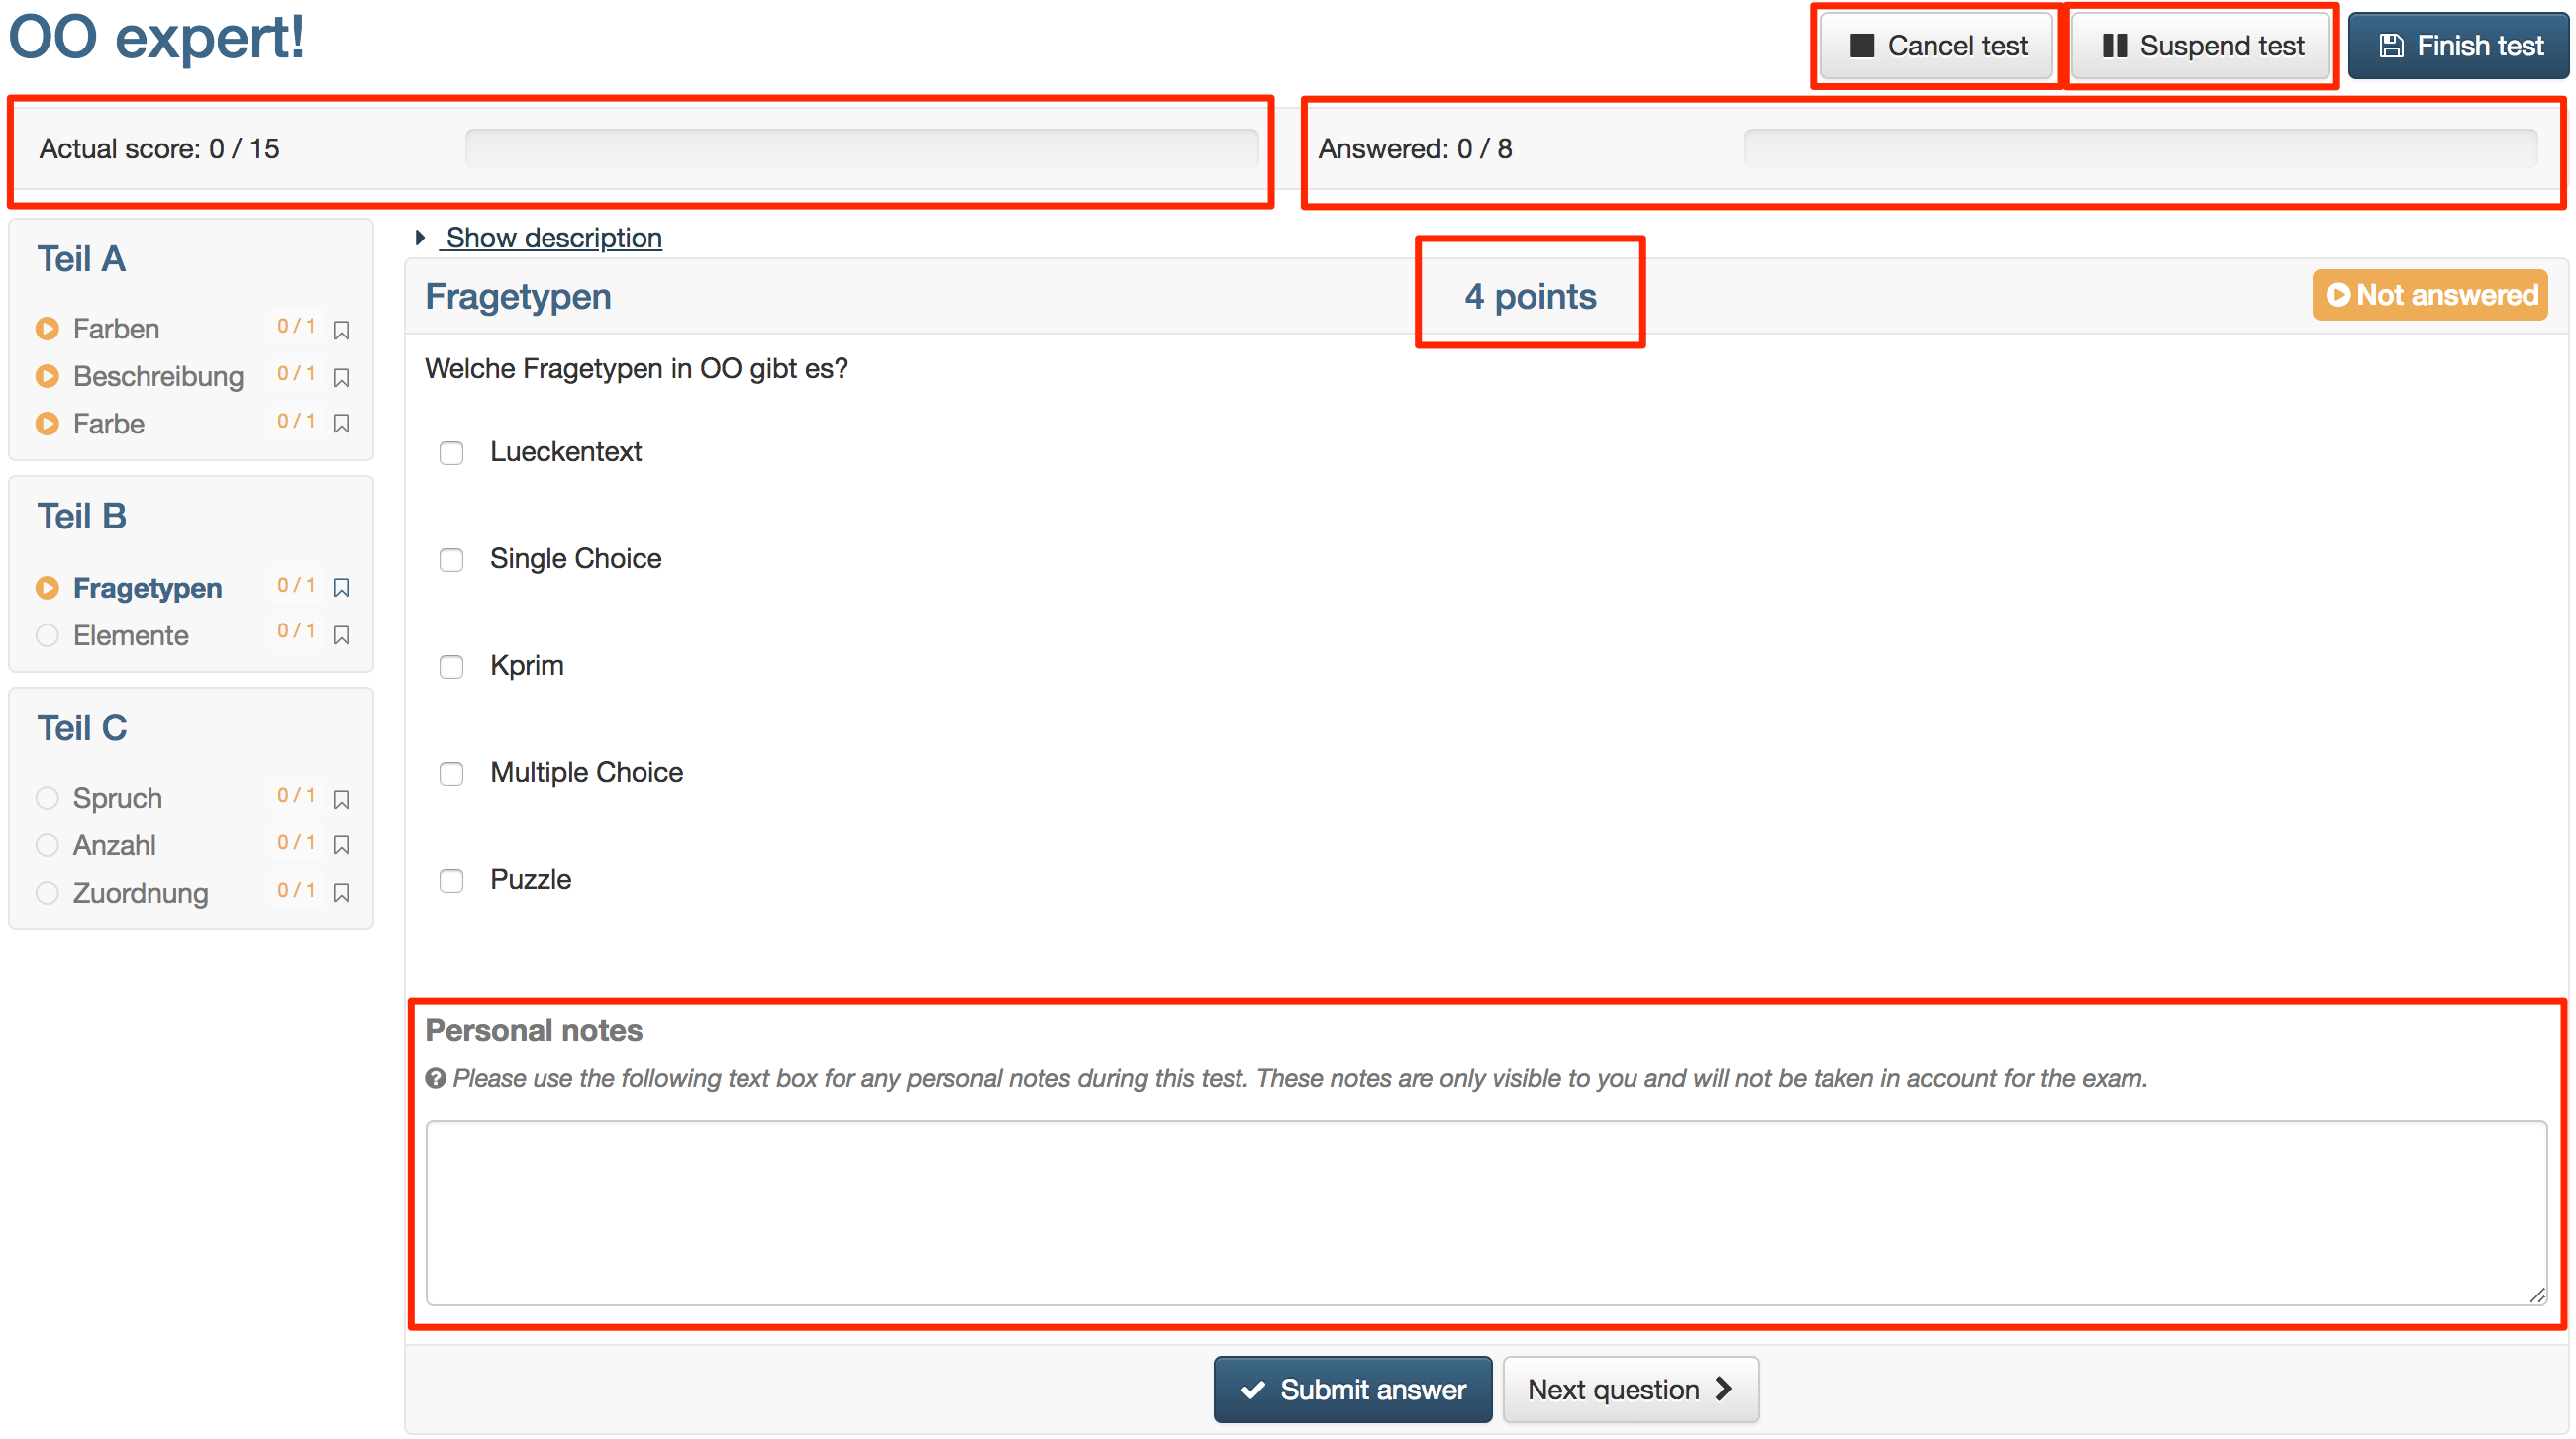
| Personal notes | You can enable users to take personal notes during the test, which are not available anymore after finishing the test. | |
| Show number of questions and progress in test | Select this checkbox to show the number of questions to the user. | |
| Show points and score in test | Select this checkbox to show the current score during the test to the user. | |
| Show questions max. points | Select this checkbox to show the maximum points of a question during the test. | |
| Allow to suspend | If the checkbox is selected, users can suspend the test. Hereby all previous questions are saved and the user can continue with answering the questions at a later date. | |
| Allow to cancel | With selecting this checkbox you allow users to cancel the test, without saving the answers. | |
| Generate a test receipt | If this option is selected, after the test a test receipt will be created which can be downloaded as xml-file. It helps to verify a test. | |
| Send the test receipt per mail | If the options Generate a test receipt ist selected, the option Send the test receipt per mail can be selected. The created xml-file will then be send by mail to the participant additionally. | |
| Show feedbacks | As long as the checkbox is selected the feedbacks are shown. If the checkbox is not selected anymore, no feedback will be shown. This includes the feedbacks of all question items as well as the feedback added on the level of the test. | |
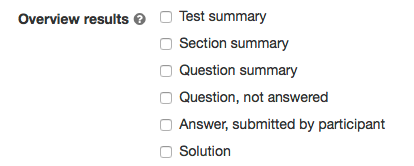
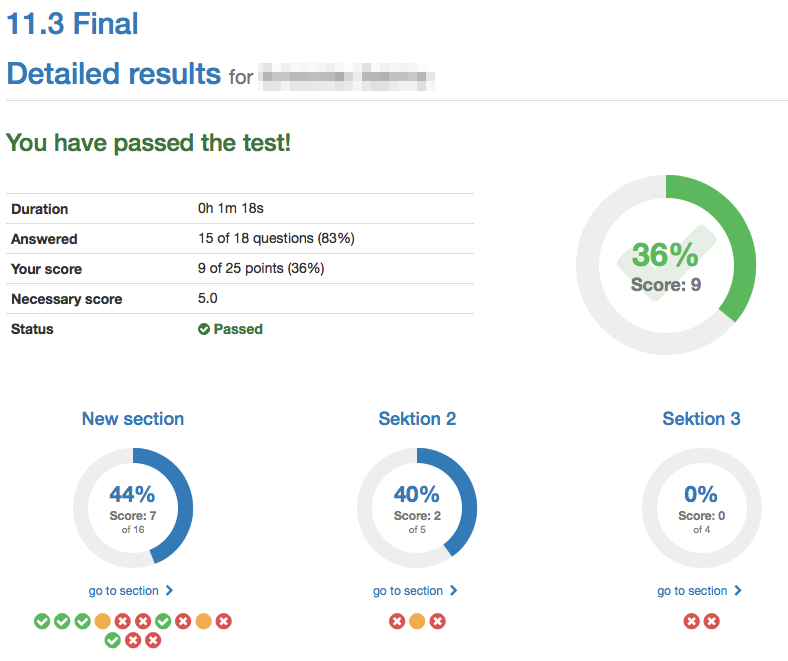
Show results after test has been submitted | Select this checkbox if a user should see the results after finishing the test. The result will not be shown on the test homepage. This setting will be done in the course element test. From the following options the ones can be chosen which you would like to show.
| |
Hint
The configuration made in options are taken into the course element test automatically while embedding and can be adapted if desired.
On the course level....
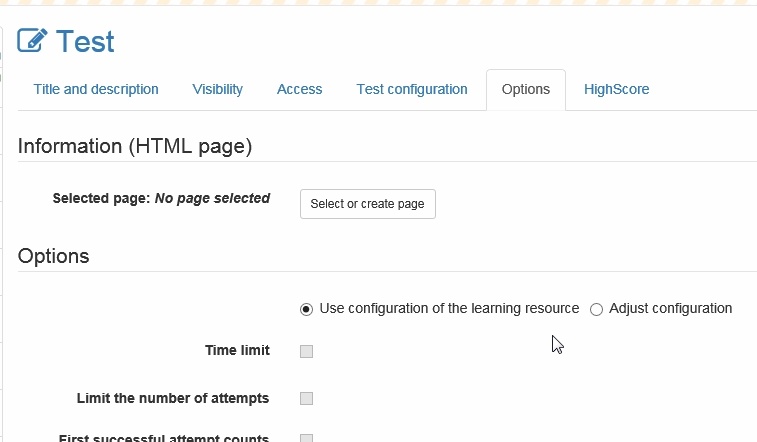
... the settings made in the options are taken over automatically. Therefore, in the tab Options "Use configuration of the learning resource" is selected.
If the configuration needs to be adapted, "Adjust configuration" needs to be selected. These adaptions do not have any impact on the configuration of the learning resource itself.
In the tab Test configuration some additional configuration can be made:
| Correction | The correction can be made automatically or manually. As soon as there is an essay, it must be manual. For the auto correction the result is visible right away and all questions are revised automatically. For the manual correction the visibility of the result is limited and the the coach needs to add manual correction, as for some question types no auto correction is possible. These include essay, file upload and drawing. A manual correction is also possible, if the just named question types are not included in the test. Like this it becomes possible to limit the visibility, even though the test consists only of multiple choice questions. |
| Show score on test homepage | If this option is selected, the score will be shown to the user on the test homepage. |
| Show results on test homepage | Here it can be defined, if the result should be shown on the test homepage. If the checkbox Depending on date is not selected, the results are available directly after finishing the test. If only the from date is inserted, the result is shown from this time on. If both dates are inserted, the result is available during this time period. In wich level of detail the results are shown, can be defined under "Overview results". The selection can be done once and is the same for "Show results on test homepage" and "Show results after test has been submitted". |
Show results after test has been submitted | If adaptations are necessary, in the tab Options "Adjust configuration" need to be selected first. More information here. |
Source Code of Tests
Participants will not be able to see in the test's or self-test's source code which solutions are right or wrong; answers will be sent to the OpenOLAT server before being analyzed.
Export to Word
Tests and questionnaires created in OpenOLAT can be exported as a Word file. Click "Export as Word file" in the editor tools in the test editor in order to download the test or questionnaire as .zip-file. The file contains two files in the MS .docx format, one containing only the test questions, while the other contains questions and answers. The exported files contain important additional information such as the score, thus enabling you to use the test document directly for e.g. offline testing.
Modifications of Embedded Tests or Questionnaires
As soon as a test or questionnaire is embedded in a course you have only limited possibility to make modifications. For more information please go to "Using Editors During Course Operation".
