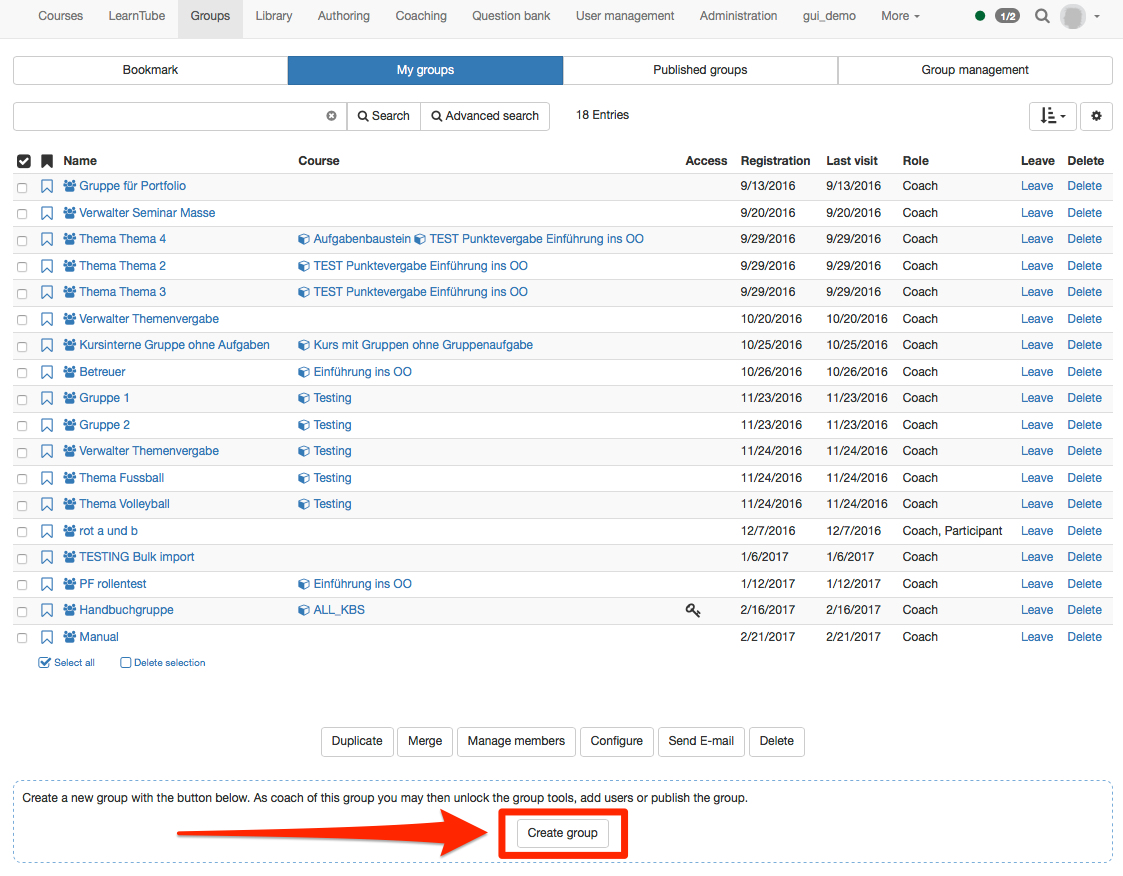
Groups can generally be created in the "Groups" tab. In addition, it is also possible to create groups within courses.
Create Groups / My Groups
The menu item "Groups" on top in the main navigation is your starting point for creating a group. If your system administrator enabled this feature, you can finde the button "Create group" at the bottom of each table in the "Favorites" and "My groups" tabs.
Click the button and enter a name for your group. Determine the maximum numbers of participants and save your settings. The group will then appear on the list containing all groups in the tab "My groups."
If you wish to create a group associated with a course, there are two more methods to create a group in addition to the one mentioned above:
- In the course, you will find the settings for member management in the drop-down menu "Administration" in the upper left corner. There you can create new groups or add existing groups to the course.
- Learning areas to subsume several course associated groups are created with the "Learning areas“ tool, which you will also find in the course tools. The menu item "Groups" in the members management also allows you to edit all linked groups, add new members, configure collaborative tools or even delete groups.
- In the course editor: When configuring the registration element or when using the tabs "Visibility" and "Access" you can create groups directly. However, it is not possible to add members or to activate collaborative tools. To do that, either navigate to the members management, or open the relevant group in a separate tab.
You can view all your groups under "Groups" in the sub-tab "My groups".
Group Names
You have to provide your group with a name. You can choose any name including symbols and numerals. The group's name appears in the overview of your group as well as in the navigation. When creating groups though please mind to choose appropriate group names. OpenOlat users will appreciate to be able to draw conclusions from group names regarding the purpose of the group. You could e.g. select the name "ParticipantsSocialPolicy" instead of just "Participants." Or you could add your initials or a date. All groups can be published by configuring a booking method - you should therefore aim for a distinct, unique group name.
Description: You can optionally provide your group with further details. It will appear on your overview page when starting your group
Number of Participants and Waiting List
When creating a group or later in the group administration there is the option to limit the number of participants; you can determine how many members your group should have. If the planned number of participants is exceeded, your course participants will receive a notification that there are no more vacancies. If you leave this field empty, your group will be open to any number of participants.
Waiting list: If you want to limit the number of participants you can nevertheless add a waiting list to your group. With an activated waiting list, potential members can enter their names on that list in case the limit is exceeded. If there are members leaving the group or if the group coach cancels some previous registrations, persons on the waiting list will move up automatically if the option "Moving up automatically" has been selected. Here you can determine if users on your waiting list shall automatically be transferred to your group whenever there are vacancies. The main criterion here is the date of registration: the first one on the waiting list will be the one to move into your group.

