How to create a questionnaire with the questionnaire editor.
1. Create learning resource Survey
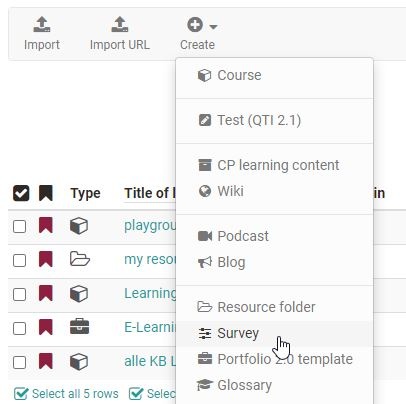
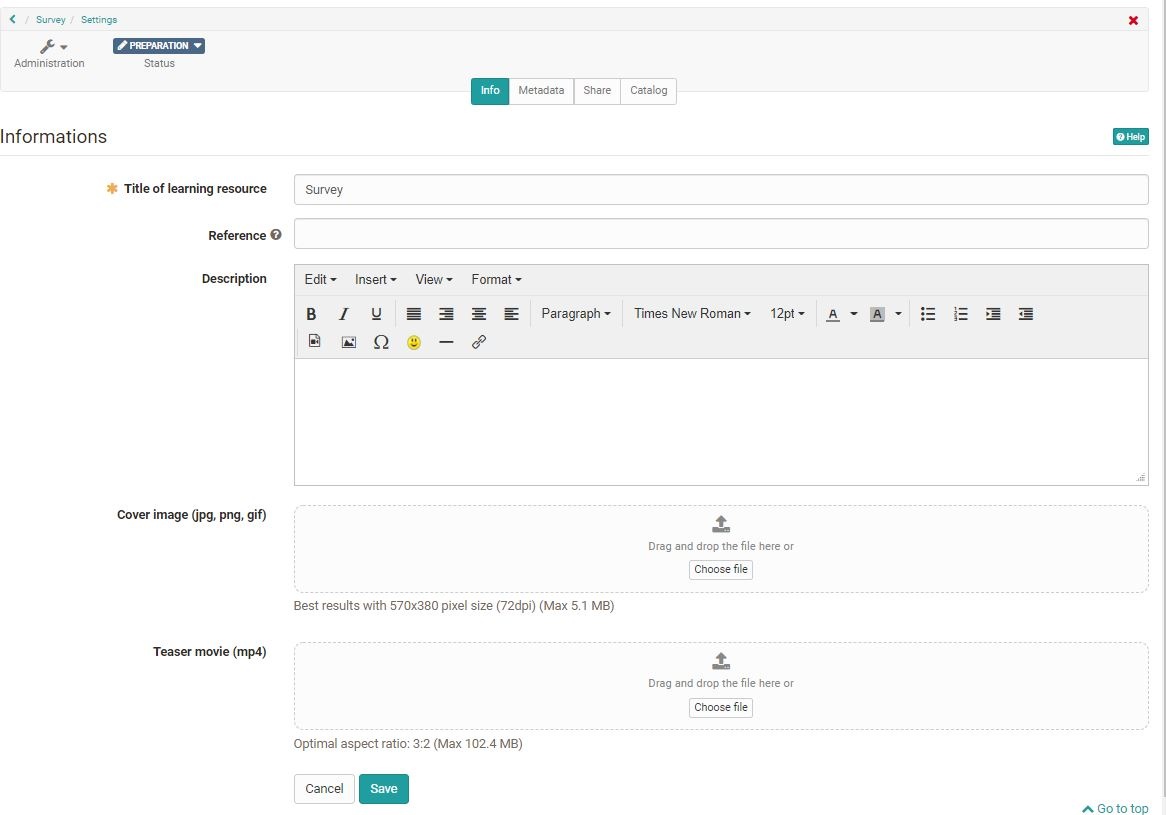
Go to the authors area, click on "Create" and select "Survey". Assign a title to the questionnaire.
You will then be taken to the general settings of the questionnaire and can further configure the questionnaire if required (but this is not necessary for the time being).
2. Create questionnaire content in the editor
Select the "Edit content" link in the "Administration" menu and the questionnaire editor opens. Now select "+ Add content".
Depending on the type of question you want to create, select "Rubric", "Single choice", "Multiple choice", "Upload file" or "Text input". If you select "Rubric", the questions and answers will be created together. For all other question types, the questions are created with the help of the "Paragraph" element and assigned to the answers of the appropriate question type. Proceed as follows:
2.1 Add questions
Use "Paragraph" to enter your questions. A separate element is required for each question. You can also enter all your questions one after the other with a paragraph element.
2.2 Add answer selection
Depending on the question, add a ", "Single choice" or "Multiple choice", "Upload file" or "Text input". You can use "Add entry" to add further answer elements to single or multiple choice.
Question type rubric
Rubrics are useful if you want to use several questions for the same rating scale. This question type is created slightly differently.
Select the editor element "Rubric" and enter a rubric name. Configure the type of presentation via "Type", scale type and the number of steps.
Enter the question or the corresponding statement in the field on the left. Add further question fields by clicking on "Add question" and complete the texts.
Use the "Column caption" to set up a rating scale. You define the number of scale elements under "Steps". Then click on "Save".
Use the "Advanced configuration" to name the rubric and define further details about the scale.
2.3 Adding additional elements and closing the editor
If necessary, add further elements, e.g. "Terms of Use" or "Information".
It is useful to add a heading to the questionnaire, possibly also a short piece of information. You can do this with the "Title" and "Paragraph" elements.
When you are done, close the editor by clicking on the title of the questionnaire in the breadcrumb navigation. The questionnaire is now saved and you see the questionnaire from the perspective of a user. Now the questionnaire is finished and can be integrated into your course.
3. Include the questionnaire in the course
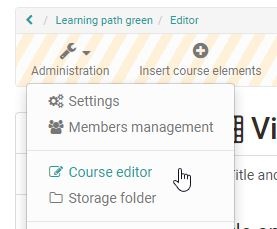
Go to the authoring area and open the course editor of the desired course.
3.1 Positioning the element
Use the cursor to select the point in the left-hand navigation where you want to position the questionnaire.
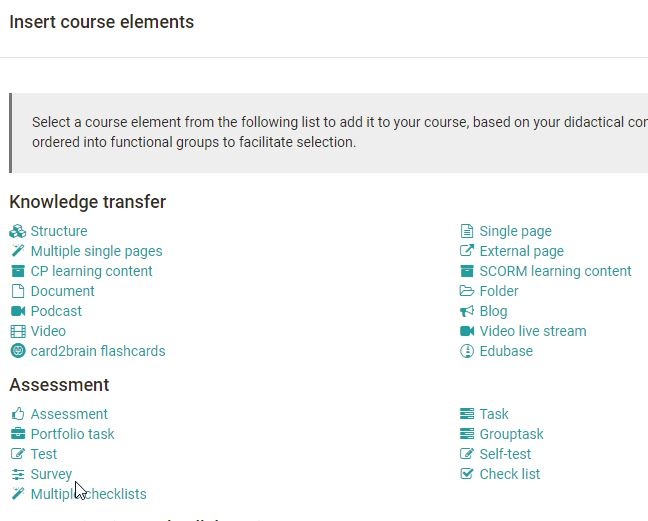
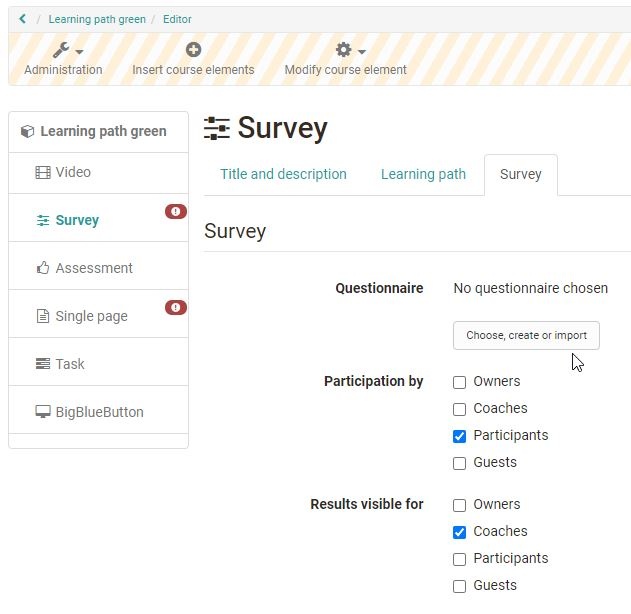
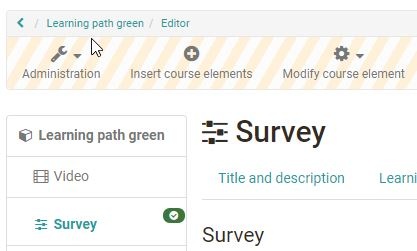
Under "Insert course elements" select the course element "Survey" and the new course element will be added to your course.
3.2 Linking questionnaires
In the "Survey" tab, click the "Select, create or import" option and select the previously created questionnaire.
If necessary, also define the other options in the "Survey" tab and define who can edit the questionnaire and who can see the results.
In principle, a questionnaire can also be created directly here in the course via the course element "Survey". However, it is often unclear to the creator that the questionnaire created in this way is a course-independent OpenOlat learning resource that can also be used in other courses. Therefore, the general way is explained in this tutorial.
4. Publish course
Finally, publish the course by clicking on the title of the course in the breadcrumb navigation. Select "Yes, automatically" if you want to publish all changes made or "Yes, manually" if you want to make further settings.
Only when you have published the course is the questionnaire visible for the users. From this point on, no further questions can be added or deleted in the editor and only minor corrections can be made.
