In the course editor you can add course elements to the course and set up and modify already installed course elements.
If you would like to get to know how to use the course editor the following chapter will provide you with useful information. Having reached the end of our illustrated guide you will have created a course similar to the one created with the Wizard. However, in contrast to the Wizard you will have made yourself familiar with the features of the course editor and will therefore be able to edit courses or create more complex ones later on.
| Step 1: Create course | ||
|---|---|---|
| 1 | Click on "Authoring" in the main navigation. | 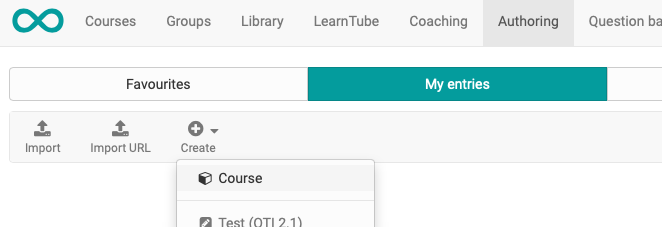 |
| 2 | In the toolbar at the top select "Create" → "Course". | |
| 3 | Insert title and click "Create". |  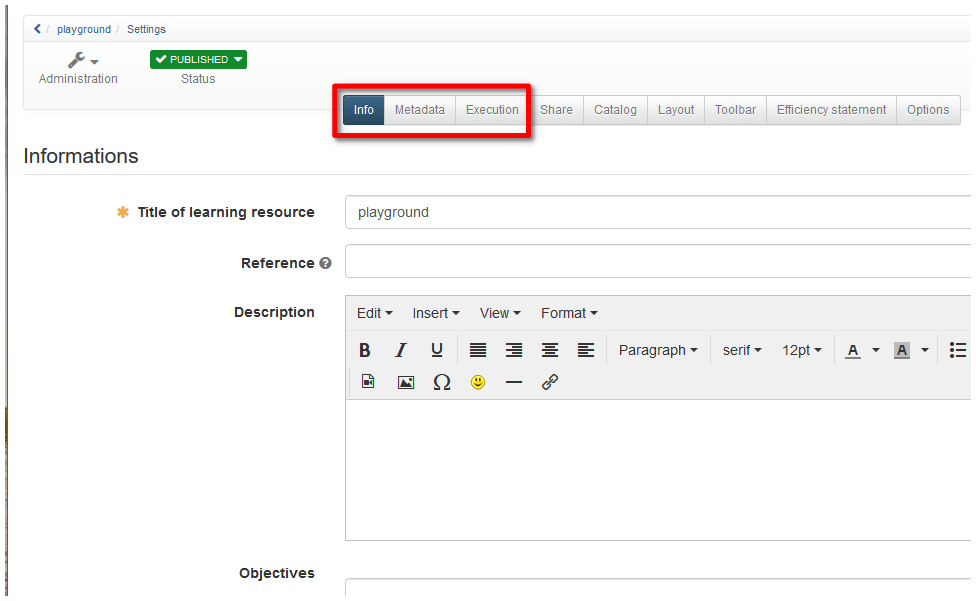 |
| 4 | Add the description and further information in the tab "Info". Use the "Metadata" and "Execution" tabs for more information. Of course, you can also set up the other tabs now. | |
| 5 | Start course editor from the "administration" in the toolbar. The function "Insert course elements" opens a selection window with all available course elements that you can add to your course. | |
The exact further design and the choice of the course elements required depend on your didactic concept. The following is an example of a course similar to the course wizard.
In the course editor
| Step 2: Insert welcome page | ||
|---|---|---|
| 1 | Click "Insert course elements" in the course toolbar and select "Single page" in the knowledge transfer section. A new course element is always inserted right beneath the currently selected course element. |  |
| 2 | Indicate a short title in the tab "Title and description" and save your settings. | |
| 3 | In the tab "Page content" click on "Select or create page". |  |
| 4 | Indicate the file name of the HTML page to be created (e.g. "welcome") and click on "Create". | |
| 5 | Write a welcome message. | |
| 6 | Click on "Save and close". | |
| Step 3: Insert folder for courseware before uploading documents from your computer | |
|---|---|
| 1 | Click "Insert course elements" in the course toolbar and select "Folder" in the knowledge transfer section. A new course element is always inserted right beneath the currently selected course element. |
| 2 | Indicate a short title in the tab "Title and description" and save your settings. |
| 3 | Click on "Open folder" in the tab "Folder configuration". |
| 4 | Select the link "Upload file." |
| 5 | Select the link "Upload file" and search for the desired file on your own computer. Finish the process by clicking the "Upload" button. |
| Step 4: Insert discussion forum | |
|---|---|
| 1 | Click "Insert course elements" in the course toolbar and select "Forum" in the communication and collaboration section. A new course element is always inserted right beneath the currently selected course element. |
| 2 | Indicate a short title in the tab "Title and description" and save your settings. |
| Step 5: Publish and activate your course | ||
|---|---|---|
| 1 | Select "Publish" in the course toolbar on the top. |  |
| 2 | All changes will automatically be published. Changes to a course element will not be published if you deselect it. | |
| 3 | Click "Next". | |
| 4 | In the pull-down menu, select the option "Published" in the "Publication" area and select the desired option in the "Access for members of the organisation" area. |
|
| 5 | Click "Next". | |
| 6 | Select "Yes" in the "Add course to catalog" pull-down menu in the "Create catalog entry" section. |  |
| 7 | Click „Finish“. | |
| 8 | Either click the red X in the top right corner or on the course name in the breadcrumb navigation in order to close the editor. | |

Now your course is visible for OpenOLAT users and can be used. Adding further course elements e.g. "Registration" or "E-Mail", as when creating with the help of the wizard, is similar to adding the elements "Folder" and "Forum" explained here.
Your course is also now available in the catalog and course participants can find it in the corresponding category.
