In the "Administration" → "Settings" tab you can configure the following additional functions.

Course Calendar
One calendar can be activated per course. There are two options for integration.
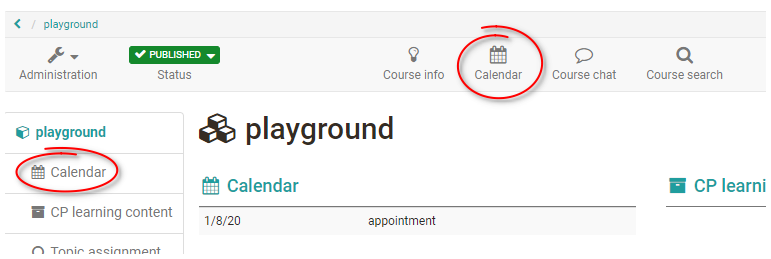
The calendar can either be displayed as a course element or in a central position at the top of the course toolbar and thus provide a good overview.
That option can be activated in your course by ticking the box "Course calendar" in the menu "Administration" → "Settings" -> "Toolbar" -> "Activate tools in toolbar.
New dates are simply created by clicking on the desired date. Afterwards, the title, description, start and end as well as a location, possible repetitions and visibility can be set. The date then appears in the calendar or in all instances of the course calendar and can be edited by clicking on the date and the "Edit" option.
With the "Edit" option you also get access to further calendar tabs and can set links to course elements or external websites used in the course. If you would like to delete all dates of a course calendar, simply click on the gear symbol in the calendar area and select "Reset calendar".
Course calendars are also automatically transferred to the personal calendars of course members. Thus all dates can be called up also directly over the personal OpenOLAT calendar. The same applies to group calendars. In the case of group calendars, it is possible to set in the group administration which write/read rights the members receive.
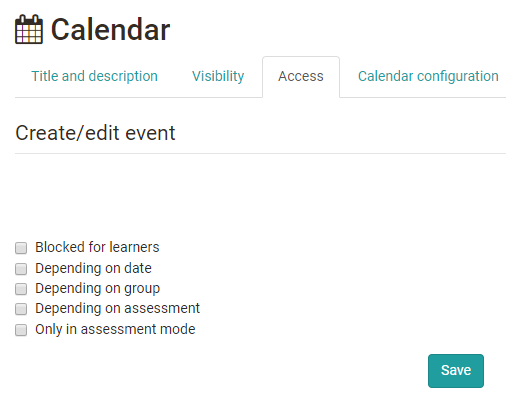
By default, only owners of a course have write access to the calendar. Course participants only have read rights, so they cannot write new appointments or edit existing ones. However, if you insert the calendar as a course element, you can configure the permissions.
Course Search
In addition to a full text search for the total of OpenOLAT you can activate a search within a course. You can search for the following elements:
- Title, short title, description of all course elements
- Content of html pages
- Documents in folders
- Title and content of forum entries
- Title and content of notifications
- Wiki entries
Course Chat
A simple chat room is available as standard in every course. It is suitable for short, synchronous exchanges. Here course members can make live contact with other learners and lecturers, provided they are logged in at the same time.
When the chat function is on, participants will see a chat link in the center of the course toolbar.
If activated, course participants can choose between a personalised and an anonymous view. When entering the chat room their name will not be displayed. It will be displayed, however, if they select their name in the "Participants" section.
The history of a course chat is accessible for up to one month. Open the course chat and select the time span of your choice: 1 day, 1 week, or 1 month. The Chat will be adapted when using a mobile device. Tip: Partially the portrait format is more useful than the landscape format.
You can activate the course chat in your course by checking the box "Course chat" in the menu "Administration" → "Settings" -> "Toolbar" -> "Activate tools in toolbar".
If you want to use the chat more intensively, you should drag the chat window to a pleasant size.
Whether the chat function is available in your OpenOLAT system depends on your contract. In case you cannot activate the course chat, please send a message to contact@frentix.com.
Glossary
A glossary explains the terms of a course, subject or event to the participants. Glossaries are OpenOlat learning resources that can be used separately or integrated into a course.
The glossaries can be created as learning resources in the author area or directly in the course under "Settings-> Options".
Once a glossary has been integrated into a course, the link to the glossary will appear in the course toolbar. In order to make that glossary visible in the toolbar you have to activate the corresponding tool "Glossary" in the tab "Toolbar.
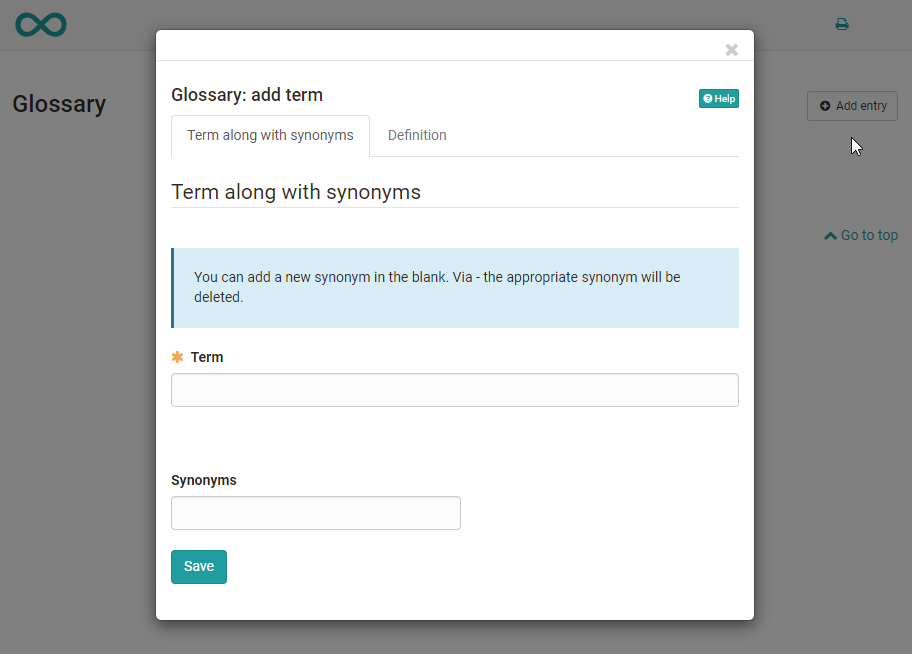
Enter the desired technical term under "Term". You can also add synonyms. For example, the term "Information Technology" can be supplemented with the synonym "IT". In the tab "Definition" you can then add the concrete definition of the term. Terms that have been entered can also be changed or deleted afterwards.
If you no longer use the glossary or want to integrate another glossary you can make the desired changes in the course or on the info page by using the drop-down menu "Course" via the menu item "Options".
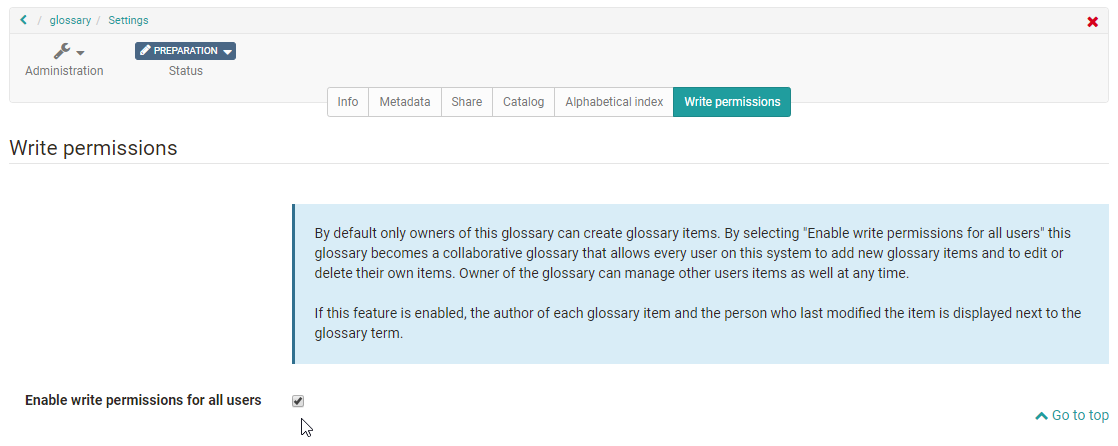
In the learning resource "Glossary" you can define in the tab "Write permission" if only owners of that learning resource are allowed to create and edit contributions or if users are granted that right as well. Owners of the learning resource "Glossary" can basically change and delete all glossary entries created. By default new glossary entries can only be made by course owners.
If you only want to give certain people, e.g. the participants of a course, the right to write a glossary, you take a different approach. For this purpose, the "Members management" of a course is used. Create a new group there and add the desired persons as participants to that group. Then go to "Rights" in the course's "Members management" and check the box "Glossary tool" for course participants of that group. Now persons in that group can add and modify glossary entries.
Per course only one glossary is allowed.
Attention: The owners of a course are not automatically also owners of the learning resource. If someone else has created a learning resource "Glossary" he/she will not automatically become owner of the course in which that resource has been integrated. In order to enable other course owners to make modifications you have to set up one of the described permissions or you have to enter the desired course owners as owners of the learning resource "Glossary".
Furthermore, the links to the "Course Info" and to the "Lectures" appear in the course toolbar.
