With the aid of this guideline you will be able to add a podcast to your course in no time and create your first episode.
| Step 1: Open course editor and insert podcast course element | ||
|---|---|---|
| 1 | Search for your course in "Authoring", section "My entries," and open it. | 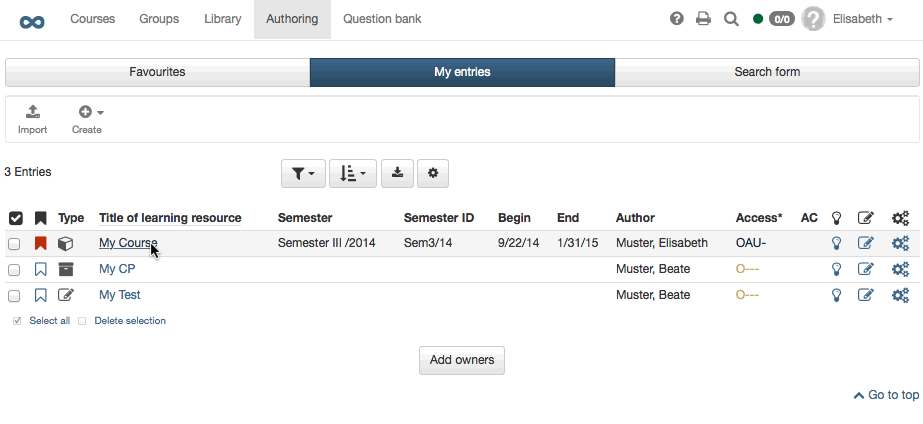 |
| 2 | Click on "Course editor" in the drop-down menu "Tools" in the toolbar. | |
| 3 | Select position at which your Podcast course element should be inserted by clicking on it. | |
| 4 | Select "Podcast" in the pop-up "Insert course elements" in the toolbar. | |
| 5 | Indicate a short title for your course element in the tab "Title and description" and save your settings. | |
| Step 2: Create a Podcast | ||
|---|---|---|
| 1 | Click on "Select, create or import podcast" in the tab "Podcast learning content." | 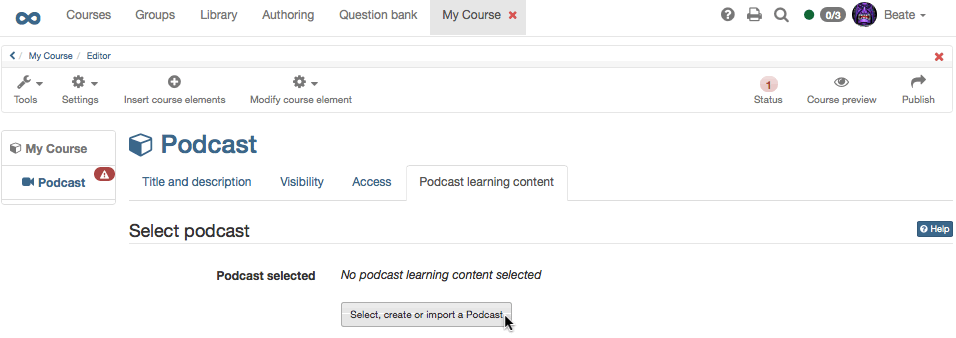 |
| 2 | Click on "Create." | |
| 3 | Indicate the title of your podcast. This information will appear in the header of your podcast. Click on "Create" | |
| Step 3: Fill podcast with content | ||
|---|---|---|
| 1 | Click on "Edit." | 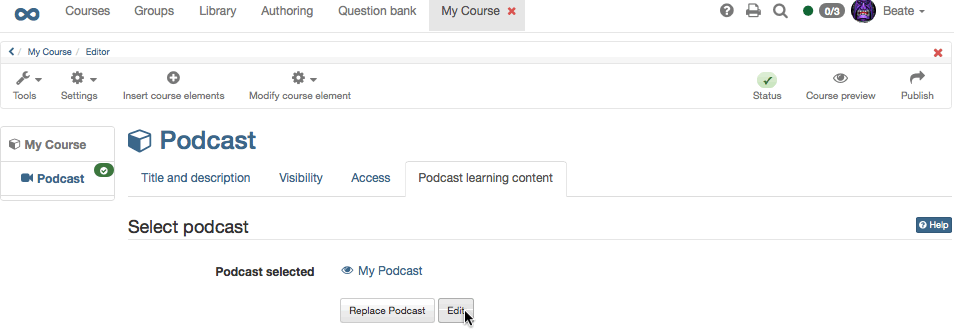 |
| 2 | If you want to add a picture to your podcast header just click on "Edit podcast" and upload pic. | |
| 3 | Click on "Create your own episode." | 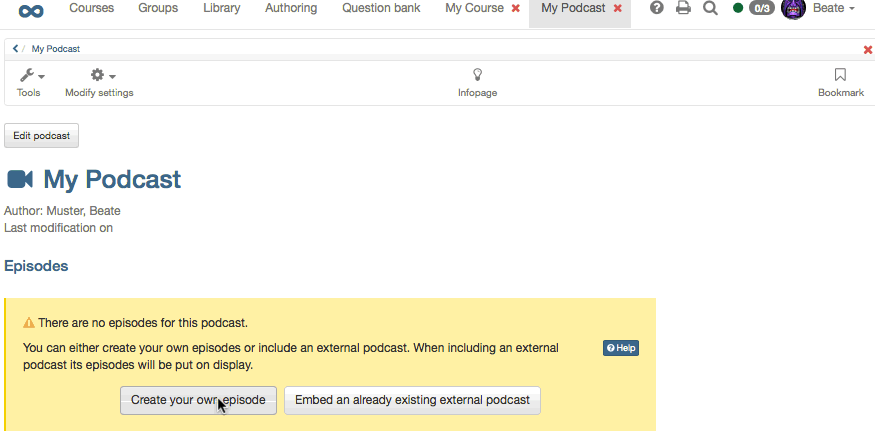 |
| 4 | Indicate title, select audio or video file from your computer, and click on "Publish." | |
Additional episodes can be added later on following the same pattern or directly within the course view.
| Step 4: Publish and activate your course | ||
|---|---|---|
| 1 | Select "Publish" in the toolbar on top. | 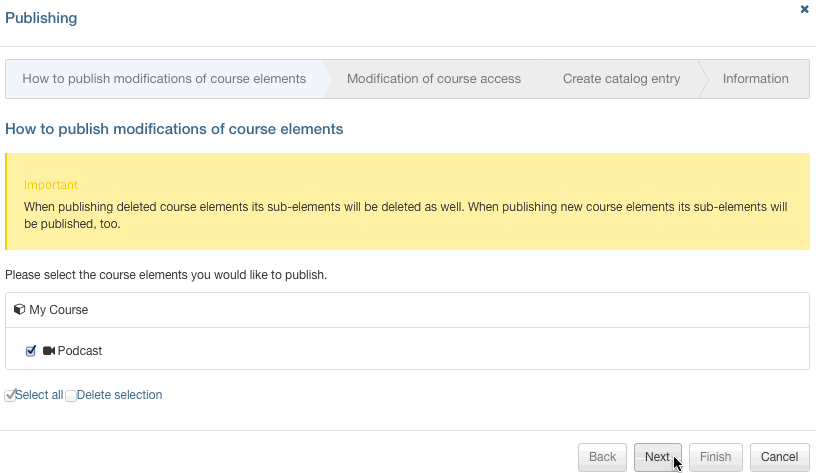 |
| 2 | Check course element before clicking "Next." | |
| 3 | Select "All registered OpenOLAT users" from the pull-down menu, section "Modify course access." | |
| 4 | Click on "Finish." | |
Your podcast is now embedded and course participants can download the first episode.
